Table of Contents
Advertisement
Quick Links
Advertisement
Table of Contents

Related Manuals for ring Solar Floodlight


Summary of Contents for ring Solar Floodlight
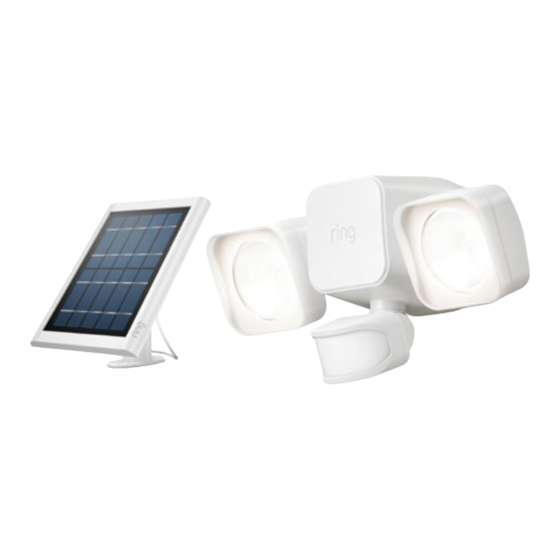
- Page 1 Solar Floodlight Smart Lighting...
- Page 2 Download the Ring app. Set up your Ring Bridge. The Ring app walks you through setting up The Bridge is required to connect your Ring and managing your Floodlight. Smart Lights to the Ring app and other compatible Ring devices.
-
Page 3: Remove The Back Cover
Remove the back cover. Remove the battery. Twist your Floodlight counter-clockwise to Push the metal tab and unlock and separate it from the back cover. remove the included battery from the battery compartment. -
Page 4: Charge The Battery
Charge the battery. Remove the battery strips. Fully charge the battery by plugging it Carefully remove and discard them. into a power source using the provided orange cable. Once only one light is lit, it’s fully charged. = Charging = Charged... -
Page 5: Insert The Battery
Insert the battery. Set up your Floodlight in the Ring app. Insert the included battery and push until it snaps in place. In the app, tap Set Up a Device. If you like, you can purchase and When prompted, select Smart Lighting insert a 2nd battery to make and follow the in-app instructions. -
Page 6: Remove The Mounting Plate
Remove the mounting plate. Mark pilot holes. Press the tab on the side and slide the Mark your holes using mounting plate off of the back cover. the mounting plate as a guide, making sure the “UP” arrow is pointing upwards. -
Page 7: Install The Mounting Plate
Install the mounting plate. Drive the screws. If installing on a masonry surface (such Hold the mounting as stucco or brick), first drill holes using plate firmly against the a 3/16” drill bit. Insert the wall anchors surface and drive the before inserting the screws. - Page 8 Align your Floodlight with the mounting plate and slide it to the left to lock it in. Next, let’s set up your Ring Solar Panel. The motion sensor is adjustable. Try various angles to find the best setting for your home.
- Page 9 Mark pilot holes. Screw in the Select an install location Mounting Arm. within 13 feet of your Drive the included Floodlight, where the mounting screws into Solar Panel can get your wall (or the wall direct sunlight. anchors, if installing Mark the holes using on a hard surface) the mounting arm as a...
- Page 10 Attach the Solar Panel. Position the slots in the rear of your Solar Panel over the mounting arm and slide it down to secure it.
-
Page 11: Adjust The Angle
Adjust the Angle. Loosen the screw on the mounting arm and adjust the panel to your desired angle, then re-tighten the screw to secure your setting. You can rotate and tilt your Solar Panel to get the best orientation for your home. -
Page 12: Connect The Cable
Connect the cable. Once your Solar Panel is mounted, insert the power plug into the power input at the bottom of your Floodlight. - Page 13 Canada 1 855 300 7289 Worldwide +1 310 929 7085 For a list of all our customer support numbers, visit: ring.com/callus © 2019 Ring LLC or its affiliates. Ring and all related logos are trademarks of Ring LLC or its affiliates.
Need help?
Do you have a question about the Solar Floodlight and is the answer not in the manual?
Questions and answers