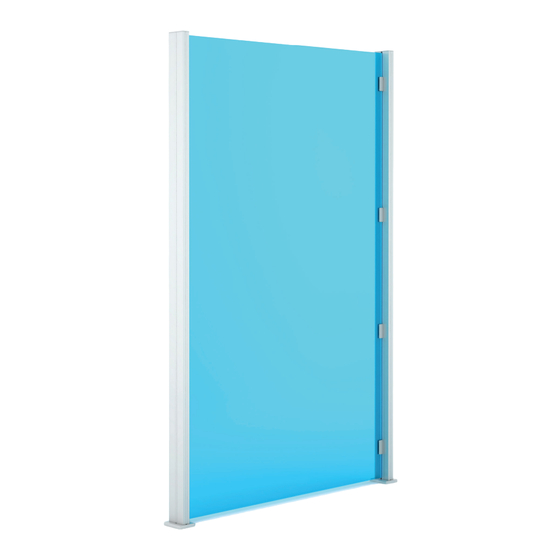
Summary of Contents for 3form Ready To Go SimpleSpec 200.39
- Page 1 Ready To Go SimpleSpec 200.39 Installation Manual For more information, please visit 3-form.com or call 800.726.0126 AUGUST 2017 | MAN-RTG-200-39 | REV 001 © 2017 3form, Inc. All rights reserved.
-
Page 2: Contents Overview
Cover Plates M5 T-Nut M5 � 6mm Beam Base Cover KIT 3-15-1939 3-15-0806 Set Screw 3-15-1939-K 3-15-0806 For more information, please visit 3-form.com or call 800.726.0126 AUGUST 2017 | MAN-RTG-200-39 | REV 001 © 2017 3form, Inc. All rights reserved. - Page 3 (×1) Versa 6" Dia. 2-Part Baseplate for Concrete KIT 3-15-1941-K (×1) Beam Base Cover KIT 3-15-1939-K (×8) 2-Piece Clamping Bracket KIT 3-15-1752-K (×2) Slot Cover 3-15-1732 For more information, please visit 3-form.com or call 800.726.0126 AUGUST 2017 | MAN-RTG-200-39 | REV 001 © 2017 3form, Inc. All rights reserved.
- Page 4 6" (153mm) Center Line to Center Line 49.8" (1265mm) Panel Width 48" (1220mm) Overall Width 55.9" (1420mm) For more information, please visit 3-form.com or call 800.726.0126 AUGUST 2017 | MAN-RTG-200-39 | REV 001 © 2017 3form, Inc. All rights reserved.
- Page 5 Required Tools Drill 11/64" Bit Rubber Mallet Hammer Drill #3 Square Head Bit Masonry Bits Metric Allen Wrenches For more information, please visit 3-form.com or call 800.726.0126 AUGUST 2017 | MAN-RTG-200-39 | REV 001 © 2017 3form, Inc. All rights reserved.
- Page 6 Attach Baseplate to Extrusion (Tapped at Center End) * Complete this step for each extrusion. * Complete this step for each extrusion. For more information, please visit 3-form.com or call 800.726.0126 AUGUST 2017 | MAN-RTG-200-39 | REV 001 © 2017 3form, Inc. All rights reserved.
- Page 7 Slide on Cover Plate and Attach Side Clamping Brackets * Complete this step for each extrusion. * Complete this step for each extrusion. For more information, please visit 3-form.com or call 800.726.0126 AUGUST 2017 | MAN-RTG-200-39 | REV 001 © 2017 3form, Inc. All rights reserved.
- Page 8 Ready To Go SimpleSpec 200.39 Installation Manual Installation Install Panel For more information, please visit 3-form.com or call 800.726.0126 AUGUST 2017 | MAN-RTG-200-39 | REV 001 © 2017 3form, Inc. All rights reserved.
- Page 9 Ready To Go SimpleSpec 200.39 Installation Manual Installation Dry-Fit and Measure Position the assembly and then remove the panel For more information, please visit 3-form.com or call 800.726.0126 AUGUST 2017 | MAN-RTG-200-39 | REV 001 © 2017 3form, Inc. All rights reserved.
- Page 10 Place a washer under the screw head. Torque the screw to 15 Nm. Remove screw. For more information, please visit 3-form.com or call 800.726.0126 AUGUST 2017 | MAN-RTG-200-39 | REV 001 © 2017 3form, Inc. All rights reserved.
- Page 11 Ready To Go SimpleSpec 200.39 Installation Manual Installation Anchor to Floor For more information, please visit 3-form.com or call 800.726.0126 AUGUST 2017 | MAN-RTG-200-39 | REV 001 © 2017 3form, Inc. All rights reserved.
- Page 12 Ready To Go SimpleSpec 200.39 Installation Manual Installation Reinstall Panels For more information, please visit 3-form.com or call 800.726.0126 AUGUST 2017 | MAN-RTG-200-39 | REV 001 © 2017 3form, Inc. All rights reserved.
- Page 13 Ready To Go SimpleSpec 200.39 Installation Manual Installation Attach Extrusion Top Caps For more information, please visit 3-form.com or call 800.726.0126 AUGUST 2017 | MAN-RTG-200-39 | REV 001 © 2017 3form, Inc. All rights reserved.
- Page 14 Installation Attach Slot Covers Cut slot covers to size. Attach slot covers on outer edges of assembly. For more information, please visit 3-form.com or call 800.726.0126 AUGUST 2017 | MAN-RTG-200-39 | REV 001 © 2017 3form, Inc. All rights reserved.


Need help?
Do you have a question about the Ready To Go SimpleSpec 200.39 and is the answer not in the manual?
Questions and answers