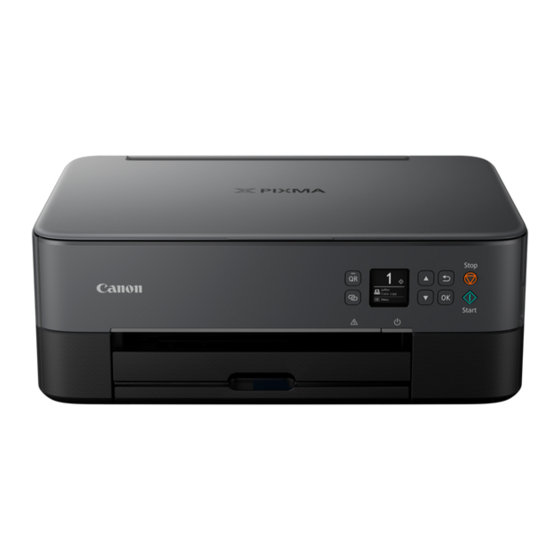
Canon PIXMA TS5300 Series Getting Started
Hide thumbs
Also See for PIXMA TS5300 Series:
- Quick start manual ,
- Getting started (77 pages) ,
- Online manual (465 pages)
Advertisement
Available languages
Available languages
Getting Started
Guía de inicio
Online Setup
Configuración en línea
Detailed instructions and videos are
available on the Canon website.
Hay vídeos e instrucciones detalladas en
el sitio web de Canon.
Setup a Computer
Configurar un ordenador
Setup a Smartphone
Configurar un teléfono inteligente
Read Safety and Important Information
(addendum) first.
Lea primero Información de seguridad e
información importante (apéndice).
Advertisement
Table of Contents

Related Manuals for Canon PIXMA TS5300 Series


Summary of Contents for Canon PIXMA TS5300 Series
- Page 1 Getting Started Guía de inicio Online Setup Configuración en línea Detailed instructions and videos are available on the Canon website. Hay vídeos e instrucciones detalladas en el sitio web de Canon. Setup a Computer Configurar un ordenador Setup a Smartphone Configurar un teléfono inteligente...
- Page 2 Installing the Printer ........................page 1 Instalación de la impresora ....................página 1 Connecting to a Computer, Smartphone or Tablet ..........page 4 Conexión con un ordenador, teléfono inteligente o tableta ....... página 4 Holding the Printer Cómo sujetar la impresora Instructional Videos Vídeos instructivos...
-
Page 3: Setting Up The Printer
Setting Up the Printer 1. Box Contents Press the ON button. • • FINE cartridges Power cord • Setup CD-ROM for Windows • Safety and Important Information • Getting Started (this manual) Color Black Use the {, } and OK buttons to select a language. - Page 4 Setting Up the Printer 4. Installing the FINE Cartridges Set the Color FINE cartridge in the FINE cartridge holder. Open the scanning unit / cover. Important Do not bump the FINE cartridge. Doing so may cause a malfunction. Caution Do not touch the FINE cartridge holder until it stops moving. Pinch and open the ink cartridge locking cover Push down the ink cartridge locking cover firmly on the left-hand side.
- Page 5 5. Loading Paper Attach the cassette cover and replace the cassette. Press the OK button. • Look at it from the side to confirm Remove the cassette from the printer and it looks like the diagram. remove the cassette cover. Pull out the paper output tray.
-
Page 6: Connecting To A Computer
Computer Smartphone smartphone Connecting to a Computer If you are using multiple computers, perform these steps on each computer. Click Download. Access the Canon website from a computer. Run the downloaded file. Click Start Setup. Select Set Up. Enter your printer's model name and click Go. -
Page 7: Connecting To A Smartphone
Refer to your smartphone and wireless router manuals for more details. Install the "Canon PRINT Inkjet/SELPHY" app on your smartphone. • Scan the QR code shown on the right to access the Canon website, and then download the app. Open the installed app. -
Page 8: Loading Photo Paper
Loading Photo Paper Photo paper can only be loaded in the rear tray. Open the rear tray cover and extend the paper Load several sheets of photo paper with the support. print side facing up and slide the side paper guide against the edge of the paper stack. -
Page 9: Instalación De La Impresora
Instalación de la impresora 1. Contenido de la caja Pulse el botón ACTIVADO (ON). • • Cartuchos FINE Cable de alimentación • CD-ROM de instalación para Windows • Información de seguridad e información importante • Guía de inicio (este manual) Negro Color Utilice los botones {, } y OK para seleccionar... - Page 10 Instalación de la impresora 4. Instalar los cartuchos FINE Coloque el cartucho FINE de color en el soporte de cartucho FINE. Abra la cubierta/unidad de escaneado. Importante No golpee el cartucho FINE. Si se golpea, puede funcionar mal. Precaución No toque el soporte de cartucho FINE hasta que se detenga. Pellizque y abra la tapa de bloqueo del cartucho Empuje hacia abajo la tapa de bloqueo del de tinta del lado izquierdo.
- Page 11 5. Carga del papel Coloque la cubierta del cassette e inserte el cassette. Pulse el botón OK. • Mírelo desde el lado para confirmar Retire el cassette de la impresora y retire la que está como en el diagrama. cubierta del cassette. Extraiga la bandeja de salida del papel.
- Page 12 Teléfono inteligente teléfono inteligente Conectar al ordenador Si utiliza varios ordenadores, realice estos pasos en cada ordenador. Haga clic en Descargar. Acceda al sitio web de Canon desde un ordenador. Ejecute el archivo descargado. Haga clic en Iniciar configuración (Start Setup).
- Page 13 Conecte su teléfono inteligente al router inalámbrico (si tiene un router inalámbrico). Consulte los manuales de su teléfono inteligente y del router inalámbrico para obtener más detalles. Instale la aplicación "Canon PRINT Inkjet/SELPHY" en su teléfono inteligente. • Escanee el código QR que se muestra a la derecha para acceder al sitio web de Canon y, a continuación, descargue la aplicación.
- Page 14 Carga de papel fotográfico El papel fotográfico solo se puede cargar en la bandeja posterior. Abra la cubierta de la bandeja posterior y extienda Cargue varias hojas de papel fotográfico con la el soporte del papel. cara de impresión hacia arriba y deslice la guía del papel lateral contra el borde de las hojas de papel.
- Page 15 How-To Video Library Videoteca sobre procedimientos RMC (Regulatory Model Code): K10500...
- Page 16 Access Online Manual Acceso al Manual en línea From your browser Desde su navegador QT6-3163-V01 XXXXXXXX © CANON INC. 2019 PRINTED IN XXXXXXXX...
Need help?
Do you have a question about the PIXMA TS5300 Series and is the answer not in the manual?
Questions and answers