Advertisement
Quick Links
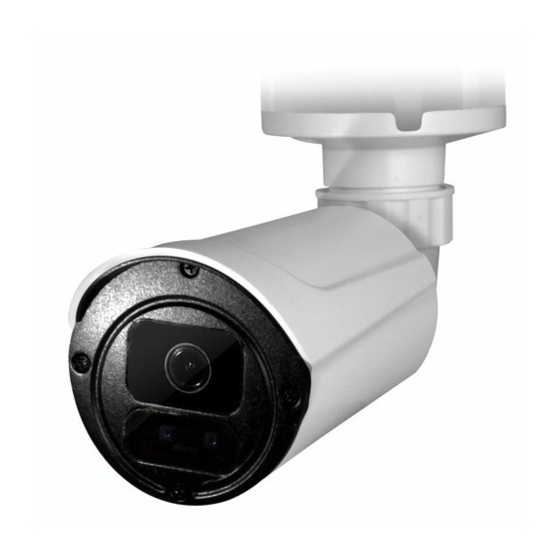
AVN2503
Wireless Network Camera
Tutorial
Prerequisites
Before using the camera, make sure the following items are ready:
Network camera (no microSD card)
DC12V adapter
Router
Mobile phone / tablet
(Optional) PC / laptop
(Optional) Recorder
And also check and write down the mac address of your camera:
Advertisement

Subscribe to Our Youtube Channel
Related Manuals for Avtech AVN2503


Summary of Contents for Avtech AVN2503
- Page 1 AVN2503 Wireless Network Camera Tutorial Prerequisites Before using the camera, make sure the following items are ready: Network camera (no microSD card) DC12V adapter Router Mobile phone / tablet (Optional) PC / laptop ...
-
Page 2: System Diagram
System Diagram There are four system diagrams suitable for four scenarios for you to build your own surveillance system with this camera: Diagram 1 I’m installing this camera to simply see my pet or properties at home when I’m away and I do not need to keep video footage for later checking. - Page 3 Diagram 2 (Wireless) camera + router + PC + mobile phone / tablet Recommended installation steps: hardware installation & setup software setup Diagram 3 (Wired) camera + router + NVR + mobile phone / tablet Recommended installation steps: hardware installation & setup software installation...
-
Page 4: Software Setup
Diagram 4 (Wireless) camera + router + NVR + mobile phone / tablet Recommended installation steps: software setup hardware installation & setup Software Setup Google Play App Store EagleEyes Go to to search and download the app, , and follow the instructions below based on the system diagram you’re using. - Page 5 Step2: Install EagleEyes on your mobile phone / tablet. Step3: Instead of using your mobile network (such as 4G / 5G network), please connect your mobile phone / tablet to your wireless network first. Then, open EagleEyes and click + (Add) to add a device. ( Figure 1 Step4: Select EaZy ( Figure 2...
- Page 6 Step6: Show the QR code to the camera within the distance of 20~30 cm for scanning. Figure 4 Check or the video demo below to know more details. Figure 4 If you can’t add your camera by scanning the QR code successfully, please add the device manually (Manual Setup).
- Page 7 Diagram 2 (Wireless) camera + router + PC (CMS Lite) + mobile phone / tablet Step1: Power on your camera and wait for the LED status indicator to start flashing. Step2: Install EagleEyes on your mobile phone / tablet. Step3: Instead of using your mobile network (such as 4G / 5G network), please connect your mobile phone / tablet to your wireless network first.
- Page 8 Video demo for Step3 ~ Step5 Step6: Show the QR code to the camera within the distance of 20~30 cm for scanning. Figure 4 Check or the video demo below to know more details. Figure 4...
- Page 9 If you can’t add your camera by scanning the QR code successfully, please add the device manually (Manual Setup). Video Demo: Step7: Click here to download and install CMS Lite to your PC. Step8: Open CMS Lite, and scan and search the IP address of this camera. Video demo:...
- Page 10 Step1: Power on the camera. Step2: Check & write down the mac address of your camera. Step3: Search and add the camera to the NVR (take AVTECH NVR as an example). Video demo: Step4: When the camera is added successfully, you’ll be able to see the camera images.
- Page 11 Step4: Select EaZy ( Figure 2 Step5: Select Wireless IP Camera ( Figure 3 Figure 1 Figure 2 Figure 3 Video demo for Step3 ~ Step5...
- Page 12 Step6: Show the QR code to the camera within the distance of 20~30 cm for scanning. Figure 4 Check or the video demo below to know more details. Figure 4 If you can’t add your camera by scanning the QR code successfully, please add the device manually (Manual Setup).
- Page 13 Step7: Check and make sure your mobile phone / tablet is connecting to the same wireless network as the camera is connected to (where to check). Then, open EagleEyes to search and find the IP address of your camera. Video demo: Step8: On NVR, manually enter the IP address of your camera, and you’ll see the camera images when when the camera is added successfully.
-
Page 14: Hardware Installation
Operation via Mobile Device How to play video footage saved in NVR from EagleEyes How to copy video footage saved in NVR from EagleEyes Hardware Installation Click here and check the section, “Camera Installation”, to know how to install this camera.
Need help?
Do you have a question about the AVN2503 and is the answer not in the manual?
Questions and answers