
Subscribe to Our Youtube Channel
Related Manuals for DURAVIT Utronic 0830370092


Summary of Contents for DURAVIT Utronic 0830370092
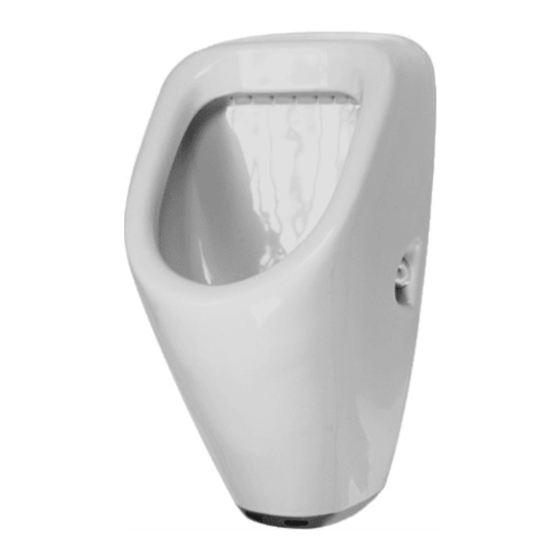
- Page 1 Leben im Bad Living bathrooms Utronic Mounting instructions Infrared Sensor Urinal # 0830370092...
-
Page 2: Table Of Contents
Index English Technical information Assembly dimensions ....3 ........3 Before you start ......4 ........4 Check valves ......... 5 ..........5 Mounting instructions Infrared Sensor Urinal ....6 ......6 Servicing instructions Battery replacement ..... 8 ........8 Replace the solenoid valve .... -
Page 3: Assembly Dimensions
Position of fixing points and water supply " " Ø 2" " Ø2 " Water supply Ø " Ø 50 Ø " MAL_51173/14.06.8... -
Page 4: Before You Start
BEFORE YOU START: Please take a few minutes to read the following installation instructions. Your new urinal is a low consumption water urinal (0.5 gpf / 1.9 lpf). 0.5 gpf / 1.9 lpf For a safe and efficient operation of the urinal a water pressure between minimum 25 psi (175kPa) and maximum 80 psi (550kPa) must be respected. -
Page 5: Check Valves
CHECK VALVES This unit is equipped with two spring loaded check valves (one-way valves) to prevent a back water flow into the supply line. Refer to drawing left for location of the valves. check valves MAL_51173/14.06.8... -
Page 6: Mounting Instructions Infrared Sensor Urinal
Mounting of the urinal " " " s t o " g l e a t i o l o c t i o n o c a i n l " D r a # 0830370092 Electronic Urinal (Utronic) Angle stop (1), washer (2) and check Adapter (4), siphon (5), horizontal Measure and mark distance of the... - Page 7 Attach flexible pressure hose to the Open the angle stop counterclock- Remove the tape on the electric Push down to remove electric cover angle stop. wise (3 turns). cover protector. protector and push forward so si- phon fits into the drain hole. Put the urinal on the screws.
-
Page 8: Battery Replacement
Battery replacement 6V/Lithium (IEC: CRP2) # 1002130000 6V/lithium battery and sensor films. Using Allen wrench (4 mm) unscrew Slide the electronic unit forward. Detach and remove old 6V lithium the bottom portion of the electronic battery. unit. 6V/Lithium 0,6 Nm Place film onto the sensors. -
Page 9: Replace The Solenoid Valve
Replacing the solenoid valve # 1002110000 Solenoid valve and sensor films. Using the screwdriver and close the Using Allen wrench (4 mm) unscrew Slide the electronic unit forward. stop valve (7 turns). the bottom portion of the electronic unit. Detach electrical connection and re- Place the sensor film on the elec- Using the Allen wrench (6 mm) un- Remove the solenoid valve. - Page 10 0,6 Nm Replace the solenoid valve turning Attach electrical connection. Push the electronic unit forward. Using Allen wrench (4 mm) tighten the Allen wrench clockwise (4 the electronic unit. turns). Using the screwdriver and open the Remove the sensor film and refer to stop valve (7 turns).
-
Page 11: Replace The Electronic Unit
Replacing the electronic unit # 1002960000 Electronic Unit Using Allen wrench (4 mm) unscrew Slide the old electronic unit forward. Detach electrical connection. the bottom portion of the electronic unit. 0,6 Nm Remove the electronic unit. Attach electrical connection (new Using Allen wrench (4 mm) tighten Remove film from the sensor and electronic unit). -
Page 12: Cleaning The Dirt Trap
Cleaning the dirt trap Using the screwdriver and close the Using the Allen wrench (10 mm) un- Remove and clean the dirt trap. Install cleaned dirt trap. stop valve (7 turns). screw the cap of the stop valve. 0,6 Nm Using Allen wrench (10 mm) tighten Using the screwdriver and open the the cap of the stop valve. -
Page 13: Removing Errors
Removing errors ERROR SOURCE OF ERROR REMOVE ERROR SEE PAGE ARTICLE-CODE No flush but click of Closed stop valve Open stop valve – – magnetic valve Blocked dirt trap Clean dirt trap – Battery empty Replace battery 1002130000 Broken magnetic valve Replace magnetic valve 10 - 11 1002110000... - Page 14 – – – 1002130000 10 - 11 1002110000 1002130000 – – 1002960000 10 - 11 1002110000 1002960000 10 - 11 1002110000 10 - 11 1002110000 MAL_51173/14.06.8...
- Page 15 MAL_51173/14.06.8...
- Page 16 Duravit AG Werderstr. 36 78132 Hornberg Germany Phone +49 78 33 70 0 +49 78 33 70 289 info@duravit.de www.duravit.de...
Need help?
Do you have a question about the Utronic 0830370092 and is the answer not in the manual?
Questions and answers