Advertisement
Quick Links
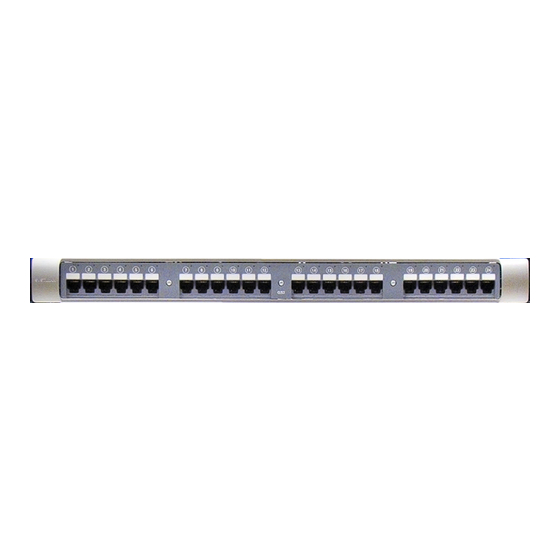
2 After cabling each panel, assemble and install the rear cable
support on each panel (Figure 7):
a Snap the 4 cable troughs onto the cable support bar.
b Insert the 4 cable straps into the slots in the cable troughs.
c Install the cable support bar on the back of the panel.
Note: For 2U panels, assemble and install two cable supports.
Figure 7 Installing Cable Supports
Cable strap
Cable trough
Slot
Cable support bar
3 Route the cables into the cable troughs. Use the cable straps to
loosely retain the cables (Figure 8).
Figure 8 Routing and Retaining the Cables
Cable strap
Cable trough
How To Contact Us
To find out more about SYSTIMAX
at
www.commscope.com/systimax
For technical assistance regarding SYSTIMAX products:
Within the United States, contact your local account
representative or CommScope Technical Support at
1-800-344-0223.
From outside the United States, contact your local account
representative or Authorized BusinessPartner.
© 2009 CommScope, Inc. All rights reserved.
Cable support bar
®
Solutions, visit us on the web
™
SYSTIMAX 360
iPatch
Instruction Sheet
Material ID 860 458 413
Issue 1, May 2009
The SYSTIMAX 360™ iPatch
SYSTIMAX approved product. This patch panel can be
used in an iPatch System for both EIA-T568A or
EIA-T568B wiring applications. Both 24-port and
48-port versions are available.
Important Safety Instructions
To reduce the risk of fire, electric shock, and injury to persons,
read, understand, and adhere to the following instructions as well
as any warnings marked on the product.
!
CAUTION
Remote risk of electric shock.
Never install the product in wet locations or during lightning
storms.
Never touch uninsulated communication wires or terminals.
Note: All wiring that connects to this equipment must meet
applicable local and national building codes and network wiring
standards for communication cable.
Save these instructions.
Specifications
Wire Termination
Wire Size:
22–24 AWG (0.64–0.51 mm) solid copper
22–24 AWG (0.64–0.51 mm) 7-stranded copper
Insulation Size:
0.042 inch (1.07 mm) maximum DOD
Insulation Type:
All plastic insulants
(including PVC, irradiated PVC, polyethylene,
polypropylene, PTFE polyurethane, nylon, and FEP)
Reterminations
IDC Contact:
200 minimum
Modular Jack:
750 minimum
Environmental Data
º
º
Temperature
-40
F to 158
Range:
23
º
F to 122
º
F (-5
Humidity:
95% noncondensing
The iPatch System is covered by U.S. patents 6285293 and 6522737,
and other U.S. and foreign patents and patents pending.
®
1100 Type Panel
®
1100 Type Panel is a
º
º
F (-40
C to 70
C) (storage)
º
C to 50
º
C) (operational)
ACN 107 198 425
Advertisement

Related Manuals for CommScope SYSTIMAX 360 iPatch 1100

Summary of Contents for CommScope SYSTIMAX 360 iPatch 1100
-
Page 1: Important Safety Instructions
From outside the United States, contact your local account Humidity: 95% noncondensing representative or Authorized BusinessPartner. ACN 107 198 425 The iPatch System is covered by U.S. patents 6285293 and 6522737, and other U.S. and foreign patents and patents pending. © 2009 CommScope, Inc. All rights reserved. - Page 2 Instruction Sheet: ® SYSTIMAX 360™ iPatch 1100 Type Panel Installing Panels 1 Panels are shipped with the cabling labels for B wiring already Note: The connector is keyed. The polarized tab on the jumper installed. If the installation uses A wiring, insert the cabling connector fits into the opening in the header connector on the labels for A wiring in the slots on the back of the panels.
Need help?
Do you have a question about the SYSTIMAX 360 iPatch 1100 and is the answer not in the manual?
Questions and answers