Table of Contents
Advertisement
Quick Links
Advertisement
Table of Contents

Related Manuals for Jmaz Lighting Fantastic Beam 260


Summary of Contents for Jmaz Lighting Fantastic Beam 260
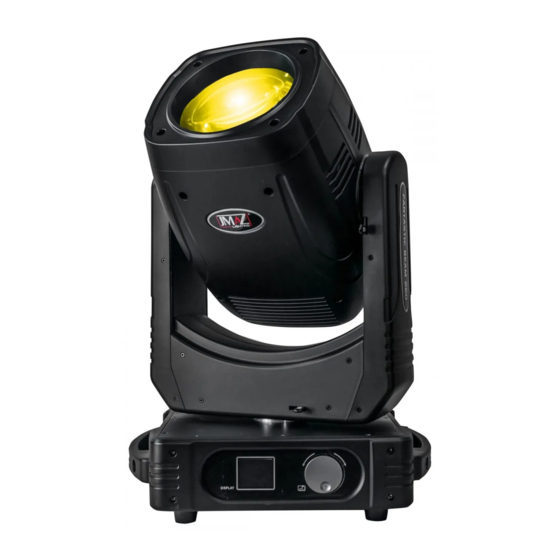
- Page 1 260 Beam Moving head light WEIGHT:16.4KG COLOR TEMPERATURE:8400 K...
-
Page 2: Table Of Contents
ITEM Item...........................02 1.Product introduce ....................03 2.Fixture size......................03 3.Parts introduce....................04 4.Safety information....................05 5.Packing and shipping ..................06 6. Installation standards ..................07 7.AC power......................08 8. Lamp model and replace.................08 9.Control panel operate..................10 10.DMX Channels.....................11 11.Routine maintenance..................14 12.Simple troubleshooting..................14 STATEMENT The product is good packing when ship out the factory. -
Page 3: Fixture Size
D, combined with the advanced technology of today's stage lighting products with international advanced electronic control technology and excellent user-friendly industrial design , fully comply with CE standard, accepted international standard DMX512 signal mode. 260 Beam use efficient lamp and short distance condenser system, coupled with the high-quality optical lens components, Gorgeous color and clear gobos, sharp and uniform output light. -
Page 4: Parts Introduce
3.PARTS INTRODUCE 01 — Lens 02 — Body 03 — Arm 04 — Tilt Lock 05 — Pan Lock 06 — Ligh base 07 — Handle NEX260 each part of product structure and main composition product name description for better know the light unit. - Page 5 4.1.1 SAFETY WARNING MESSAGE This product is only suitable for professional use, and does not apply to security for other purposes. After you got the lights, please check the package whether have any damage caused by transportation. If there is any damage, do not use this fixture, and please contact the dealer or manufacturer as soon as possible.
- Page 6 Please make sure the Mounting hardware is strong enough no any damage, and insurance for the safety rope as auxiliary security fixed in other facilities will need to verify before installation. Installing or removing the equipment, to make the pulley below the work location. UA PROTECTION AND THE BULB EXPLOSION Prohibit straight viewpoint with exposed bulbs to avoid UV damage to the eyes;...
- Page 7 TO PREVENT BURNING OR FIRE The fixture can be mounted directly on the surface of ordinary combustible material. Do not short-circuit temperature protection switch or fuse, use the specified type of fuse. The equipment must be installed away from inflammable and explosive materials. The equipment should be projected range of 10 meters away objects and projectiles temperature less than 60 °...
-
Page 8: Installation Standards
INSTALLATION STANDARDS Must use two clamps fix the fixture, and tighten the clamps with1/4 lock, only fully clockwise rotate 90 ° then can lock the fasteners. Add one safety insurance rope on the hole of light base. pls attention not connect to the transport handle. Attention! One product only can accept one input one DMX512 cable must use the professional shielded twisted pair cable;... -
Page 9: Lamp Model And Replace
VOLTAGE, POWER, FUSE SPECIFICATION Input Voltage Total Power Frequency 110-240V 430W 50/60HZ Specification Fuse voltage Electronic current 250V 5× 20 B350 Power connection attention: Attention! The equipment must be operated by professionals; Make sure that the voltage of power supply must be comply with the voltage identified on the lamp, and must have an overload or leakage electrical protection. -
Page 10: Control Panel Operate
2.Remove four screws(picture 2),open the light body cover,take the fan bracket and pull out e 1) the connection line of the bulb.(picture 3). (picture 2 ) (picture 3) 3.Unscrew the two screws of the stainless steel plate support.(picture 4 ),open the stainless steel sheet support with one hand to the right.(picture 5). -
Page 11: Dmx Channels
9.2 CONTROL PANEL MENU OPERATE Main Menu Submenu Function SET Function description DMX address address 001-512 Channel Mode STANDARD/EXTEND/SI FEATURES ETTING MPLE Run Mode DefConfig X back NO/YES Y back NO/YES X Y OPTICAL NO/YES COUPLE MODE Lamp control OFF/ON POWER ON OFF/ON Half color... - Page 12 13-17 Red + orange 18-21 orange 22-25 Orange +blue 26-29 Blue 30-34 Blue + green 35-38 Green 39-42 Green +magenta 43-46 magenta 47-51 Magenta + yellow 52-55 yellow 56-59 yellow+ light blue 60-63 light blue 1CH Color wheel 1CH Color wheel 64-68 light blue + light green 69-72...
- Page 13 Gobo 1 8-11 Gobo 2 12-15 Gobo 3 16-19 Gobo 4 20-23 Gobo 5 24-27 Gobo 6 28-31 Gobo 7 32-35 Gobo 8 36-39 Gobo 9 40-43 Gobo 10 44-47 Gobo 11 48-51 Gobo 12 52-55 Gobo 13 56-71 Effect gobo slow -fast 72-113 Gobo clockwise fast -slow 114-117...
-
Page 14: Routine Maintenance
32-47 combination effect 3 48-63 combination effect 4 64-79 combination effect 5 80-95 combination effect 6 96-111 combination effect 7 112-127 combination effect 8 128-143 combination effect 9 144-159 combination effect 10 160-175 combination effect 11 176-191 combination effect 12 192-207 combination effect 13 208-223... -
Page 15: Simple Troubleshooting
12.Simple troubleshooting 1.The whole device reacts... 1) first check whether the power fuse is normal, 2) check whether the output of switching power supply is normal, and the normal output of switching power supply is 27V. 2.If the light bulb is not bright... 1. First, test whether the light bulb has broken down, 2) the heat dissipation of the bulb is normal, whether the vent is blocked, 3) the temperature control switch is not working properly.
Need help?
Do you have a question about the Fantastic Beam 260 and is the answer not in the manual?
Questions and answers