Table of Contents
Advertisement
Quick Links
Advertisement
Table of Contents

Related Manuals for Ikan D24


Summary of Contents for Ikan D24
-
Page 2: Table Of Contents
Contents Safety Instructions................2 Front....................3 Rear....................4 MENU Description................5 COLOR...................6 FUNCTION..................8 DISPLAY..................10 DISPLAY FUCTION..............11 AUDIO..................13 MARKER..................14 ANALOG..................15 SETTING..................16 List of Compatible Video Formats..........17 Specifications................18 Dimension..................19 CONDITIONS OF WARRANTY SERVICE........20... -
Page 3: Safety Instructions
Safety Instructions • To help avoid damaging your monitor, connect only one power (DC or battery) in operation. • Rough handling of product may cause physical damage or malfunction. • Never insert anything metallic into the monitor openings. Doing so may create the danger of electric shock. -
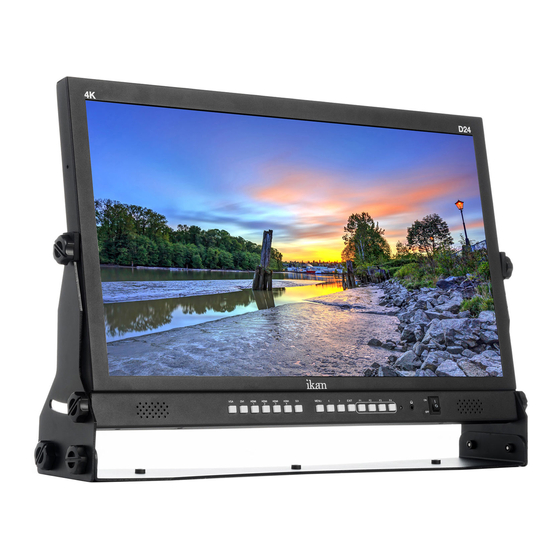
Page 4: Front
Front Input Switcher(VGA, DVI, HDMI-1(HDMI 2.0), HDMI-2, HDMI-3, HDMI-4, SDI) MENU Enter into menu and choose. Buttons for Adjustment or Choose Buttons used to adjust Volume/ Brightness/ Contrast/ Hue/ Saturation/ Sharpness/ Backlight. EXIT Exit the menu/ choose the input signal. Function Keys Short press these buttons for functions operation, and long press these buttons for function key setting(Check Field, Freeze, Mute,... -
Page 5: Rear
Rear TALLY Indicator Signal Input VGA Input HDMI 1(2.0) Input HDMI 2 Input HDMI 3 Input HDMI 4 Input DVI Input Audio L/ R Stereo Input SDI Input DC Input For DC power supply. Check the DC Input voltage. In case of using the Battery power, DC 11 ~ 27V is usable. -
Page 6: Menu Description
MENU Description General Cautions for OSD Menu or Display The menu may not be displayed even when user pressed Menu button if there's No Signal, or in unclear signal status. The menu selection may be saved for each input signal mode, so sometimes user should do menu selection again. -
Page 7: Color
COLOR Backlight Adjust the Backlight from 0 to 100. Brightness Adjust the Brightness from 0 to 100. Contrast Adjust the Brightness from 0 to 100. Color Adjust Enter to adjust the Hue and Saturation of three primary colors(Red, Green, Blue) and three auxiliary colors(Cyan, Yellow, Magenta). Adjust the Hue from 0 to 100. -
Page 8: Color Temp
Color Temp Select color temperature among User, 9300K, 7500K, 6500K, 5800K or sRGB.(Gain Menu are displayed on USER temperature only). -
Page 9: Function
FUNCTION Aspect Ratio Set the Aspect Ratio of the screen to be Full, 16:9, 4:3, 1:1, 2.39:1, 2.35:1, 1.896:1, 1.85:1. Over Scan Set the Over Scan to be on/ off. When turn on this mode, the image displays 90% of the original signal. Peaking Turns on Peaking mode. -
Page 10: Check Field
Check Field Turns on Check Field mode. The mode can be set Red, Green, Blue or Mono. -
Page 11: Display
DISPLAY Display Mode Set the Display Mode of the screen to be 1P(1 picture), 2P-LR(2 pictures on the left and the right separately), 2P-TB(2 pictures on the top and the bottom separately), PIP(picture in picture), 4P(4 pictures). Display Function Enter to set the Rotate, Ratio, Position, Transparency, Size and Input Swap of the image. - Page 12 DISPLAY FUNCTION Display Function Setting in Different Display Mode...
- Page 13 Display Mode Display Function Select Region Input Source 1P Rotate SDI, HDMI1 , (0°, 90°, 180°, 270°) HDMI2, HDMI3, HDMI4, DVI, Auto, VGA 2P-LR LR Ratio(0~4); Input Swap 2P-L,2P-R,Full 1P, 2P 2P-TB Input Swap 2P-T,2P-B,Full 1P, 2P PIP Position Main, Sub, Full 1P, 2P (LT, RT, LB ,...
-
Page 14: Audio
AUDIO Volume Set Volume of speaker between 0 to 100. Mute Turn on/ off the Mute mode. Audio Source Select the speaker output between the analog signal(A0) and the digital signal(D1). For VGA/ DVI, use the analog signal(A0). HDMI/ SDI, use the digital signal(D1). -
Page 15: Marker
MARKER Safety Area Turn on the Safety Area mode, to adjust size of the Safety Area to be 80%, 85%, 90%, 93% or 96%. Center Marker Set Preference to display center marker or not. Line Width Set the Line Width of the Safety Area and the Center Marker between 0 to 10. -
Page 16: Analog
ANALOG Auto Adjust When with VGA input, enter the Auto Adjust to set H/ V Positions and Phase auto. H Position Adjust the image position on the left/ right of the screen. V Position Adjust the image position on the top/ bottom of the screen. Clock Adjust the screen linear displayed on the screen. -
Page 17: Setting
SETTING Reset Reset all the parameters of the monitor to factory setting. Time Set the menu display time between 1 to 60s. H Position Adjust the menu H Position displayed on the screen. V Position Adjust the menu V Position displayed on the screen. Language Set the menu display language between English and Chinese. -
Page 18: List Of Compatible Video Formats
List of Compatible Video Formats Signals Input Signal Formats 480i/576i/480p/576p HDMI 720p (60/59.94/50/30/29/25/24/23.98) 1080i (60/59.94/50 ) 1080p (60/59.94/50/30/29.97/25/24/24sF/23.98/23.98sF) 480i/576i 720p (60/59.94/50/30/29/25/24/23.98) 1080i ( 60/59.94/50 ) 1080p (60/59.94/50/30/29.97/25/24/24sF/23.98/23.98sF) -
Page 19: Specifications
Specifications Panel Size 23.8″ IPS LCD Resolution 3840 (H)×2160(V) pixels Dot Pitch (mm) 0.13725(H)×0.13725(V) Brightness 310 cd/m² Contrast 1000:1 Viewing Angle 178°(L/R) /178°(U/D)° Backlight Input Voltage DC 13 ~ 18V HDMIx4(HDMI2.0 x 1; HDMI1.4 x 3) Input Signal SDI, DVI, VGA, Audio(L/R), Tally, USB Upgrade Output Signal Audio Output Headphone Jack, Speaker... -
Page 20: Dimension
Dimension D24 (W X H X D) 601.0×420.7×124.1mm (23.7 x 16.6 x 4.9 inches)
Need help?
Do you have a question about the D24 and is the answer not in the manual?
Questions and answers