
Subscribe to Our Youtube Channel
Related Manuals for DIGITAL YACHT AIT1000


Summary of Contents for DIGITAL YACHT AIT1000
- Page 1 Installation & Quick Start Guide AIT1000 Class B AIS Transponder QUICK START AIT1000 - VR1.02...
- Page 2 DIGITAL YACHT LTD 1. Introduction Congratulations on the purchase of your AIT1000 Class B AIS Transponder. It is recommended that your transponder is installed by a professional installer. Before operating the unit you should familiarise yourself with the complete user manual supplied with the ...
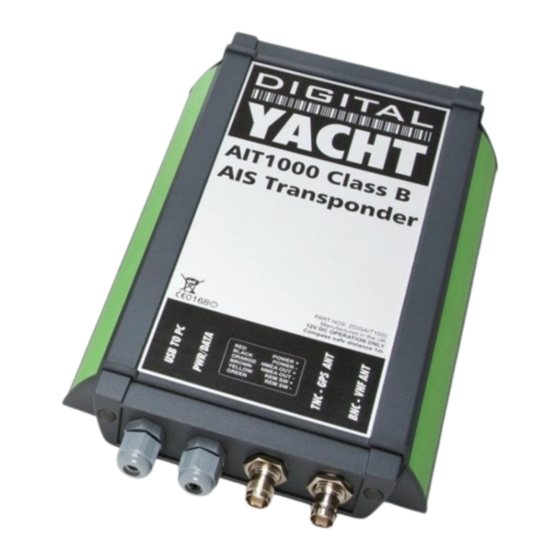
- Page 3 Installation Step 2 Access to the fixing holes is achieved by removal of the two green decal strips down each side of the AIT1000. Once fixed in place, the green decal strips can be clicked back in place. ...
- Page 4 The most common connection to a dedicated chart plotter is to take the NMEA Output (Orange+ and Brown –) from the AIT1000 Transponder and to connect it to a free NMEA Input on the plotter. You must then tell the chart plotter that AIS data is connected to this port and set the baud rate to 38,400 Baud –...
- Page 5 “AIT1000 Transponder” folder. Connect the USB data cable from the AIT1000 transponder to a free USB port on your PC – if the Windows “Found New Hardware” wizard cannot locate the drivers for the AIT1000 USB interface, direct the Wizard to search for the drivers on the supplied CD-ROM.
-
Page 6: Troubleshooting
DIGITAL YACHT LTD 7. Configuration of the AIS Class B Transponder is now complete Please refer to the proAIS user guide in the AIT1000 User Manual for more detailed usage instruction. 5. Operation Once installed and configured correct operation of the AIS transponder should be verified as follows: 1.
Need help?
Do you have a question about the AIT1000 and is the answer not in the manual?
Questions and answers