Advertisement
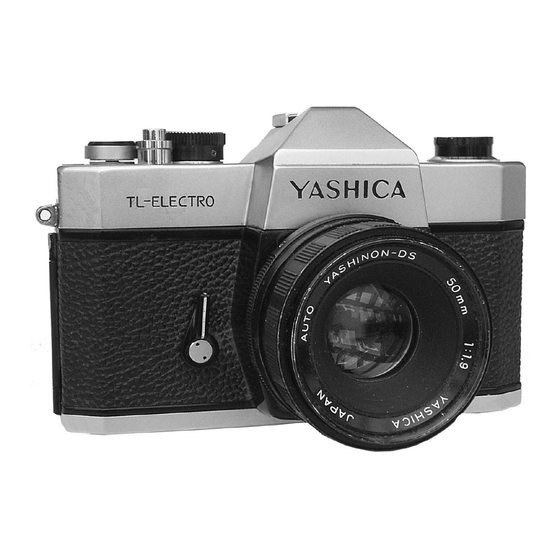
Yashica TL Electro
This camera manual library is for reference and historical purposes, all rights reserved.
This page is copyright by mike@butkus.org, M. Butkus, NJ.
This page may not be sold or distributed without the expressed permission of the producer
I have no connection with Chinon Co., Japan
On-line camera manual library
This is the full text and images from the manual.
To print, try printing only 3 or 4 pages at a time.
Back to main on-line manual page
If you find this manual useful, how about a donation of $3 to: M. Butkus, 29 Lake Ave., High Bridge, NJ
08829-1701 and send your e-mail address so I can thank you. Most other places would charge you $7.50 for a
electronic copy or $18.00 for a hard to read Xerox copy. This will allow me to continue to buy new manuals
and pay their shipping costs.
It'll make you feel better, won't it?
If you use Pay Pal, use the link below. Use the above address for a check, M.O. or cash.
(posted 3-02)
www.orphancameras.com
Advertisement
Table of Contents

Summary of Contents for Yashica TL Electro
- Page 1 Yashica TL Electro This camera manual library is for reference and historical purposes, all rights reserved. This page is copyright by mike@butkus.org, M. Butkus, NJ. This page may not be sold or distributed without the expressed permission of the producer I have no connection with Chinon Co., Japan...
-
Page 2: Installing Batteries
INSTALLING BATTERIES Warning - the original batteries are mercury 1.35 volt batteries (no longer available in U.S. The suggested replacements are 1.5V. That makes the over-voltage .3 volts since you need two. I have a report of one person's LED lights burn out after 6 shots with replacement 1.5V batteries (3 volts instead of 2.7). -
Page 3: Film Loading
FILM LOADING (a) 1. I he. back cover will pop open when the Film Rewind Knob is pulled all the way up. 2 Load the film cassette as illustrated and push the Film Rewind Knob down to its original 3. Insert the tip of the film leader into one of the slots on the Take-Up Spool. 4www.butkus.org FILM LOADING (2) 4. -
Page 4: Shutter Speed Setting
ASA SPEED SETTING Lift up the milled ring around the Shutter Speed Control Dial and turn it until the figure corresponding to the speed rating of the film loaded in the camera centers in the ASA Indicator Window. SHUTTER SPEED SETTING Turn the Shutter Speed Control Dial in either direction and align the desired speed setting with the index line. -
Page 5: Exposure Setting
EXPOSURE SETTING Look through the viewfinder and press the Activator Switch. You will notice that only the upper or lower half of the green ( O ) symbol is visible. Turn the Aperture Ring until the entire symbol appears, indicating correct exposure setting. -
Page 6: Sensitivity Range
FOCUSING 1. Turn the Focusing Ring in either direction while sighting through the Viewfinder. 2. Precise focus is secured when the image of your subject appears clear, without the multiple glitter, within the microprism focusing spot at the center of the finder field. SENSITIVITY RANGE The sensitivity range of the automatic exposure system of the TL-ELECTRO varies according to the ASA speed rating of the film in use. -
Page 7: Flash Photography
3. Fold out the rewinding crank-handle on the Film Rewind Knob and turn it in the direction of the arrow until it turns freely. 4. Pull the Film Rewind Knob all the way up to open the back cover, and take out the exposed film. FLASH PHOTOGRAPHY An use of flash equipment is recommended when shooting under subdued light conditions. - Page 8 When the Shutter Speed Control Dial is set at the "B" setting, the shutter will remain open as long as the Shutter Release Button is depressed. Mount your camera on a tripod and use a cable release when making exposure at "B"...
-
Page 9: Film Plane Indicator
· 2. Align the subject distance with the index. FILM PLANE INDICATOR In extreme close-ups where critical focusing is required, measure the distance to the subject from this film plane indicator and adjust the Distance Scale accordingly. DEPTH OF FIELD Depth of field is the extent over which all objects appear acceptably sharp.


Need help?
Do you have a question about the TL Electro and is the answer not in the manual?
Questions and answers