Table of Contents
Advertisement
Advertisement
Table of Contents

Related Manuals for ALGE-Timing D-LINE Series


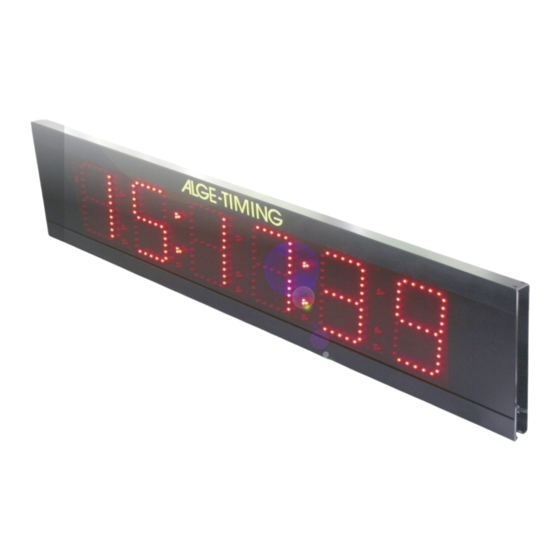
Summary of Contents for ALGE-Timing D-LINE Series
- Page 1 Version-E070920 Manual...
- Page 2 Manual D-LINE Page 2...
-
Page 3: Table Of Contents
3.3.3 Ethernet ..........................17 Comments ..........................18 [Parameter list of old Models] (Parameter list for 3-digit Models), some parameters are not available on 3-digit models! ALGE-TIMING GmbH & Co Copyright by: Rotkreuzstrasse 39 A-6890 Lustenau Telefon: +43 5577-85966 Fax: +43 5577-85966-4 e-Mail: office@alge-timing.com... -
Page 4: Operation
Manual D-LINE 1 Operation Change the Displaymode You can change the Displaymode with the internal button or with the PC-Software and the cable 145-05. To change the parameters with the internal button you have to press the button as long as the first parameter appears on the display. -
Page 5: Set The Year Of The Date [P5]
Manual D-LINE 1.3.6 Set the year of the date [P5] This parameter is to adjust the year of the date. 1.3.7 Display time for daytime [P6] Display time to show the daytime. To switch off the daytime on the display, set the value to 00. 1.3.8 Display time for date [P7] Display time to show the date. - Page 6 Manual D-LINE 1.3.12.2 Time and Temperature Setting The second digit of the Area-Setting is used for the display mode of the time and temperature. 12h, 24h, Celsius or Fahrenheit. 1.3.12.2.1 Celsius and 24h [x0] Time in 24h mode and temperature in Celsius. 1.3.12.2.2 Celsius and 24h [x0] Time in 24h mode and temperature in Celsius, but on 6 Digit D-Line time is centered and...
-
Page 7: Brightness [A0] (B)
Manual D-LINE 1.3.13 Brightness [A0] (b) This Parameter is for the brightness settings and effects. The first digit in the setting is for the appearance, the second for the brightness. 1.3.13.1 First digit of setting The first digit is defining the type of changing between time and temperature. Fade-in will changeover with brightness effect from time to temperature. -
Page 8: Serial Interface Setting [A1], (S)
Manual D-LINE 1.3.14 Serial interface setting [A1], (S) This setting is for the Interface-Parameters. The first digit in the setting is for the display mode, the second for the Interface-Speed. 1.3.14.1 Diplaymode and special functions Here you can adjust the different display modes and special functions for your displayboard. 1.3.14.1.1 hh:mm:ss [0x] (1sec) h:mm:ss.z (1/10sec) -
Page 9: Time-Out For Daytime [A2]
Manual D-LINE 1.3.14.2 Transfer speed The second digit of the setting is responsible for the transfer speed of the serial interface. 1.3.14.2.1 2400,N,8,1 ALGE-Standard [x0] 1.3.14.2.2 4800,N,8,1 ALGE [x1] 1.3.14.2.3 9600,N8,1 ALGE [x2] 1.3.14.2.4 19200,N,8,1 ALGE [x3] 1.3.14.2.5 Special mode 1.3.14.2.6 Old devices like the S3, Selftimer SF2 [x4] 1.3.15... -
Page 10: Extended Datamode
Manual D-LINE Extended Datamode In this mode you can assign each digit one byte out of the datastring. It is for example possible to program it so that you can see on one 6-digit scoreboard the BIB on the first 2 digits and the time in m:ss on the last 3 digits. In some sports like equestrian (with the Timer S4) you have to program the display for the points in this mode. -
Page 11: Tdc8001, Points Showjumping
Manual D-LINE 1.4.2 TdC8001, Points Showjumping Configuration of a 6-digit display in order to show the points, sent by a TdC8001 (equestrian) in the middle of the display. The parameters should be adjusted like this: Extended protocol, 2400bps [A1-40] (S-E2) Device adress 00 [A3 00] (A-00) First digit is always inactive [A5-00] Dot or double-dot after first digit is always inactive [A6-00]... -
Page 12: Special Functions
Manual D-LINE 2 Special Functions You can use the D-LINE scoreboards also as stand-alone Stopwatch, Countdown clock or Counter. Stopwatch, Countdown and Counter To use one of these modes, you need to connect a manual button 023-xx at the green and red bananaplug of the D-LINE scoreboard. -
Page 13: Technical Data
Manual D-LINE 2.1.2.2 Adjusting the Counter After you have reached the Count-down mode by pressing the manual button for approximately 10 seconds, the first digit is now blinking! Whenever you press and release the button, it will increase the Count-down on this position. After you have reached the correct value for this position, press the button as long as the blinking position is moving to the next digit. -
Page 14: Connections
Manual D-LINE Connections Internal button to change the display mode Amphenol-Socket: +10 to 12 Volt Ground Data Out Data In, Connection for manual button, Stopwatch, Countdown,. Data In and Ground 100-240V, 50-60Hz 1.0A Fuse Page 14... -
Page 15: Interface Format
Paritybit 3.3.1.2 Protocol describtion On the following page the protocols are indicated, which can be sent of the ALGE-TIMING devices to the display boards. Identifier for interconnected display board A to J (A = board 1, B = board 2, C = board 3,..., J = board 10) - Page 16 Manual D-LINE Page 16...
-
Page 17: Rs485
Manual D-LINE 3.3.2 RS485 This interface is optional available with customized protocols. 3.3.3 Ethernet This interface is optional available with customized UTP-Protocol. Page 17... -
Page 18: Comments
Manual D-LINE 4 Comments Page 18... - Page 19 Manual D-LINE Page 19...
- Page 20 Manual D-LINE Page 20...
Need help?
Do you have a question about the D-LINE Series and is the answer not in the manual?
Questions and answers