Sign In
Upload
Download
Table of Contents
Contents
Add to my manuals
Delete from my manuals
Share
URL of this page:
HTML Link:
Bookmark this page
Add
Manual will be automatically added to "My Manuals"
Print this page
×
Bookmark added
×
Added to my manuals
Manuals
Brands
Suzuki Manuals
Engine
DF9.9A
Owner's manual
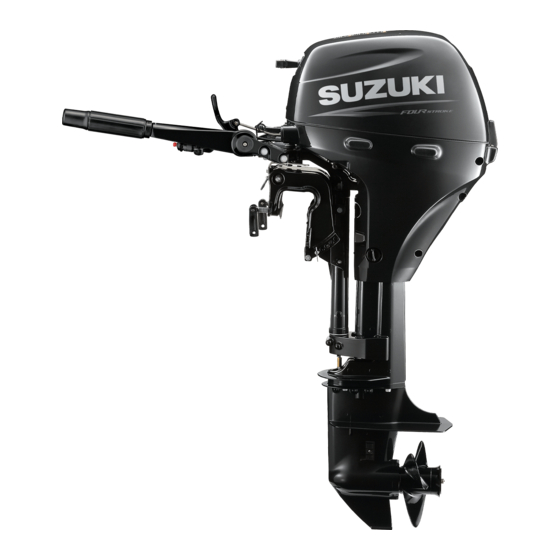
Suzuki DF9.9A Owner's Manual
Hide thumbs
1
2
3
Table Of Contents
4
5
6
7
8
9
10
11
12
13
14
15
16
17
18
19
20
21
22
23
24
25
26
27
28
29
30
31
32
33
34
35
36
37
38
39
40
41
42
43
44
45
46
47
48
49
50
51
52
53
54
55
56
57
58
59
60
61
page
of
61
Go
/
61
Contents
Table of Contents
Troubleshooting
Bookmarks
Table of Contents
Table of Contents
Identification Number Location
Fuel and Oil
Location of Safety Labels
Location of Parts
Motor Mounting
Battery Installation
Use of Electrical Accessories
Propeller Selection and Installation
Adjustment
Caution System
Operation of Tilting Systems
Inspection before Boating
Break-In
Operation
Motor Removal and Transporting
Trailering
Inspection and Maintenance
Flushing the Water Passages
Submerged Motor
Storage Procedure
After Storage
Troubleshooting
Specifications
Information Regarding Ec - Directive
Wiring Diagram
Advertisement
Quick Links
1
Table of Contents
2
Fuel and Oil
3
Location of Parts
4
Caution System
5
Operation
6
Inspection and Maintenance
7
Troubleshooting
8
Specifications
Download this manual
DF8A
DF9.9A
OWNER'S MANUAL
EN
__
__
__
__
__
__
__
__
__
__
__
__
ENGLISH
1
Table of
Contents
Previous
Page
Next
Page
1
2
3
4
5
Advertisement
Table of Contents
Need help?
Do you have a question about the DF9.9A and is the answer not in the manual?
Ask a question
Questions and answers
Related Manuals for Suzuki DF9.9A
Engine Suzuki DF70A Owner's Manual
(132 pages)
Engine Suzuki DF80 Product Information
(8 pages)
Engine Suzuki DF100 Owner's Manual
(125 pages)
Engine Suzuki DF200 Owner's Manual
(128 pages)
Engine Suzuki DF25 Owner's Manual
V-twin (140 pages)
Engine Suzuki DF2.5 General Information Manual
(18 pages)
Engine Suzuki df2.5 Owner's Manual
(46 pages)
Engine Suzuki DF250 2006 Rigging Manual
(45 pages)
Engine Suzuki DF25 2006 Rigging Manual
(45 pages)
Engine Suzuki DF150 Owner's Manual
(61 pages)
Engine Suzuki DF250S Owner's Manual
(53 pages)
Engine Suzuki DF250AP Owner's Manual
(162 pages)
Engine Suzuki DF15A Owner's Manual
(129 pages)
Engine Suzuki DF350A Owner's Manual
(232 pages)
Engine Suzuki DF350A Service Manual
(27 pages)
Engine Suzuki DF25A Owner's Manual
(70 pages)
This manual is also suitable for:
Df8a
Table of Contents
Save PDF
Print
Rename the bookmark
Delete bookmark?
Delete from my manuals?
Login
Sign In
OR
Sign in with Facebook
Sign in with Google
Upload manual
Upload from disk
Upload from URL


Need help?
Do you have a question about the DF9.9A and is the answer not in the manual?
Questions and answers