Table of Contents
Advertisement
Quick Links
Preparation:
Tools For Installation
- Pencil
- Wire Cutter
- Drill
- Phillips Screwdriver
- Tape Measure
- Utility Knife
Considerations
- Where is the best place to install the speakers?
- Where do the speakers sound the best?
- Separate the speakers 6 - 10 feet apart.
Installation:
Cut Out
NOTE: This is the most important part of the entire installation.
If you are not certain whether any obstructions exist behind the
desired mounting area, you should start by cutting a small hole in
the center of your penciled mounting hole with a drywall saw.
Trace along the included template. Cut along the traced line using a
drywall saw or rotary drill. Use a piece of sandpaper to sand down the
cut out edge for a smoother contour. (See Diagram 1.)
Mounting
Tighten the mounting brackets by simply turning the screws on
the front of the speaker baffle slowly clockwise. The quick-turn
mounting system and frame will "sandwich" or clamp around the
dry-wall to hold the speaker securely in place once fully tightened
to the locked position.
(See Diagram 2.)
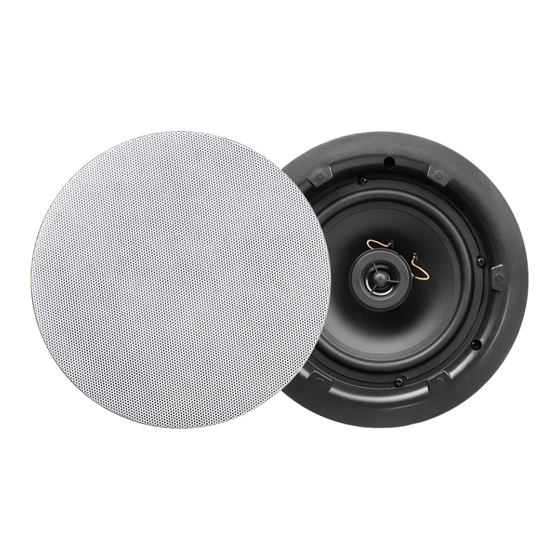
ACE600ST INSTALL GUIDE
Speaker Wire Guide
- Safety Eye Wear
18AWG minimum - for distances up to ...................... 10 ft
- Gloves
16AWG - from ............................................... 10 to 50 ft
- Sandpaper
14AWG - from ............................................. 50 to 100 ft
Diagram 1
Locked Position
Diagram 2
- IN +
Open Position
Advertisement
Table of Contents

Related Manuals for OSD Audio ACE600ST


Summary of Contents for OSD Audio ACE600ST
- Page 1 ACE600ST INSTALL GUIDE Preparation: Tools For Installation Speaker Wire Guide - Pencil - Wire Cutter - Safety Eye Wear 18AWG minimum - for distances up to …………………. 10 ft - Drill - Phillips Screwdriver - Gloves 16AWG - from …………………………………..…... 10 to 50 ft...
- Page 2 During the warranty period OSD Audio will replace any defective part and correct any defect in workmanship without charge for either parts or labor OSD Audio may replace returned speakers with a product of equal value and performance.
Need help?
Do you have a question about the ACE600ST and is the answer not in the manual?
Questions and answers