
Related Manuals for Bissell POWERLIFTER 1793 Series


Summary of Contents for Bissell POWERLIFTER 1793 Series
- Page 1 POWERLIFTER Vacuum ___________ USER GUIDE 1793 SERIES More of a video person? Look for this icon and go online for an instructional how-to video at www.BISSELL.ca...
-
Page 2: Safety Instructions
This plug will fit in a polarized outlet only one way. If the plug does not fit fully in the outlet, reverse the plug. If it still does not fit, contact a qualified electrician to install a proper outlet. Do not change the plug in any way. www.BISSELL.ca... -
Page 3: Table Of Contents
Thanks for buying a BISSELL vacuum! We love to clean and we’re excited to share one of our innovative products with you. We want to make sure your vacuum works as well in five years as it does today, so this guide has tips on using (page 6), maintaining (pages 7-9), and if there is a problem, troubleshooting (page 10). -
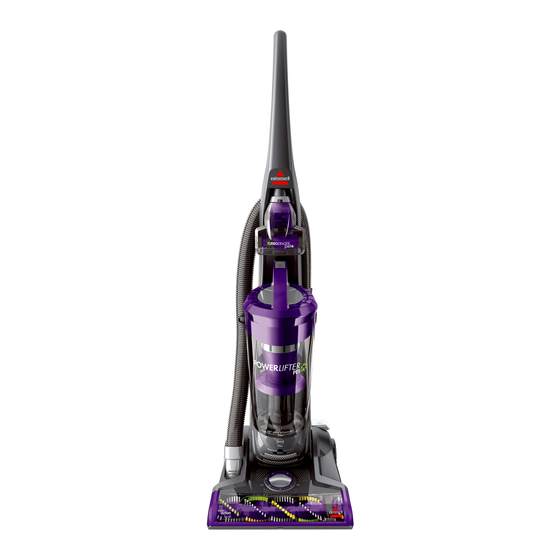
Page 4: Product View
(located under dirt tank) 7. Post Motor Filter Door Access 8. Height Adjustment Knob 9. Triple Action™ Brush Roll 10.Stretch Hose 11. Power Cord 12. Crevice Tool 13. Extension Wand 14. Hose Clip 15. Power Switch Pedal 16. Handle Recline Pedal www.BISSELL.ca... -
Page 5: Assembly
Install Pet TurboEraser To switch your filter, Tool in front of remove the dirt vacuum by inserting tank by pushing the end upward into release button on handle until “clicks”. the tank handle and lifting away. www.BISSELL.ca... -
Page 6: Operations
Insert the desired tool firmly into the hose end. Crevice Tool Use in narrow spaces or along baseboards and edges. Extension Wand Attach with desired tool for longer reach. www.BISSELL.ca... -
Page 7: Maintenance & Care
(being careful not to rip filter layers) and shake out and lift to remove from unit. excess debris. WARNING To reduce the risk of electrical shock, turn power switch o and disconnect polarized plug from electrical outlet before performing maintenance or troubleshooting checks. www.BISSELL.ca... - Page 8 Slip off passageway areas. up. Remove 6 screws with a the belt. Phillips head screwdriver. Lift brush cover off of the vacuum. NOTE: For ease of screw removal and replacement, use a magnetic Phillips screwdriver. www.BISSELL.ca...
- Page 9 Do not use sharp objects. NOTE: If clog persists, follow the floor brush roll maintenance Remove dirt tank and check steps on page 8 and inspect air suction inlet located on body passageways for obstructions. of vacuum for debris. www.BISSELL.ca...
-
Page 10: Troubleshooting
Dirt container full Empty dirt container Visible dirt escaping Filters missing or installed Check pre-motor and post-motor from cleaner incorrectly filters for correct installation Vacuum Incorrect height adjustment Adjust powerfoot to correct height cleaner setting difficult to push www.BISSELL.ca... -
Page 11: Warranty
Service If your BISSELL product should require service: Contact BISSELL Consumer Care to locate a BISSELL Authorized Service Center in your area. If you need information about repairs or replacement parts, or if you have questions about your warranty, contact BISSELL Consumer Care. -
Page 12: Product Registration
For Parts and Supplies, go to BISSELL.ca and know what you think! enter your model number in the search fi eld. For cleaning tips and more visit www.BISSELL.ca or fi nd us at: BISSELL BISSELLClean BISSELLClean BISSELL BISSELL ©2016 BISSELL Homecare, Inc.
Need help?
Do you have a question about the POWERLIFTER 1793 Series and is the answer not in the manual?
Questions and answers