Table of Contents
Advertisement
Quick Links
UNIFIED HYBRID STORAGE
NEXSAN
UNITY2000 Capacity-Optimized
Expansion Unit Quick Start Guide
This document helps you quickly get your Nexsan UNITY2000 expansion unit unpacked, mounted, and
connected.
Taking Delivery
Check to ensure no damage has been sustained to the packaging in transit. If any of the UNITY storage
components appear damaged, please contact your reseller immediately.
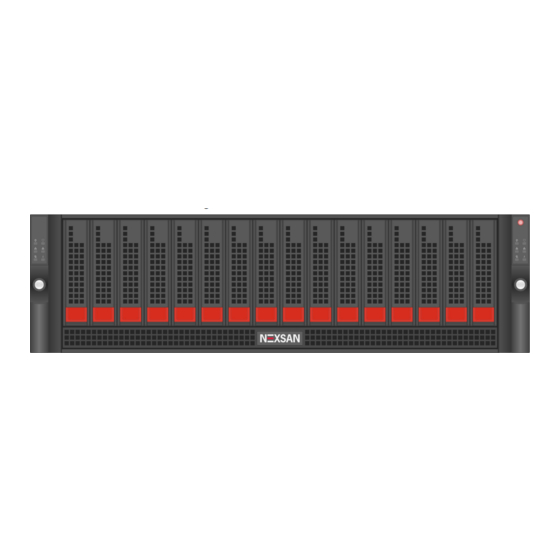
UNITY2000 Expansion Unit Hardware Overview
The main components of the UNITY2000 expansion unit are shown in these diagrams.
Front View
Rear View
Prepare for Installation
Carefully read safety notices on
A
Ensure ahead of time that you have a suitable
B
rack; see
Rack and Enclosure Specifications
on
page
4.
Ensure that you have a Phillips screwdriver.
C
Arrange for someone to assist you during
D
installation.
CAUTION:
Acclimate new disk drives to
room temperature for two hours before you
install them.
Unpack the UNITY2000
Expansion Unit
Remove all the components from packaging.
A
Position hands under the chassis to pull it free
from the foam insert. Do NOT lift out the
UNITY2000 chassis from its packaging using the
controller handles or attached rails.
Place the components on an anti-static surface
B
until you are ready to use them.
UNITY2000 Expansion Unit Package
Contents
page
4.
1
Firmware Version: UNITY 1.0
One UNITY2000 enclosure (with front bezel)
Rack-mounting hardware:
2 outer-rack rail assemblies (inner-chassis rails
are already installed)
4 mounting screws with 4 washers to attach
outer-rack rails to the rack
(1 on the front and 1 on the back for both the
left and right rail assemblies)
16 drives: 14 disk drives, 1 FASTier write cache
SSD, and 1 FASTier read cache SSD
Two SAS cables (HD Mini SAS to Mini SAS)
Two power cords
1 electrostatic discharge (ESD) wrist strap
Advertisement
Table of Contents

Related Manuals for Nexsan UNITY2000


Summary of Contents for Nexsan UNITY2000
-
Page 1: Expansion Unit
UNITY2000 Capacity-Optimized Expansion Unit Quick Start Guide Firmware Version: UNITY 1.0 This document helps you quickly get your Nexsan UNITY2000 expansion unit unpacked, mounted, and connected. Taking Delivery Check to ensure no damage has been sustained to the packaging in transit. If any of the UNITY storage components appear damaged, please contact your reseller immediately. - Page 2 Step 3: Install the UNITY2000 on the rack Install the UNITY2000 expansion unit Lift the UNITY2000 chassis from each side—not from the front and back. Line up the inner-chassis rails with the front of the CAUTION: Physical installation requires outer-rack rails.
- Page 3 On each controller, connect the SAS cable from the RIGHT SAS port on the UNITY2000 to the LEFT SAS port on the UNITY2000 expansion unit. Make sure to push on until the cables snap into place. Step 2: Reattach the front bezel ...
-
Page 4: Safety Notices
Copyright © 2010-2016 Nexsan Corporation. All Rights Reserved. Nexsan®, E-Centre™, UNITY4000™, UNITY6000™, UNITY6000MC™, UNITY224X™, E18™, E48™, E60™, FASTier™, and the Nexsan logo are trademarks or registered trademarks of Nexsan Corporation. All other trademarks and registered trademarks are the property of their respective owners.
Need help?
Do you have a question about the UNITY2000 and is the answer not in the manual?
Questions and answers