Advertisement
Quick Installation Guide
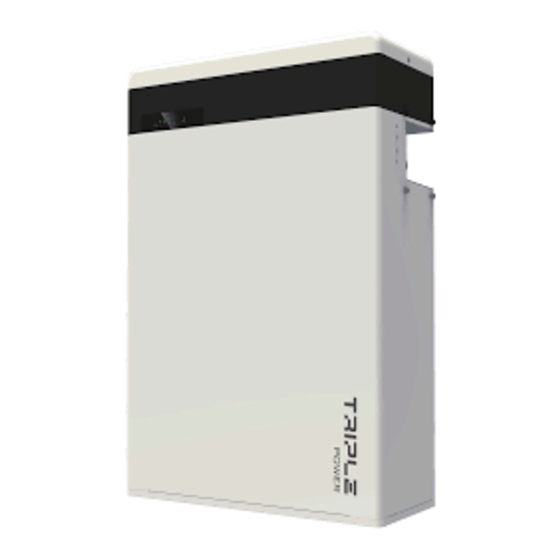
—— Triple Power Lithium-ion Battery
Packing List (T-BAT H 5.8)
I
Note: The quick installation guide describes installation steps briefly. If you have any questions during
the installation, please refer to the USER MANUAL which is enclosed to T-BAT H 5.8 for more information.
T-BAT H 5.8*1
Power line (+)*1
Series-connected plug*1
Cover plate1*2 M4 screw*8
Ring terminal*2
Expansion bolt*5
Power cable disassembleing tool*1
Packing List (HV11550)
II
HV11550*1
RS485 cable*1
Cover plate1*2 M4 screw*8
Wall bracket*1 M5 screw*1
CAN cable (+)*1
Power line (-)*1
Wall bracket*1 M5 screw*1
Cover plate2*2
User Manual*1
Quick installation guide*1
Power cable*1
Power cable'*1
Cover plate2*2
Quick Installation Guide
—— Triple Power Lithum-ion Battery
Expansion bolt*5
Ring terminal*2
Quick installation guide*1
III
Make sure that the installation location meets the following conditions:
The building is designed to withstand earthquakes
Ÿ
The location is far away from the sea, to avoid salt water and humidity
Ÿ
The floor is flat and level
Ÿ
There are no flammable or explosive materials nearby
Ÿ
THE AMBIENCE IS SHADY AND COOL, KEEP AWAY FROM HEAT AND AVOID DIRECT SUNLIGHT.
Ÿ
The temperature and humidity stays at a constant level.
Ÿ
There is minimal dust and dirt in the area.
Ÿ
There is no corrosive gases present, including ammonia and acid vapor.
Ÿ
The ambient temperature is within the range from 0°C to 55°C, and the optimal ambient temperature is between
Ÿ
15℃ and 35°C.
NOTE!
The Triple Power battery module is rated at IP55 and thus can be installed outdoors as well as indoors.
However, if installed outdoors, do not allow the battery pack to be exposed to direct sunlight and moisture.
NOTE!
If the ambient temperature is outside the operating range, the battery pack stops operating to protect itself.
The optimal temperature range for the battery pack to operate is 15°C to 35°C. Frequent exposure to harsh
temperatures may deteriorate the performance and lifetime of the battery module.
IV
Note: 1. For T-BAT H 5.8 + 1~3 battery packs, please finish the battery installation before connecting cables!
2. Please make sure that the Inverter is off when connecting cables!
- Mark the position of the holes.
Bracket(377*140*69mm)
(for wall mounting)
- Screw the expansion bolts.
Quick Installation Guide
—— Triple Power Lithum-ion Battery
NOTE: 1. The distance between the bottom of battery pack and floor shall not exceed 300mm.
2. It is recommended that the space between battery packs is more than 300mm.
V
Installation Prerequisites
Battery Installation
- Drill holes with driller.
- Depth: at least 50mm.
380<height<650mm
- Match the battery with the bracket.
30<height<300 mm
Overview of Installation
DANGER!
One T-BAT system is allowed to install at most four battery packs.
Connecting more than four battery packs will blow the fuse, and the
battery pack will be damaged. Please make sure the number of battery
packs meets the requirement.
- Install the expansion bolts.
- Lock the joint between hanging
board and wall bracket with M5
screw.
Advertisement
Table of Contents

Related Manuals for Solax Triple Power T-BAT H 5.8

Summary of Contents for Solax Triple Power T-BAT H 5.8
- Page 1 Installation Prerequisites Make sure that the installation location meets the following conditions: The building is designed to withstand earthquakes Ÿ The location is far away from the sea, to avoid salt water and humidity Ÿ The floor is flat and level Ÿ...
- Page 2 Overall Installation Communication Cable Connection For T-BAT H 5.8: 1. Connect the cables. 1. Insert one end of the CAN communication cable which has no cable nut directly to the BMS port of the Inverter. 2. Get the cables through the corrugated pipe. 2.
Need help?
Do you have a question about the Triple Power T-BAT H 5.8 and is the answer not in the manual?
Questions and answers
Peut on branché deux batteries triple power en série de 5Kw?