Table of Contents
Advertisement
Quick Links
Advertisement
Table of Contents

Related Manuals for omnicharge Omni 20+


Summary of Contents for omnicharge Omni 20+
- Page 1 Omni 20+ Quick Start Guide 120V AC / 150V HVDC www.omnicharge.co...
- Page 2 POWER YOUR NEXT ADVENTURE For more information visit our support page at www.omnicharge.co/support...
-
Page 3: Before Using
............................................. It's easy to do. Follow these steps: 1. Fully discharge Omnicharge until the screen turns off. Press the Power Button and you should see an empty battery icon on the screen.............................................. -
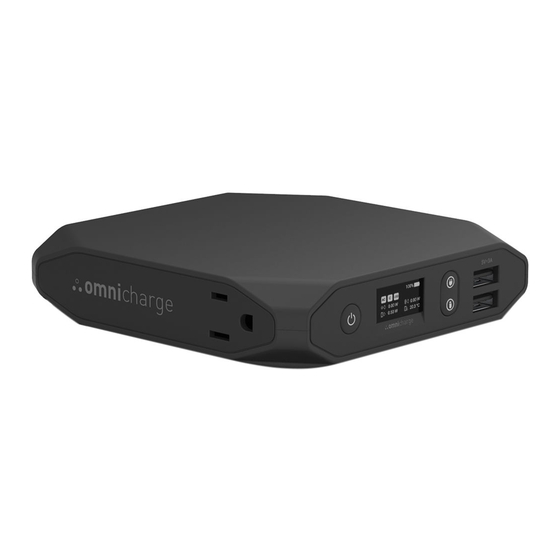
Page 4: Ports And Buttons
PORTS AND BUTTONS Note: For optimal wireless charging, place phone horizontally towards the back of the Omnicharge.............................................. 5. Quick Charge USB (QC 3.0 Compatible) 1. AC Outlet 6. 5V/3A USB-A Port 2. Power and Menu Button 7. DC Input/Output (5.5 x 2.1mm Barrel Port) 3. -
Page 5: Button Functions
BUTTON FUNCTIONS PRIMARY CONTROLS • Long press to power on • On/Off AC Outlet • Long press to power off • On/Off USB Ports ............................................. MENU CONTROLS • Double press to enter the menu • Move Up • Quick press to select •... -
Page 6: Screen Icons
..........................................LOW POWER PROTECTION (ONLY DURING PASS-THROUGH) Occurs when outgoing power is higher than incoming power and battery is empty. Omnicharge will cut off the outgoing power until a sufficient battery level has been reached.............................................. OVERPOWER PROTECTION Device is drawing too much power. - Page 7 Choose whether the AC outlet will output 120V AC or 150V HVDC 3. USB Choose whether your USB-A ports are on or off when you turn on your Omnicharge. The default setting is on. 4. SCREEN OFF TIMER Set the screen auto shut-off time here. The default setting is 5 min.
- Page 8 5. AUTO SHUT DOWN Set the power auto shut-off time here. The default setting is 5 min. 6. TEMPERATURE Choose whether your temperature is displayed in celcius or fahrenheit 7. BUTTON LIGHT Choose whether the button lights are on or off. The default setting is on. 8.
- Page 9 SCREEN OFF Note: Only choose 150V HVDC if you are using a switch mode power supply, such as a laptop’s AC power adapter. Check our support page at www.omnicharge.co for more detailed information.............................................. 2. When AC/HVDC is active, the following icons should appear on the screen...
- Page 10 Incorrect setting may harm your device. SCREEN OFF 12.0V = 2.0A Omnicharge keeps 4 voltage presets. You can press and hold the power button while selecting a preset to customize the voltage and amperage.............................................. Once active, the DC icon will appear.
- Page 11 Plug in a USB-C wall charger and it will start recharging the Omni 20+. Note: If the Omnicharge does not detect incoming power, try to plug in your USB-C charger while the Omnicharge is turned off. Once charging has started, you can power on the...
- Page 12 DC Input 4.5V-36V, Up to 3A (2W - 45W) Charging your Omnicharge` Use the included USB charging cable to recharge your Omnicharge. A fast charger is included on certain models and can also be purchased separately. Note: Make sure the output voltage of your adapter falls within 4.5V - 36V range.
-
Page 14: Customer Support
CUSTOMER SUPPORT All Omnicharge products have gone through quality inspection. If you find your Omnicharge or any Omnicharge accessory is experiencing or demonstrating any abnormal behavior, immediately stop all product use and contact us at support@omnicharge.co....................................................FOLLOW US https://www.facebook.com/omnicharge https://www.instagram.com/omnicharge...
Need help?
Do you have a question about the Omni 20+ and is the answer not in the manual?
Questions and answers