Table of Contents
Advertisement
Quick Links
Advertisement
Table of Contents
Troubleshooting

Subscribe to Our Youtube Channel
Related Manuals for Geo Knight Digital Knight DK3


Summary of Contents for Geo Knight Digital Knight DK3
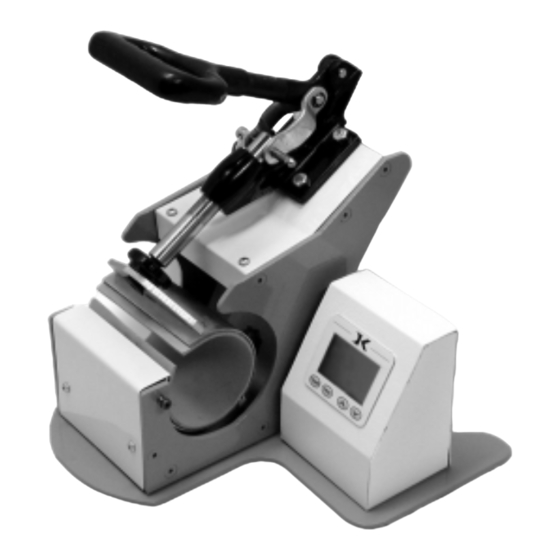
- Page 1 Digital Knight Digital Mug Press...
-
Page 2: Table Of Contents
Table of Contents Table of Contents........2 Introduction ..........3 Setup & Suggestions ........4 Basic Use ............ 4 Setting Time ..........4 Setting Temperature ........5 Setting Pressure .......... 6 Important Pressure Notes......6 Standard Settings ........7 Programmable Presets ........ 7 User Options Menu ........ -
Page 3: Introduction
Introduction Congratulations on your purchase of the DK3 Digital Mug Press! This heat press machine has many exciting features, all of which are meant to help make your heat transfer pressing endeavors as successful and easy as possible. Please take the time now to thoroughly read through this manual to become acquainted with them. -
Page 4: Setup & Suggestions
Setup & Suggestions • Locate the press on a firm, sturdy work surface. • The height of the bench/work space the press is located on would be ideally 27” to 32” high. • Attach the power cord to the rear of the controller. •... -
Page 5: Setting Temperature
Setting Temperature In the default operating mode of the controller, the displayed temperature is the Current temperature. This is the actual temperature of the heater band surface. Please note that on the DK3 the operating range of the controller is from 150°F to 400°F (65°C to 204°C). During the first heat up cycle of the press, the controller will display 150°F (65°C) until the heat platen temperature rises above that temperature. -
Page 6: Setting Pressure
Setting Pressure The DK3 is fully adjustable to accommodate various size mugs. • To decrease the pressure, allowing for larger diameter mugs, or to make the tension lighter, turn the pressure knob to the right, clockwise. • The heater band will rise away from the front of the press. -
Page 7: Standard Settings
Standard Settings The DK3 comes preset at 400°F for 3.5 minutes. These settings should do well for most sublimation style transfers. If the results are not acceptable, or you are using laser transfer papers or other type of transfer media, contact your transfer ink or paper supplier for recommended guidelines. -
Page 8: User Options Menu
User Options Menu The user options menu is a set of features and calibration options that are programmable and adjustable by the user. It consists of a set of menu items that can be scrolled through. Each menu item is a feature whose values can be viewed and /or changed. -
Page 9: Height Gauge - High Point
Height Gauge - High Point This feature is not applicable on this press. Press PRG to skip this menu item. Height Gauge - Low Point This feature is not applicable on this press. Press PRG to skip this menu item. Pressure / Height Gauge Sensitivity This feature is not applicable on this press. -
Page 10: Beep
Beep Normally, all buttons on the keypad beep when pressed. This can be turned off, so all button keypresses are silent. Use the arrow keys to turn this feature On or Off. Alarms There are 10 different alarms available to choose from. These alarms are sounded at the end of the timing cycle, as well as if the Drop Sense feature is enabled. -
Page 11: Maintenance
Maintenance The majority of the press has been designed to be as maintenance free as possible. There are only a few aspects of the machine that should be monitored to insure proper operation. • The clamp/linkage assembly is the greatest area of wear and friction on the press. -
Page 12: Troubleshooting (Cont.)
Troubleshooting (cont.) Q. I press the keys on the keypad, and there is no sound or response from the controller. A. Check the connection of the keypad to the controller. This is inside the top panel. Unplug the power cord. Remove the two screws in between the clamp/linkage that hold down the top panel, and carefully lift the panel up and look inside at the digital controller. -
Page 13: Limited Warranty
“as is”. Geo Knight & Co does not warrant that the functions of the press will meet the buyers requirements or expectations. The entire risk as to use, quality and performance of the press lies with the buyer.
Need help?
Do you have a question about the Digital Knight DK3 and is the answer not in the manual?
Questions and answers