Table of Contents
Advertisement
Quick Links
P a g e
| 1
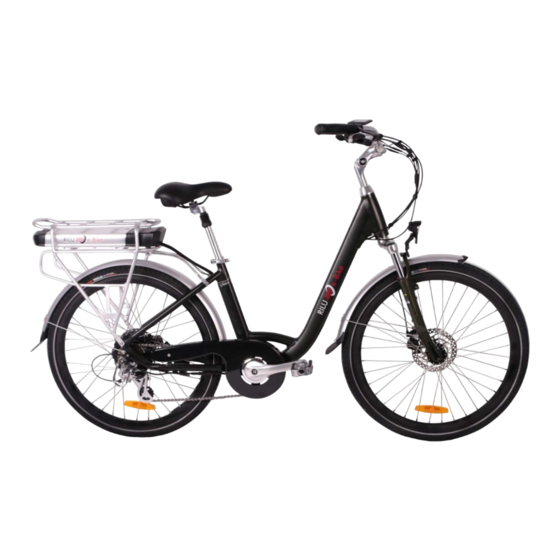
USER MANUAL
E-Glider 7D
1800 MY RILU
Unit 2 - #2 Caulson Close
Maribyrnong 3032
Melbourne, Victoria
Australia
1800
MY RILU
info@rilu-e-bike.com.au
Rev.09082019.E7D-UM
www.rilu-e-bike.com.au
P a g e
| 2
Introduction
Product Description
Riding Range
Weight
Product Summary
General Usage Summary
Turning E-Glider 7D (ON & OFF)
LCD will not power on?
Default Motor Assistance Level
Turn "ON" LCD Backlight & Bike Lights
PAS Level Settings
Easy Start
Display - Error Codes
Adjusting Stem
Adjusting - Gear Quick Adjustment
Gearing Adjustment - Uneven Shifting / Slipping
Gear Alignment – Gear #7
Gear Alignment – Gear #1
1800 MY RILU
Page
Page
Page
Page
Page
Display
Page
Page
Page
Page
Page
Page
Page
Stem
Page
Gearing
Page
Page
Page
Page
www.rilu-e-bike.com.au
4
5
5
6
7
8
8
9
9
9
10
11
12
13
14
15
16
Advertisement
Table of Contents

Related Manuals for Rilu E-Glider 7D


Summary of Contents for Rilu E-Glider 7D
- Page 1 Page Weight Page Product Summary Page General Usage Summary Page Display Turning E-Glider 7D (ON & OFF) Page LCD will not power on? Page Default Motor Assistance Level Page Turn “ON” LCD Backlight & Bike Lights Page PAS Level Settings...
-
Page 2: Product Description
LCD / 5 Modes (Motor Power ) Warranty Coverage Page Battery: 36 V / 13AH (Lithium Ion LG ) Warranty Certificate Page Charger: 36V / 2A (Smart charger) Lights: Front & Rear (Front eBike battery power) 1800 MY RILU www.rilu-e-bike.com.au 1800 MY RILU www.rilu-e-bike.com.au... -
Page 3: Product Summary
P a g e Riding Range & Charge Time Product Summary Range depending on: Congratulation on your purchase of a RILU E-Glider 7D low Rider, terrain, weather & Assist level. step electric bicycle. 40Km – 100km Your new electric bicycle has two different ways of activating motor power. -
Page 4: Turning E-Glider 7D (On & Off)
P a g e General Usage Summary Turning E-Glider 7D (ON & OFF) RILU recommends you first ride the bike without using any electrical assistance to familiarize yourself with the mechanical gearing and breaking system of your E-Glider Hold “ M ”... -
Page 5: Easy Start
P a g e | 10 Default Motor Assistance Level Easy Start Ensure ‘PAS 0’ is selected when moving/pushing your E-Glider 7D to avoid any sudden unexpected movement. Turn “ON” LCD Backlight & Bike Lights Easy Start 6Km/h Hold “ + ”... -
Page 6: Display - Error Codes
Hold “ + & - ” Press “ + ” When adjusting height Changes “ tC – ” RAISE BELL check you DO NOT EXCEED the line marked Hold “ M ” ||||||||| Save & Exit 1800 MY RILU www.rilu-e-bike.com.au 1800 MY RILU www.rilu-e-bike.com.au... -
Page 7: Adjusting - Gear Quick Adjustment
Gearing Adjustment - Uneven Shifting / Slipping If you experience uneven shifts or slippage in the lower gears, where RILU advises using a bike service stand when performing gearing and the chain jumps from gear #2 to gear #3 unintentionally. Try to adjust breaking adjustments. -
Page 8: Gearing
P a g e | 15 P a g e | 16 Gearing Adjustment – Gear #7 Pulley Alignment Gearing Adjustment – Gear #1 Pulley Alignment 1800 MY RILU www.rilu-e-bike.com.au 1800 MY RILU www.rilu-e-bike.com.au... -
Page 9: Battery - Safety Notes
P a g e | 18 Motor - Change Tire Notes Battery – Safety Notes Unplug Motor Cable 18mm Spanner Battery – Locking Disc Brake Side Gearing Side Motor – Service Notes 1800 MY RILU www.rilu-e-bike.com.au 1800 MY RILU www.rilu-e-bike.com.au... -
Page 10: Battery Storage
For long term storage ( > 1 Month ), ensure the Battery Power Switch is set OFF, the (O) position Contact your dealer for support if you experience the above issue (battery not receiving charge) 1800 MY RILU www.rilu-e-bike.com.au 1800 MY RILU www.rilu-e-bike.com.au... - Page 11 Step 5 - If the motor does not turn using either 6km/h walk assist or Level 1 – 5 when pedalling please check motor cable is connected correctly and tightly Step 10 - Re-install the crank arm and tighten the 8mm 1800 MY RILU www.rilu-e-bike.com.au 1800 MY RILU...
- Page 12 P a g e | 23 P a g e | 24 Front Light - Faulty Connection If you experience any problems with the front light not working, check the wiring cable as illustrated below 1800 MY RILU www.rilu-e-bike.com.au 1800 MY RILU www.rilu-e-bike.com.au...
- Page 13 P a g e | 25 P a g e | 26 1800 MY RILU www.rilu-e-bike.com.au 1800 MY RILU www.rilu-e-bike.com.au...
- Page 14 P a g e | 27 1800 MY RILU www.rilu-e-bike.com.au...
Need help?
Do you have a question about the E-Glider 7D and is the answer not in the manual?
Questions and answers