Advertisement
Quick Links
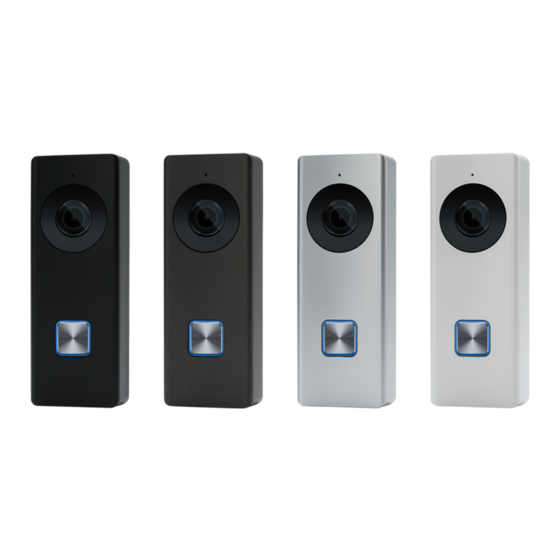
V-4060DB VIDEO DOORBELL
Installation Guide
Figure 1: V-4060DB
DESCRIPTION
The V-4060DB is a 2.4 GHz Wi-Fi
enabled video doorbell capable
of of recording and storing video
clips that are viewable on the Virtual
Keypad
App.
TM
The V-4060DB provides 16 GB of
storage on a pre-installed SD card
for local recording.
Compatibility
Virtual Keypad™ App 6.18 or higher for
iOS and Android devices
What is Included?
•
V-4060DB Video Doorbell
•
Pre-installed 16 GB SD card
•
Four different color faceplate
options
•
Power Connector
•
Hardware Pack
•
Power Booster
1
PREPARING VIDEO DOORBELL FOR
INSTALLATION
1.
Remove the clear plastic film on the lens of the camera and
and the clear plastic film on the IR light referenced in Figure 2.
2.
Remove the doorbell faceplate.
3.
Place the rubber gasket on the back of the doorbell as shown
in Figure 3.
4.
Remove the screws on the rear panel of the doorbell. Place
the circular end of the provided power cables around the
screws and reconnect them to the doorbell.
IR Light
Lens
Figure 2: Lens and IR Light
Location
2
INSTALLING THE VIDEO DOORBELL
Replacing Existing Doorbell
If you are replacing an existing doorbell, you must install the
included power kit to the existing mechanical chime. The power
kit ensures that the video doorbell receives the power it needs.
Caution: Turn off the breaker supplying power to the
mechanical chime and where the video doorbell will be
installed.
1.
Remove the existing doorbell from the wall, leaving the
existing wiring exposed.
2.
Remove the provided clear adhesive mounting template
from the yellow paper and align Hole A with the cable hole
on the wall. This is where the existing wiring will connect to
the new doorbell.
3.
Drill through the two holes marked Hole 1 on the mounting
template. This ensures the doorbell can be installed
accurately. For wood installations, use a 1/16" drill bit. For
masonry installations, use a 7/32" drill bit. Use the included
white anchors if necessary.
4.
Connect the exposed wiring to the video doorbell power
leads.
5.
Mount the video doorbell body to the wall with the two
included long screws.
6.
With the breaker supplying power to the mechanical chime
still off, remove the cover from the mechanical chime.
7.
Loosen the screws on the provided plastic screw terminal.
Insert the red and black crimped ends of the wire and
tighten them down.
Rubber Gasket
Figure 3: Connecting the
Power Cables
Mounting Holes
Advertisement

Related Manuals for DMP Electronics V-4060DB


Summary of Contents for DMP Electronics V-4060DB
-
Page 1: What Is Included
Lens Rubber Gasket Mounting Holes Figure 1: V-4060DB DESCRIPTION The V-4060DB is a 2.4 GHz Wi-Fi enabled video doorbell capable of of recording and storing video clips that are viewable on the Virtual Figure 3: Connecting the Figure 2: Lens and IR Light Keypad App. - Page 2 Mount the video doorbell to the wall with the two included long screws. Restore power to the part of the home where the video doorbell is installed. V-4060DB VIDEO DOORBELL DIGITAL MONITORING PRODUCTS...
- Page 3 SET UP DOORBELL IN DEALER ADMIN Log into DMPDealerAdmin.com. Select the appropriate system for the V-4060DB Video Doorbell. On the System Information screen under Add-On Features, check the Video Doorbell box. This will enable the the doorbell to sync with the Virtual Keypad App.
-
Page 4: Additional Information
As an example, if the verification code is ILGWQM then the password would be adminILGWQM. Hardware V-4060DB VIDEO Power Required 16 VAC to 24 VAC Power Consumption Max 0.6 A...
Need help?
Do you have a question about the V-4060DB and is the answer not in the manual?
Questions and answers