Table of Contents
Advertisement
Quick Links
®
Technaxx
* User Manual
Mini LED Beamer TX-113
The Declaration of Conformity for this device is under the Internet
link: www.technaxx.de/ (in bottom bar "Konformitätserklärung").
Before using the device the first time, please read the user manual
carefully.
Service phone No. for technical support: 01805 012643 (14
cent/minute from German fixed-line and 42 cent/minute from mobile
networks).
Free Email: support@technaxx.de
Keep this user manual for future reference or product sharing
carefully. Do the same with the original accessories for this product.
In case of warranty, please contact the dealer or the store where
you bought this product.
Warranty 2 years
Enjoy your product * Share your experience and opinion on
one of the well-known internet portals.
Features
Mini projector with multimedia player
Projection size from 32" to 176"
Integrated 2 watts stereo speakers
Manual focus adjustment
Long LED lifetime 40,000 hours
Connectable with Computer/Notebook, Tablet, Smartphone and
Gaming consoles via AV, VGA, or HDMI
Playback of Video, Photo and Audio Files from USB, MicroSD or
external harddisk
Usable with Remote Control
Advertisement
Table of Contents

Subscribe to Our Youtube Channel
Related Manuals for Technaxx TX-113


Summary of Contents for Technaxx TX-113
- Page 1 * User Manual Mini LED Beamer TX-113 The Declaration of Conformity for this device is under the Internet link: www.technaxx.de/ (in bottom bar “Konformitätserklärung”). Before using the device the first time, please read the user manual carefully. Service phone No. for technical support: 01805 012643 (14 cent/minute from German fixed-line and 42 cent/minute from mobile networks).
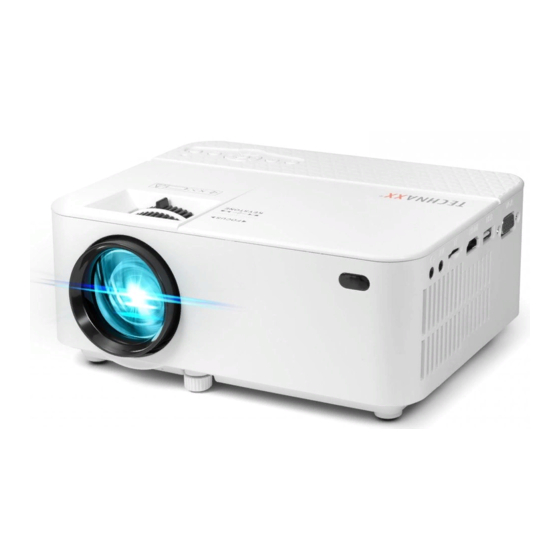
- Page 2 Product view & Functions Menu Move up / Last file Signal source V– / Move left Indicator light Lens Power button Focus adjustment V+ / Move right Keystone correction Move down / Next file Power button: Press this button to shut on or off the device. Volume plus and minus button: Press the two buttons to increase or decrease volume.
- Page 3 Remote control & Functions Power Switch Menu Play / Pause Select Signal Source Exit Move Up / Last File Volume down Move Left / Backwards Volume up Move Right / Forward Mute Move Down / Next File...
- Page 4 Press the POWER button again to turn off the device. Pressing the POWER button once again can shut down the engine power. TX-113 will stay in standby as long as it is connected with the power socket. If you do not use the device for a long time, take the power cord from the power socket.
- Page 5 Focus & Keystone Sometimes, the image projected on the wall looks like a trapeze rather than a square, causing distortion that needs to be avoided. You can adjust it with the keystone adjustment wheel (3) see following picture. ...
- Page 6 Table parameters to adjust the output signal of the computer (PC) Frequency (kHz) Field Frequency (Hz) VGA Resolution 640 x 480 31.5 34.7 37.9 37.5 SVGA Resolution 800 x 600 31.4 35.1 37.9 46.6 48.1 46.9 XGA Resolution 1024 x 768 40.3 48.4 56.5...
- Page 7 NOTE: The device and connection of laptop may not be able to display images at the same time, if that happens, set the computer display attributes, select for CRT output mode. Video input socket: from now on the interface can be connected to the LD player, DVD players, video cameras and video player (VIDEO) or audio output socket....
- Page 8 Operation Input source selection Selecting an input signal from the device: (Check that the correct signal cable is connected). Press the S button on the device or the SOURCE button on the remote control to display the right interface. ...
- Page 9 Set Clock Time Press the M button on the device or the MENU button on the remote control to enter the MENU. Press the ◄ or ► button to go to the TIME settings. Press OK on the device or on the remote control to enter the time settings. Now you can select the day, the month, the year, the hour and the minutes with the ▲...
- Page 10 Press the M button on the device or the MENU button on the remote control to save the settings and exit. Noise cancel Press the ▲▼ buttons, to go to the NOISE REDUCTION settings. Then press the OK button to enter the NOISE REDUCTION settings.
- Page 11 Multimedia supported format from USB or MicroSD Audio file: MP3 / WMA / ASF / OGG / AAC / WAV Picture file: JPEG / BMP / PNG Video file: 3GP (H.263, MPEG4) / AVI (XVID, DIVX, H.264) / MKV (XVID, H.264, DIVX) / FLV (FLV1) / MOV (H.264) / MP4 (MPEG4, AVC) / MEP (MEPG1) VOB (MPEG2) / MPG (MPG-PS) / RMVB(RV40)/RM...
-
Page 12: Technical Specifications
500GB Weight / Dimensions 1014g / (L) 20.4 x (W) 15.0 x (H) 8.6cm ® Technaxx Mini LED Beamer TX-113, 1x AV Packing contents signal cable, 1x Remote control, 1x HDMI cabel, 1x Power cable, User Manual Digital camera,... -
Page 13: Safety Instructions
Cleaning: Protect the device from contamination and pollution. Avoid using rough, coarse-grained materials solvents/aggressive cleaner. Wipe the cleaned device accurately. Distributor: Technaxx Deutschland GmbH & Co.KG, Kruppstr. 105, 60388 Frankfurt a.M., Germany...
Need help?
Do you have a question about the TX-113 and is the answer not in the manual?
Questions and answers