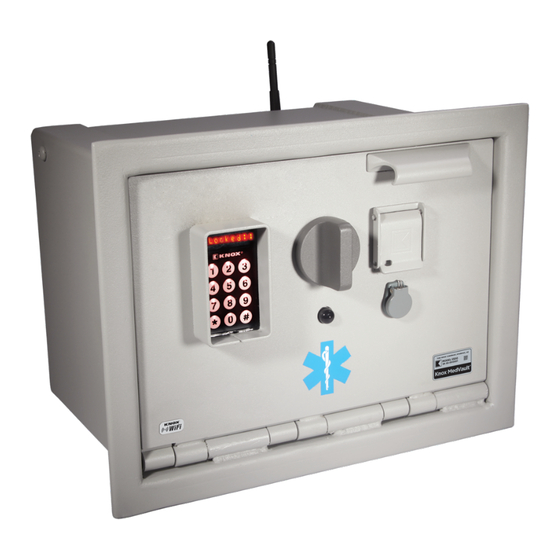
Knox MedVault Hardware Installation Manual
Larger capacity - narcotics locker
Hide thumbs
Also See for MedVault:
- Installation manual (12 pages) ,
- Hardware installation manual (11 pages)
Advertisement
Advertisement
Table of Contents

Summary of Contents for Knox MedVault
- Page 1 MedVault ® Larger Capacity - Narcotics Locker Hardware Installation Guide Warning Treat this manual as a confidential document. Limit access to authorized personnel. 1601 W. Deer Valley Road, Phoenix, AZ 85027 Phone: 800-552-5669 ● Fax: 623-687-2299 www.knoxbox.com OPE-MVHDWR-0202-H...
- Page 2 ® Copyright 2019 by The Knox Company. All rights reserved. The Knox Company, the Knox logo and all other Knox Company product or service names are registered trademarks or trademarks of the Knox Company. Restricted Rights Legend U.S. GOVERNMENT RESTRICTED RIGHTS. UNPUBLISHED—RIGHTS RESERVED UNDER THE COPYRIGHT LAWS OF THE UNITED STATES.
-
Page 3: Table Of Contents
Installing the Hardware ....................... 2 Mounting Options ........................3 Installing the Electronics......................4 Specifications ..........................5 Contacting Electronic Support ......................6 Removing the Door ........................6 Attaching the Door ........................7 Index ............................... 9 OPE-MVHDWR-0202-H The Knox Company ▪ MedVault ® ▪ 1... -
Page 4: Installing The Medvault ® Unit
Placing mounting holes in any other location may warp the unit and cause failures. Installing the Hardware Because we do not know how or where our customers will be installing the MedVault ® unit, it is not pre-drilled and does not include mounting hardware. -
Page 5: Mounting Options
6. Make sure the mounting holes do not interfere with the opening damper or any other component inside the box. ® 7. Do not mount anything to the MedVault door. 8. Do not use a hammer to fit the unit in place. Doing so may warp the unit. -
Page 6: Installing The Electronics
Follow these steps to install the MedVault® electronics: 1. Establish the desired location of the unit in the vehicle. 2. Determine the source of the MedVault® power. Ensure that the power supply is filtered, fused and capable of supplying three (3) amps. -
Page 7: Specifications
If the electronics fail or the vehicle loses power, the unit can ONLY be opened using the manual override key. For security purposes, the manual override key is shipped separate from the unit. If you do not receive your manual override key, contact Knox immediately. Electronics Temperature Range -40º... -
Page 8: Contacting Electronic Support
3. Disconnect the coax connector (if WiFi equipped) and the Microfit connector. 4. Use a phillips screwdriver to disconnect gas damper from door. 5. Use the Knox security screw removal bit to unscrew the three screws in the hinge lock. OPE-MVHDWR-0202-H The Knox Company ▪... -
Page 9: Attaching The Door
10. Retain the Knox security screw removal bit for reassembly. Attaching the Door Follow these instructions when you are ready to attach the replacement door to the MedVault: 1. Remove the temporarily attached hinge lock by removing the three security screws (if attached). - Page 10 Hardware Installation Instructions 5. Install the hinge lock security screws and finger-tighten. 6. Use the Knox security screw removal bit to further tighten the security screws. DO NOT OVER-TIGHTEN. 7. Use a Phillips screwdriver to reattach the gas damper to the door.
-
Page 11: Index
Electronic Support ............ii, 7 Electronics specifications ........... 6 Exterior dimensions ............6 Technical Support .............. 7 Temperature range.............. 6 Time ................4, 5 Ground ................4 Tools ................4, 9 OPE-MVHDWR-0202-H The Knox Company ▪ MedVault ▪ 9 ®... - Page 12 MedVault ® Hardware Installation Instructions Versions ................6 Weight ................6 Recessed ................ 6 Wire connection table ............4 Surface mount ..............6 OPE-MVHDWR-0202-H The Knox Company ▪ MedVault ▪ 10 ®...


Need help?
Do you have a question about the MedVault and is the answer not in the manual?
Questions and answers