Table of Contents
Advertisement
Quick Links
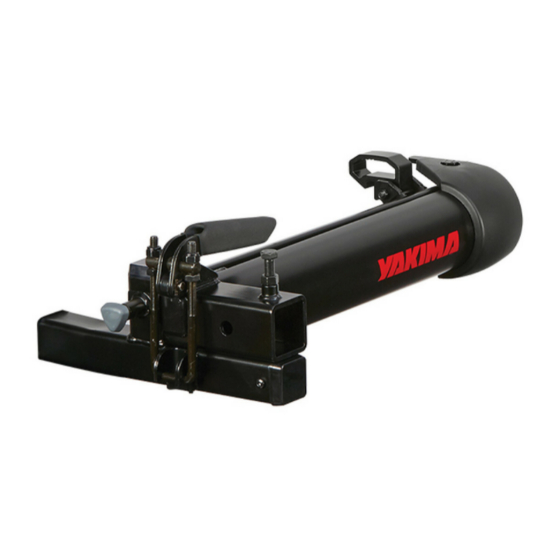
BackSwing
stablizer bolt (1X)
spring pin (1X)
key (2X)
hitch bolt (1X)
stablizer nut (1X)
BackSwing (1X)
lock washer (1X)
latch pin (1X)
hitch lock (1X)
e-clip (2X)
safety latch assembly (1X)
For use with class III
TOOLS REQUIRED:
and IV hitch receivers only.
250 lbs. / 113kg
All hardware must be tightened completely. Torque values are given for reference.
Advertisement
Table of Contents

Related Manuals for Yakima BackSwing


Summary of Contents for Yakima BackSwing
- Page 1 BackSwing stablizer bolt (1X) spring pin (1X) key (2X) hitch bolt (1X) stablizer nut (1X) BackSwing (1X) lock washer (1X) latch pin (1X) hitch lock (1X) e-clip (2X) safety latch assembly (1X) For use with class III TOOLS REQUIRED: and IV hitch receivers only.
- Page 2 Cut the zip tie. A. Orient the latch as shown, and Install spring pin with a wrench. align the latch and BackSwing. B. Insert the latch pin. C. Secure with the e-clip clip. Note: the second clip is a spare.
- Page 3 Use caution when closing the latch to avoid hooking the bottom of the latch bracket. Install your hitch product into the BackSwing by following the instructions that came with that product. Then tighten the stabilizer bolt and nut on the BackSwing until snug.
- Page 4 A. Stand on the outside of the BackSwing to stay clear of your gear and the BackSwing. B. Lift the release lever. C. Swing the BackSwing until it closes, and the spring pin locks into place.
- Page 5 Ensure safety latch is closed. Loosen the stabilizer bolt, and uninstall any hitch product you may have installed in your BackSwing (refer to that product’s instruction manual). 3. Unlock and remove hitch lock. 4. Remove hitch bolt and lock washer.
Need help?
Do you have a question about the BackSwing and is the answer not in the manual?
Questions and answers