Table of Contents
Advertisement
Quick Links
Advertisement
Table of Contents

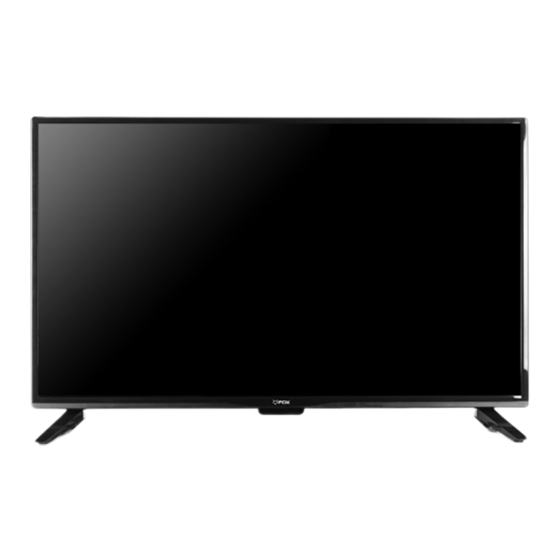
Summary of Contents for Fox 32DLE80
- Page 1 Model: 32DLE80...
-
Page 2: Table Of Contents
Table Of Contents Preparations Guide Safety Information.........................2 Important Safety Precautions....................3 Installed And Connected TV TV Bracket assemble......................4 TV Buttons And Terminal Interface..................5 External device connection diagram..............6 Install And Connect TV......................7 TV Stand installation Instructions...............7 TV Menu Input Source...........................8 Channel Menu........................8 Picture Menu..........................9 Sound Menu.........................10... -
Page 3: Safety Information
Safety Information High voltages are used in the operation of this product.to reduce the risk of electric shock,do not remove cover of the cabinet, refer servicing to qualified service personal If the TV any changes or coarse adjustment, electric shocks to be hurt, do not attempt to open a machine-maintenance, customer contact centres needed overhaul. -
Page 4: Important Safety Precautions
Important Safety Precautions... -
Page 5: Tv Bracket Assemble
TV Bracket assemble F ix t he T V o n the wall 1.First,put the TV on the table smoothly and put some soft cloth on the table to avoid scratching the screen. 2.User the screw driver to take off the screws which are fixed on the bottom stand (the direction of the arrow, refer to the ptoto1).And take off the bottom stand(please take off the screws and bottom stand carefully). -
Page 7: External Device Connection Diagram
External device connection diagram Set-top boxes HDMI HDMI HDMI input connection INPUT INPUT INPUT VIDEO VIDEO AV input connection Y Pb Pr input connection USB connection AV input connection Set-top boxes SCART connection OUTPUT VIDEO VGA input connection AV output connection TV connection... -
Page 8: Install And Connect Tv
Install And Connect TV Set your TV To put your TV in a firm place which can bear the weight of the TV. To avoid danger, please don’t expose the TV near water or heating place (such as light, candle, heating machine),do not block the ventilation at the back of TV. -
Page 9: Tv Menu
TV Menu Tune Type Cable/Air Input Source Auto Tuning Auto Tuning will search for available Input Source channels and programs. Press▼/▲ to select Auto Tuning, then press Enter YPbPr start auto search. If you want to stop HDMI1 HDMI2 searching, press MENU or EXIT. Media1 Media2 Enter... -
Page 10: Picture Menu
TV Menu Programm Edit Picture Menu Programm Edit PICTURE Picture Mode Standard Contrast Brightness Color Tint Sharpness Color Temperature Medium Noise Reduction Middle ECO Mode Move Menu Enter Exit ENTER Picture Mode Skip Delete Rename Move Menu Menu Enter Enter ENTER Highlight the item and Press ENTER or to enter the sub-menu, that shows... -
Page 11: Sound Menu
TV Menu Sound Menu Time Menu SOUND Sound Mode Standard TIME Sleep Timer Treble Auto Sleep Bass OSD Timer Balance Auto Volume SPDIF MODE Move Menu Enter Exit ENTER Move Menu Enter Exit ENTER Sound Mode Sleep Timer Standard/Music/Movie/Sports/User/Only Select the time in minutes(off,10min, in this mode, Treble and Bass can be 20min,30min,60min,90min,120min, 180min,240min) that you want the... - Page 12 TV Menu OSD Language Set the OSD display language. Aspect Ratio TV rating Select the suitable aspect Ration. TV-Y Blue Screen TV-Y7 TV-G Set the background color to blue or black TV-PG when having no input signal. TV-14 Key Lock TV-MA Menu Set to prevent it from being used by young...
-
Page 13: Pc Menu
Media Menu TV Menu 13 ans+ Not recommended for children Media Menu under age 13 16 ans+ Not recommended for ages The color of the icon means whether under 16 your TV has detected a USB memory or 18 ans+ This program is restricted to not. -
Page 14: Help
Help... -
Page 15: Specifications
Machine Technical Specifications TV System Speaker Output Screen Size Preset Channels PAL:0-199,NTSC:AIR 2-69 PAL/NTSC 5W+5W 16” CABLE1-125 PAL:0-199,NTSC:AIR 2-69 PAL/NTSC 5W+5W 19” CABLE1-125 PAL:0-199,NTSC:AIR 2-69 PAL/NTSC 5W+5W 20” CABLE1-125 PAL:0-199,NTSC:AIR 2-69 PAL/NTSC 5W+5W 22” CABLE1-125 PAL:0-199,NTSC:AIR 2-69 PAL/NTSC 5W+5W 24” CABLE1-125 PAL:0-199,NTSC:AIR 2-69 PAL/NTSC... - Page 18 Model: 32DLE80...
- Page 22 NAPOMENA UKOLIKO PROGRAM PRATITE PUTEM KABLOVSKE TELEVIZIJE PROVERITE DA LI JE PROPISNO IZVEDENO UZEMLjENjE I IZJEDNAČAVANjE POTENCIJALA NA KABLU VAŠEG KABLOVSKOG OPERATERA. ZA OVE INFORMACIJE KONTAKTIRAJTE VAŠEG KABLOVSKOG OPERATERA.
- Page 26 Input Source YPbPr HDMI1 HDMI2 Media1 Media2 Enter E NTE R Channel Tuning 5 Programme(s) 44%... 433.75MHZ (TV) Menu KANAL Tune Type ATV Manual Tuning Auto Tuning - Current CH Color Sy st e m So u nd Syst e m Fi ne- T une 49 .
- Page 27 Izmene programa Presh Meni...


Need help?
Do you have a question about the 32DLE80 and is the answer not in the manual?
Questions and answers