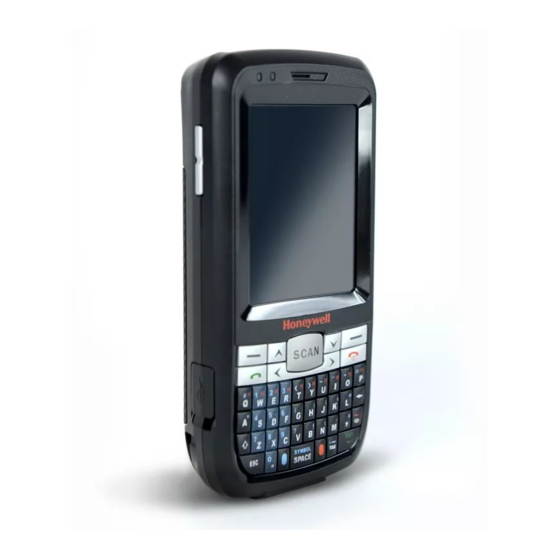
Honeywell 60S Information
Hide thumbs
Also See for 60S:
- User manual (144 pages) ,
- Quick start manual (17 pages) ,
- Staging instructions (11 pages)
Table of Contents
Advertisement
Quick Links
60S HANDHELD INFORMATION
SET TIME SEPARATOR
1. In Settings, select System, and then select Regional Settings.
2. Use the left and right arrows at the top to navigate to the "Time" tab
3. Set the Time Style to "h:mm:ss tt"
4. If the "Time Separator" is not the colon ":" character, select the Time Separator box.
5. Select the ":" character from the drop-down list.
6. Tap the "OK" button at the bottom of the screen.
SET SHORT DATE FORMAT
1. In Settings, select System, and then select Regional Settings.
2. Use the left and right arrows at the top to navigate to the "Date" tab
3. Set the Short Date Style to "MM/dd/yyyy".
a. If "MM/dd/yyyy" is not available please select ""MM/dd/yy".
4. If the "Date Separator" is not the "/" character, select the Date Separator box.
5. Select the "/" character from the drop-down list (or type it in using the on-screen keyboard).
6. Tap the "OK" button at the bottom of the screen.
Please remove any protective film that may be covering the laser screen
window.
TOUCH SCREEN CALIBRATION
If the touchscreen is not responding properly to stylus touch taps, the
touchscreen may need to be recalibrated.
1. Tap the Start button in the lower left corner of the system tray.
2. Select Settings, then System.
3. Scroll the window if necessary and double tap the Screen icon.
4. Tap the "Align Screen" button and follow the instructions on the screen
SET DATE/TIME/TIME ZONE
1. Tap the Start button in the lower left corner of the system tray.
2. Select Settings, and then Clock & Alarms
3. Use the left and right arrows at the top to navigate to the "Time" tab
4. Set the current date, time, and time zone.
5. Tap the "OK" button at the bottom of the screen.
Advertisement
Table of Contents

Related Manuals for Honeywell 60S


Summary of Contents for Honeywell 60S
- Page 1 60S HANDHELD INFORMATION Please remove any protective film that may be covering the laser screen window. TOUCH SCREEN CALIBRATION If the touchscreen is not responding properly to stylus touch taps, the touchscreen may need to be recalibrated. 1. Tap the Start button in the lower left corner of the system tray.
- Page 2 6. Tap “File” in the bottom left of the screen. 7. Select Save 8. Tap “File” in the bottom left of the screen. 9. Select Exit 10. Restart The Scan Wedge (Please see Restarting the Scan Wedge) 60s Handheld Information...
- Page 3 WINDOWS MOBILE DEVIC E CENTER INSTALLATIO N (FOR WINDOWS VISTA OR NEWER) 1. Locate a copy of the latest version of Windows Mobile Device Center for your computer system. The correct version is available from Microsoft’s WEB site or a copy is included in your download. 60s Handheld Information...
- Page 4 6. Use the drop down menu below to select what you would like to assign to that soft key. Note: You can assign a soft key to start a program by selecting a program or as an alternate scan button by selecting <Scan2>. 7. Tap the “OK” button at the bottom of the screen. 60s Handheld Information...
- Page 5 5. Open the folder named My Documents 6. Open the folder named My Pictures. (This is where the pictures taken with the handheld are stored.) 7. Select the pictures you want and copy them off of the handheld and on to the computer. 60s Handheld Information...
-
Page 6: Power Key
Press the Blue key and the Power key simultaneously for about 6-7 seconds. COLD BOOT THE HANDHELD WARNING: THIS WILL REQUIRE A REINSTALL AND RE-SETUP OF THE HANDHELD Press the Blue key and the Send simultaneously for about 6-7 seconds. Power Key Send Key Blue Key 60s Handheld Information...
Need help?
Do you have a question about the 60S and is the answer not in the manual?
Questions and answers