
Related Manuals for Acer Veriton S4660G


Summary of Contents for Acer Veriton S4660G
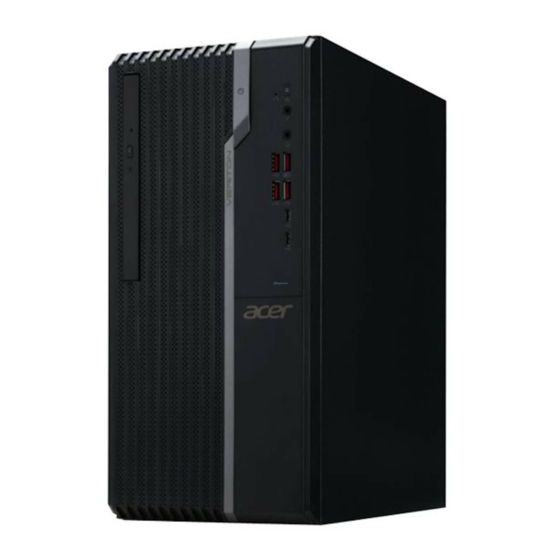
- Page 1 Veriton S6660G (VS 6660G) Veriton S4660G (VS 4660G) / Veriton S4665G (VS4665G) Veriton S2660G (VS 2660G) / Veriton S2665G (VS2665G) Recycling Guide...
-
Page 2: Table Of Contents
Disassembly Procedure ………………………………………………………………………………………………….……3 Troubleshooting …………………………….………………………………………….………………………………….……18 Exploded diagrams ….………………………………………………………………………………………………….…..…21 FRU (Field Replaceable Unit) List…………………………………………………………………………………………22 To update your software ….………………………………………………………………………………………….…….23 To remove your personal data ……………………………………………………………………………….……….….23... -
Page 3: Disassembly Procedure
Disassembly Procedure Safety Guidelines This chapter contains step by step procedures on how to remove and de-install components from the computer. Use the following safety guidelines to ensure your personal safety. Each procedure included in this chapter assumes that you are preparing your computer for recycling and disposal. By performing any of these procedures you acknowledge that any remaining warranty applicable to your computer will be voided. - Page 4 WEEE Annex VII Component These components are classified as requiring selective treatment. Pre-disassembly Instructions Do the following prior to starting any maintenance procedures: 1. Place the system on a stable work surface. 2. Remove AC power cord from the system and peripherals 3.
- Page 5 Chassis Door Removal 1. Remove the two (2) screws from the chassis door Remove the 2 screws Remove the left side cover...
- Page 6 ODD and card reader Module Removal 2. Remove the ODD 2.1 Disconnect the ODD SATA cables and ODD power-cables from the rear of ODD 2.2 Press the tail of ODD to pushing it out of chassis 2.3 Remove the ODD...
- Page 7 HDD Removal 3. Remove HDD 3.1 Disassemble front bezel 3.2 Disconnect the SATA cables and SATA power-cables from HDD1 and HDD2 3.3 Remove three screws fastening HDD cage...
- Page 8 3.4 Remove the HDD cage from chassis 3.5 Remove HDD from green rack...
- Page 9 ODD tray and Card reader Removal 4. Disassemble ODD tray 4.1 Remove five screws fastening ODD tray 4.2 Lifting up the ODD tray to remove it 4.3 Disconnect card reader cable from MB...
- Page 10 4.4 Remove two screws fastening FIO bracket then remove FIO bracket from chassis 4.5 Remove two screw and pull SD card reader out...
- Page 11 VGA card Removal 5. Remove VGA Card 5.1 Remove a screw and open the PCI bracket Press the PCI slot latch down and lift up the VGA card...
- Page 12 PSU Removal 6. Remove internal PSU 6.1 Cut the cable ties to release cables and disconnect ATX_12V and ATX_power cable on MB 6.2 Disconnect the PSU cable with MB...
- Page 13 6.3 Remove four screw fastening PSU and pull it out 6.4 Remove a screw to disassemble PSU bracket...
- Page 14 MotherBoard, MEM, CPU, Cooler, WLAN, SSD, RTC Battery Removal 7. Remove the Main Board 7.1 Disconnect LPT and COM cable from M/B 7.2 Disconnect intrusion alarm and panel cables from MB 7.3 Disconnect SATA and SATA-power cables from MB 7.4 Release the four latch show bellow then remove the Memory...
- Page 15 7.5 Remove eight screws and remove the MB NOTE: Circuit boards >10 cm² has been highlighted with the yellow circle as above image shows. WEEE Annex VII component 7.6 Remove a screw and pull M.2 SSD card out then remove thermal pad. 7.7 Remove the four captive screws fastening CPU cooler and disconnect fan power cable from MB then remove CPU cooler...
- Page 17 7.8 Unlock CPU socket latch and remove CPU 7.9 Remove the battery NOTE: RTC battery has been highlighted with the yellow circle as above image shows. WEEE Annex VII component...
-
Page 18: Troubleshooting
Troubleshooting This chapter provides troubleshooting information for the Veriton S series Service Guide Power-On Self-Test (POST) POST Error Messages List Power-On Self-Test (POST) Each time you turn on the system, the Power-on Self Test (POST) is initiated. Several items are tested during POST, but for the most part transparent to the user. - Page 19 POST Error Messages List If you cannot run the diagnostics program tests but did receive a POST error message, use “POST Error Messages List "to diagnose system problems. If you did not receive any error message, look for a description of your error symptoms in “Error Symptoms List”.
- Page 20 BIOS Messages Action/FRU Override enabled - If the system cannot boot using the current CMOS configuration, the BIOS can override the Defaults loaded current configuration with a set of BIOS defaults designed for the most stable, minimal- performance system operations. Press TAB to show System OEMs may replace the Phoenix Technologies Award BIOS POST display with their POST screen...
-
Page 21: Exploded Diagrams
Exploded Diagrams Figure 1 System Exploded Diagram... -
Page 22: Fru (Field Replaceable Unit) List
FRU (Field Replaceable Unit) List Please contact your local service center to find out how to obtain the part or replace your device... -
Page 23: To Update Your Software
To update your software Please visit http://go.acer.com/?id=17883 To remove your personal data Option 1: Select Start > Settings > Update & Security > Recovery. Under Reset this PC, select Get started. Open Recovery settings. Option 2: Restart your PC to get to the sign-in screen, then press and hold down the Shift key while you select the Power icon >...
Need help?
Do you have a question about the Veriton S4660G and is the answer not in the manual?
Questions and answers