Table of Contents
Advertisement
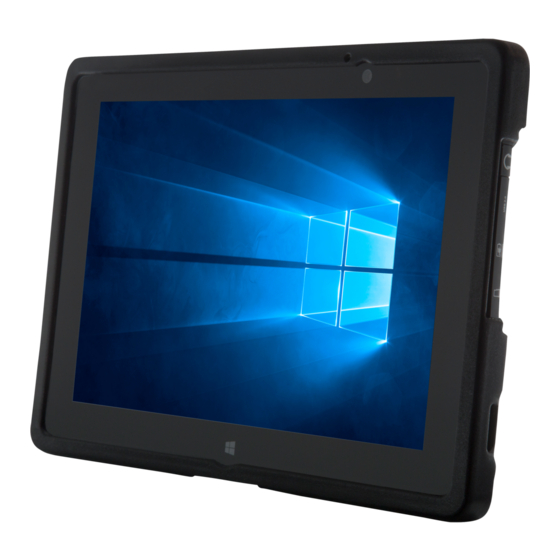
USER GUIDE
for
aegex10 Intrinsically Safe Tablet
TM
AEGEX TECHNOLOGIES LLC
Aegex Technologies LLC
Flatiron Building,
Hungarian Branch Office
Intrinsically
Safe
Solutions
by Design
84 Peachtree St. NW,
H-7632 Pécs, Tildy Zoltán u. 27/1.
Atlanta, GA 30303 USA
Phone: +1 (470) 242-4000
Email: contact@aegex.com
www.aegex.com
Advertisement
Table of Contents

Related Manuals for aegex 10

Summary of Contents for aegex 10
- Page 1 USER GUIDE aegex10 Intrinsically Safe Tablet AEGEX TECHNOLOGIES LLC Aegex Technologies LLC Flatiron Building, Hungarian Branch Office Intrinsically Safe Solutions by Design 84 Peachtree St. NW, H-7632 Pécs, Tildy Zoltán u. 27/1. Atlanta, GA 30303 USA Phone: +1 (470) 242-4000 Email: contact@aegex.com...
-
Page 2: Regulatory Statements
RCM logo can be found by pressing Windows button/ Settings/ Any changes or modifications not expressly approved by the party responsible System / About/ System info. That is part of the Aegex Image. for compliance could void the user’s authority to operate this equipment. This... - Page 3 FRONT Ambient Light Sensor Recognizes ambient light and adjusts the display Front Microphone Outlet brightness if enabled in the Front Camera operating system. 2 MP camera for video conferencing Camera Indicator LED Lights up if camera is activated and during device boot and shutdown Charging Indicator LED OFF not connected to charger ORANGE charging...
-
Page 4: Top Side
Push and hold it to shut down the device. You will be instructed on screen to slide to shut down your device. Keep pressed for more than 10 seconds for hard reset. Volume Keys Push the left button (-) to reduce the volume, use the right button(+) to increase the volume. - Page 5 RIGHT AND BOTTOM SIDES CTIA Audio Jack Combined microphone and speaker connector USB 2.0 Port MicroUSB Interface For charging only. It is the secondary charging point. Suggested primary charging point is: 9 (Docking Connector) MicroSDXC Card Slot Stereo Speakers (on the sides) Docking Connector Securing Kensington Locks Charging Pads...
-
Page 6: Rear View
REAR VIEW NFC Antenna Position Can be used to read HF (13.56MHz) Rear Microphone Outlet NFC & RFID tags with appropriate software. Camera Flash LED Rear Camera SMP camera for high resolution images & video Battery Cover Data table and Warning info (Marking information) Intrinsically Safe... - Page 7 TO REMOVE THE BATTERY COVER: Remove the 4 screws using the provided screwdriver. Use the provided pry tool to disengage the snaps. Insert the pry tool under the battery door at the bottom left corner as presented in the picture above. Then with the pry tool inserted under the door, carefully drag the pry tool around all edges and slowly lift the cover.
- Page 8 REPLACING BATTERY / ADDING SIM CARD Release locking by pulling on the battery holder hook towards the bottom of the device, then pull the battery up (B). Repeat process for other battery holder hook. 4. Enter the Micro SIM card into the slot in the center of the right side. Make ensure the Micro SIM card in the correct direction (chip facing Do not remove or replace the battery pack while in a known hazardous location! down).
- Page 9 TO PUT THE BATTERY BACK IN PLACE: Replace the 4 corner screws of the battery cover using the provided tool. The recommended torque for the screw is 10-12 Ncm. Make sure the battery securely clicks in place on both sides.
- Page 10 CHARGING THE TABLET WITH WALL CHARGER Select the appropriate plug and slide it on the tracks to connect to the wall charger. Connect the USB end of the charging cord to the wall charger. The indicator on the tablet will illuminate orange while the tablet is charging.
- Page 11 In case device freezes or in emergency mining situation you need to hard reset, press and hold the power button for more than 10 seconds. Device will be turned off immediatelly. All openings must be securely closed before use in a hazardous environment.
-
Page 12: Important Product And Safety Information
• Do not throw battery into a fire as it may explode. • Operate your device in a place where temperature is between -10°C and +50°C and • Do not soak the battery with liquid like water, tea, coffee etc.
Need help?
Do you have a question about the 10 and is the answer not in the manual?
Questions and answers