Table of Contents
Advertisement
Advertisement
Table of Contents

Related Manuals for Azdome GS65H


Summary of Contents for Azdome GS65H
- Page 1 Content guide: 1.Product structure 2. Keys and function 3.Charging/Power on 4.Operation Mode 5.Menu setting 6.Product specification 7.GPS player software installation 8.FAQ&Common Troubleshooting...
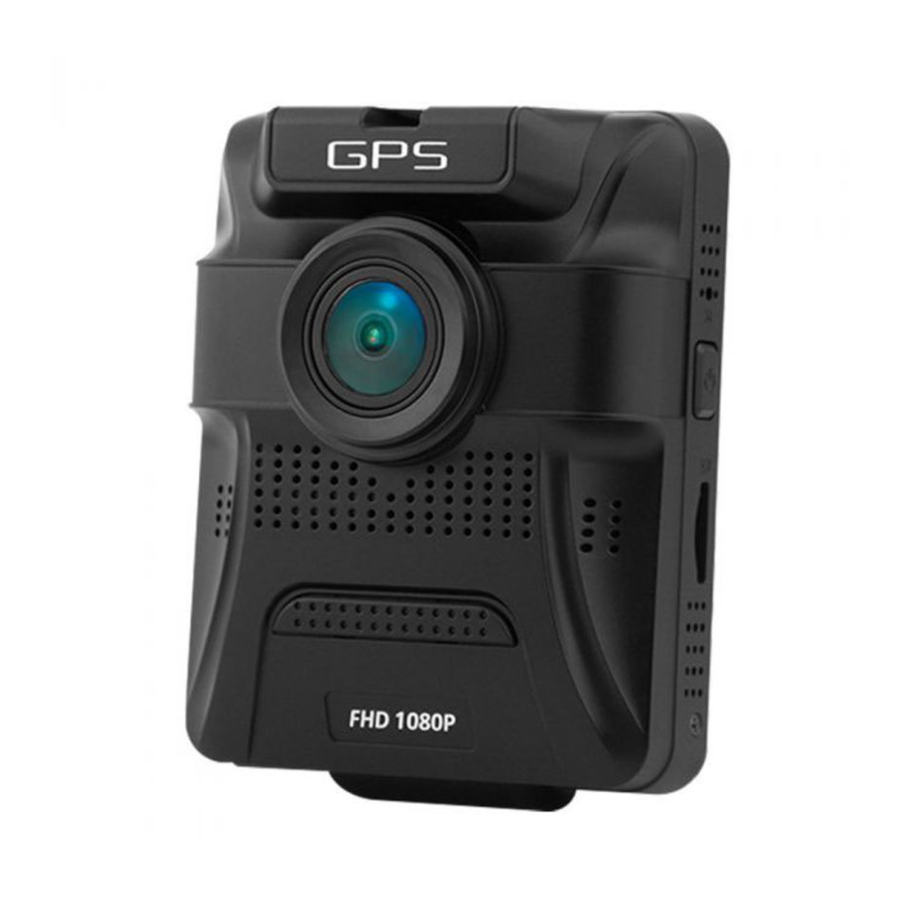
- Page 2 1. Product structure 1)Menu/Mode 2)Up 3) OK 4)Down 5)IR lights 6)Rear camera 7)TV OUT 8)HDMI port 9)USB port 10)Holder 11)MIC 12)Card Slot 13)Power 14)Reset 15)Speaker 16)front camera 17) GPS 18)LCD 19)Switch on light 20)Charge light - 1 -...
- Page 3 2. Product keys and function Function Instruction Turn on/Turn 1.Turn on:Short press Power to turn on and indicator Power off/Switch on or off lighted screen 2.Turn off:Long press Power to turn off and indicator off Reset Reset When device crashes, short press to reboot 1.Video mode:short press to start recording, short press again to stop recording Start/Stop recording...
- Page 4 IR lights switch 3.Video mode: short press to turn on/off audio recording 4.Photo mode:short press to zoom in the image 5.Long press to turn on/off IR lights 1.Menu mode:short press to select the next option 2.Playback mode:select the next file Down/front and rear Down 3.Photo mode:zoom out the image...
- Page 5 2.Operating instruction On/Off automatically:If connected to the car cigarette lighter, the dash cam will start recording video automatically when the car starts up.It will also power off automatically when the engine is powered off Tips: (1) The vehicle power connected to the cigarette lighter (2)The vehicle starts on /shuts down, the cigarette lighter socket must have reminders of electrifying/outage Attention: For very few vehicles the cigarette lighter have no outage reminder when the vehicles shut...
- Page 6 stop recording. (Note: Camera will start and record automatically when plug in car charger under power off situation) Photo Mode: The dash cam will be in video mode when it is initially powered on, long press [Menu] button to switch to photo mode, there is a photo icon shown on the top left corner of the LCD, short press OK button to take a photo,LCD screen flashing indicates the photo taking process is finished Photo taking process:...
- Page 7 video setting, the blue video icon will be shown on the LCD top left corner, the settings which show in menu as below: 1. Resolution,Dual Record,Loop Recording,Timelapse Record 2. WDR, GPS Stamp,Speed Unit,Exposure 3. Motion Detection, Record Audio, Date Stamp, G-sensor 4.Parking Guard Short press up/down to switch the setting options, short press OK button to enter the setting, short press up/down button to modify the setting, and short press OK button to confirm the modification.
- Page 8 System setting After powered on the dash cam will enter the video mode, short press M button one time to switch to the video setting, short press M button again to enter system setting, the blue video icon will be shown on the LCD top left corner.
- Page 9 TV Mode: NTSC/PAL Frequency: 50Hz/60Hz Mirror Image: Off/On Storage Space:Total/Free/Event/Movie/Picture/Other Car Plate:province abbreviation/license plate number Format:Cancel/OK Default Setting: Cancel/OK Version:to see the details of camera version Photo setting: After powered on the dash cam will enter into the video mode, long press M button to switch to the photo mode, the photo icon will be shown on the LCD top right corner, short press M button one time to switch to photo menu.
- Page 10 ISO:Auto/100/200/400 Exposure: "+2.0","+1.7","+1.3","+1.0","+0.7","+0.3","0.0","-0.3","-0.7","-1.0","-1.3","-1.7","-2.0" Total 13 level.(Default value 0.0) Anti-Shaking:on/off Date Stamp:off/Date/Date and Time Playback setting: After powered on, long press M button twice to switch to playback setting, the playback icon will be shown on the LCD top right corner, press M button one time to enter setting, there are 3 setting options : Delete, Protect, Slide Show.
- Page 11 Video resolution Front 1080P/Rear 720P Aperture Front camera F=1.8/Rear camera F=2.2 Language English,Simplified Chinese etc. Dual channel: Front 1080P 1440x1080 / Rear:720P 1280x720 Video resolution Single front camera:1080 FHD 1920x1080/720P 1280x720/WVGA 848x480/ VGA 640x480 H.264, MOV Video format Color Color/Black & White/Sepia Shooting mode Loop recording, no leak seconds Auto turn on/off...
- Page 12 If you need the GPS information, the professional player must be installed firstly. Please install the file on our website www.azdome.hk, you can find the file in the Support Page. You can also like our Facebook Page to get the file.
- Page 13 2. Upgrade the Internet Explorer Ipanel to IE 10 or above 3.If the GPS player still can’t work, please contact us at service@azdome.hk 8. FAQ Under normal operating conditions, if there are problems with the device, please refer to the following methods to solve.
- Page 14 Common Troubleshooting Tips: This system supports 8-64G MicroSD card in storage, in order to ensure recording normally, please use name brand cards, such as Kingston, SanDisk, Samsung and so on. Since the recording system have to read and write data fast, please use the Class 10 high-speed card.While the system is working, please do not insert or pull out the TF card, in order to avoid the memory card damage.
Need help?
Do you have a question about the GS65H and is the answer not in the manual?
Questions and answers