Table of Contents
Advertisement
Advertisement
Table of Contents

Related Manuals for Daiwa Orbit Massage Lounger ORBT-1


Summary of Contents for Daiwa Orbit Massage Lounger ORBT-1
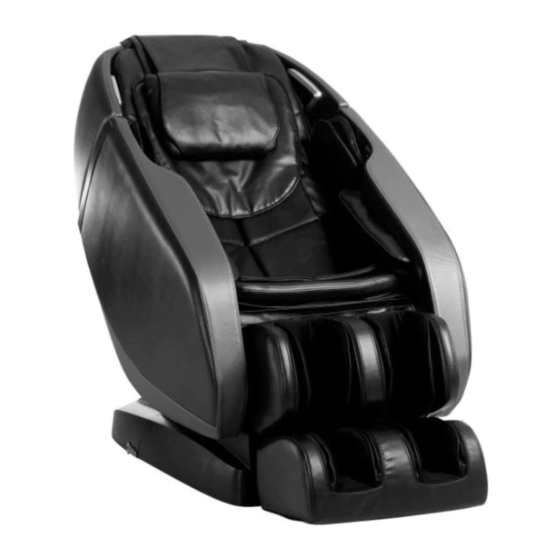
- Page 1 ORBT-1...
-
Page 2: Table Of Contents
ORBIT Thank you for purchasing the Orbit Massage Lounger. Before using this chair for the first time, please read through all sections of this User Manual carefully, paying special attention to the Safety Instructions. PLEASE RETAIN THIS MANUAL FOR FUTURE REFERENCE. CONTENTS ........... - Page 3 IMPORTANT SAFETY PRECAUTIONS IMPORTANT SAFETY PRECAUTIONS Basic precautions should always be followed when using an electrical unit, including 1. Persons with any of the conditions listed below or who are undergoing medical treatment or suffer from medical conditions should consult with their physicians the following.
-
Page 4: Parts
PARTS PARTS POWER SUPPLY BOX EXTERIOR PARTS Speaker Pillow Back cover Back cushion Seat cushion Armrest Footrest Caster INTERIOR PARTS Power supply socket Massage Rollers & Track Safety fuse Power on/off Shoulder airbags Controller port USB port Back heating pad Arm airbags Calf airbags Foot airbags... -
Page 5: Main Controller
PARTS OPERATION MAIN CONTROLLER CONTROLLER OPERATION Power Button After connecting the power cord to an outlet, press and release this key to turn on the LCD and select your desired massage function. At the end of each massage session, use this key to turn off power. Auto Mode Button Press this button to select from the chair’s 6 automatic massage programs. -
Page 6: Automatic Programs
OPERATION OPERATION LCD Screen Force Button With a manual massage selected, press to specify one of six levels of massage The following lights on the LCD screen will illuminate to indicate their corresponding intensity, as indicated on the LCD screen. When its indicator light is off, this functions while they are running. -
Page 7: Manual Programs
OPERATION SETUP MANUAL PROGRAMS Installation 1: Carefully lift the chair and all of its parts from their packaging. Remove any protective wrapping. Check to make sure that all parts are present. Heat Zero Gravity 2: Installing the Footrest Locate the coupling shafts on the right and left sides of the massage chair’s seat. Locate the corresponding hooks on either side of the footrest. -
Page 8: Initial Operation
SETUP SETUP INITIAL OPERATION Attach the corresponding connectors to the ports located on the back of the footrest. Make sure there are no objects, people, or pets in the vicinity of the unit. Check that the chair has room to recline. Use the controller to lower the backrest to its Air valve Airtube furthest outstretched position. -
Page 9: Moving The Chair
SETUP SETUP MASSAGE CHAIR PLACEMENT MOVING THE CHAIR When looking for a location to place your massage chair, keep following in mind: Make sure that the backrest is in its full upright position. The chair takes up significantly more space when stretched out, than when in an Shut off power and remove the power plug from the wall outlet. -
Page 10: Grounding Instructions
SETUP PRODUCT STORAGE AND MAINTENANCE CLEANING GROUNDING INSTRUCTIONS Before cleaning, switch off power and remove the power plug from the wall outlet. This product must be grounded in the event of an electrical malfunction. Grounding Dip a soft, cotton cloth in neutral detergent and wring dry. Use it to wipe the pillow provides a low resistance path for the electric current to reduce the risk of electric cushion, back cushion, armrests, footrests, and any plastic parts of the chair. -
Page 11: Troubleshooting
If you encounter problems operating the Orbit, please check the points above to see if they can be rectified. If the Orbit still malfunctions or does not work, please turn off the chair and remove the power plug from the electrical outlet. Contact Daiwa Repair Service at 833-542-1918 or at daiwamassage.com for assistance. - Page 12 ORBT-1 ORBIT Consumer Limited Warranty: ONE-YEAR WARRANTY This warranty guarantees that the product purchased is to be free from defects in material and workmanship under normal usage and local voltage for a period of one year. This warranty expires in TWO (2) years on parts, and ONE (1) year on labor after the date of purchase.
Need help?
Do you have a question about the Orbit Massage Lounger ORBT-1 and is the answer not in the manual?
Questions and answers