Table of Contents
Advertisement
Advertisement
Table of Contents

Related Manuals for Daiwa Pegasus DWA-9400


Summary of Contents for Daiwa Pegasus DWA-9400
- Page 1 DWA- 9400 PEGASUS MASSAGE LOUNGER Operating Instructions DWA -9400...
-
Page 2: Table Of Contents
DAIWA DWA-9400 IMPORTANT SAFETY PRECAUTIONS Thank you for purchasing the Pegasus DWA-9400 by Daiwa. Basic precautions should always be followed when using an electrical unit, including the following. Before using this chair for the first time, please read through all sections of Please ensure that you read all instructions before using the unit. -
Page 3: Parts
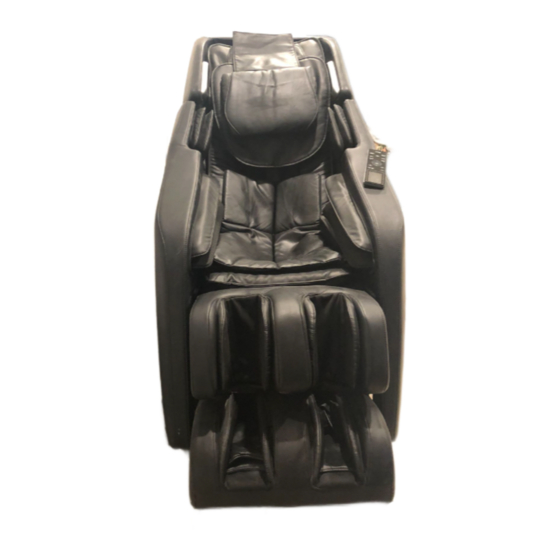
PARTS EXTERIOR PARTS Speakers Pillow Back cushion Seat cushion Armrest Power box Legrest Caster INTERIOR PARTS 3D Massage mechanism Shoulder airbags Arm airbags Back heating pad Calf airbags Foot airbags Foot rollers... -
Page 4: Main Controller
PARTS MAIN CONTROLLER Display screen On/Off Shoulder adjustment ON/OFF UP/DOWN ADJUST Menu Auto mode MENU AUTO Right Left Down Backrest up Footrest up FEET ADJUST BACK ADJUST Footrest down Backrest down 3D massage Leg extend Leg retract FEET EXTEND FEET RETRACT... -
Page 5: Manual Programs
OPERATION Manual Programs Press (Menu button) and scroll down to the Manual option. Press the OK button to select. Press Up or Down arrow keys to choose your desired massage mode. Press the Right arrow key to select and move on to the next menu. MODE Under the Mode function, press Up or Down arrow keys to choose between Kneading, Tapping, Knocking, Shiatsu, Sync or Rhythm. -
Page 7: Setup
SETUP INSTALLATION 1. Carefully lift the chair and all its parts from their packaging. Remove any protective wrapping. Locate the packing list. Check to make sure that all parts are present. 2. Installing the Armrest Attach the connecting rod to the connecting rod mount. Secure with 4 screws. Connect the air tube and cable from the side of the main body to the armrest (not pictured). - Page 8 3. Installing the Legrest...
- Page 9 SETUP 4. Installing all other units Connect the controller to its corresponding port on the power supply box. Insert the power plug of the chair into a wall outlet, then turn on power to return the chair’s backrest to its upright position. Controller Power cord Power cord port...
-
Page 10: Massage Chair Placement
SETUP BEFORE SITTING DOWN Make sure there are no objects, people, or pets in the vicinity of the chair. Use the controller to lower the backrest to its furthest outstretched position. Raise the legrest to its highest position. Make sure that sufficient open space surrounds the chair on all sides. -
Page 11: Grounding Instructions
SETUP GROUNDING INSTRUCTIONS This product must be grounded in the event of an electrical malfunction. Grounding provides a low resistance path for the electric current to reduce the risk of electric shock. The cord is equipped with a built-in equipment-grounding conductor and a 3-prong grounding plug. -
Page 12: Trouble Shooting
Contact U.S. Jaclean Repair Service at 310-538-2298 for assistance. IMPORTANT Do not dismantle or attempt to repair the chair yourself. Doing so will void the warranty and U.S.Jaclean/Daiwa will not bear any responsibility for any subsequent consequences.
Need help?
Do you have a question about the Pegasus DWA-9400 and is the answer not in the manual?
Questions and answers