Table of Contents
Advertisement
Quick Links
Advertisement
Table of Contents

Related Manuals for Siemens EH975ML11E


Summary of Contents for Siemens EH975ML11E
- Page 1 All manuals and user guides at all-guides.com Instruction manual...
- Page 2 All manuals and user guides at all-guides.com EH975ML11E Ø 28 Ø 14,5 Ø 14.5 Ø 28 Ø 21 Ø 21 Ø = cm...
-
Page 3: Table Of Contents
All manuals and user guides at all-guides.com Table of contents Safety information ......Safety instructions . - Page 4 All manuals and user guides at all-guides.com Table of contents Control panel pause ......Basic settings ......Changing the basic settings .
-
Page 5: Safety Information
All manuals and user guides at all-guides.com Safety information Read these instructions carefully. Only after doing this will you be able to operate your appliance properly. Keep the operating and assembly instructions in a safe place. If the appliance is given to another person, ensure the appliance documentation is also included. - Page 6 All manuals and user guides at all-guides.com Cooking using a water bath Cooking using a water bath involves cooking food inside a pot which is in turn placed in another larger pan which contains water. In this way, the food is heated gently and constantly and it is the hot water, not the direct heat of the hotplate, which cooks the food.
-
Page 7: Causes Of Damage
All manuals and user guides at all-guides.com Taking care of the cooling This hob is fitted with a fan in the lower section. Risk of malfunction! If a drawer is fitted beneath the hob you must not keep small objects or paper in it as, if they are picked up, they could damage the cooling fan or affect the cooling system. -
Page 8: Environmental Protection
All manuals and user guides at all-guides.com Hot pots and pans Never place hot pots or pans on the control panel, the display area or the surround. This may cause damage. Hard and pointed objects Damage can occur if hard or pointed objects fall on the hob. -
Page 9: Tips For Saving Energy
All manuals and user guides at all-guides.com The directive provides a framework for the collection and recycling of old appliances, which is valid across the EU. Tips for saving energy Always use the right lid for the pan in question. Cooking without the lid requires four times as much energy. -
Page 10: Suitable Pans
All manuals and user guides at all-guides.com Cleaner and easier to use; spilt food does not burn as much on the hob. Cooking control and safety; the hob supplies or cuts off the heat as soon as the controls are operated. - Page 11 All manuals and user guides at all-guides.com Characteristics of the base The characteristics of the base of the pan can affect of the pan the evenness of the cooking. Pans which are made from heat-diffusing materials (such as "sandwich" pans made from stainless steel) distribute the heat evenly, saving time and energy.
-
Page 12: Getting To Know Your Appliance
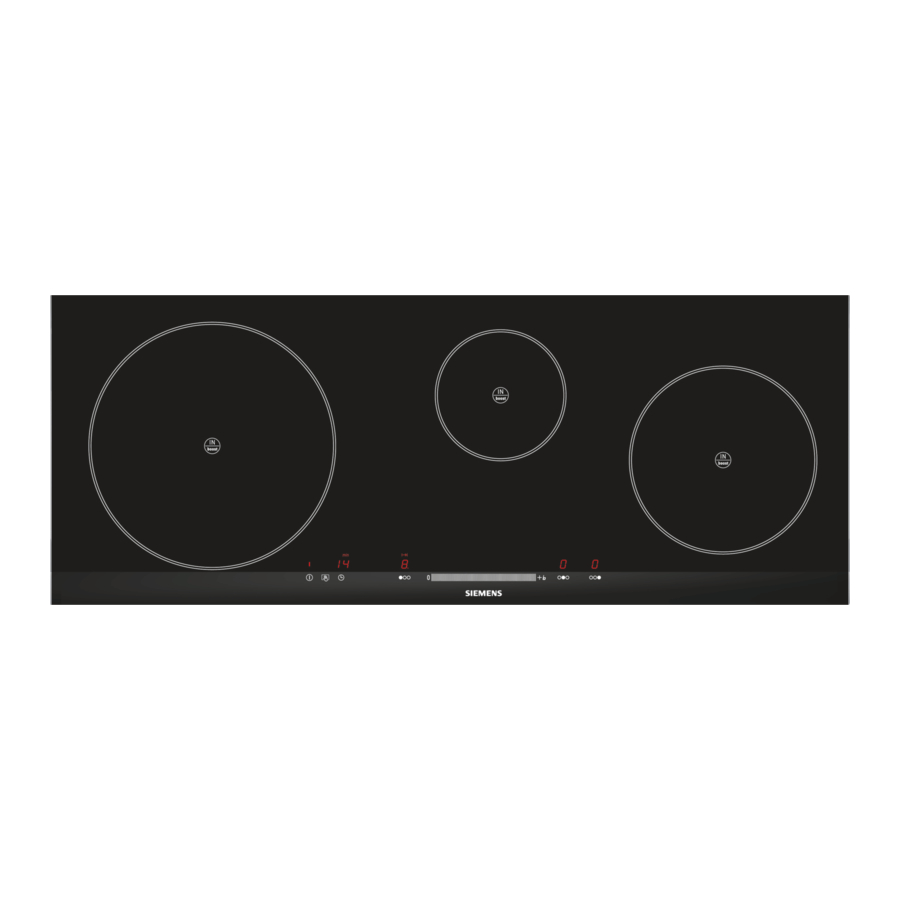
All manuals and user guides at all-guides.com Getting to know your appliance An overview of the models with their dimensions is given on page 2. The control panel Indicators for heat setting 1 9 efficiency 0 residual heat t/s Powerboost function Control surface for Programming zone for @ main switch... -
Page 13: The Hotplates
All manuals and user guides at all-guides.com The hotplates Hotplate Switching on and off Single cooking zone Ensure the pan is the right size. Only use pans which are suitable for induction cooking, see the section on Suitable pans". Residual heat The hob has a residual heat warning light for each warning light hotplate to show those which are still hot. -
Page 14: Adjusting The Hotplate
All manuals and user guides at all-guides.com Adjusting the hotplate The required heat setting can be adjusted in the programming zone. Heat setting 1 = minimum Heat setting 9 = maximum Each heat setting has an intermediate step. This is marked with a dot. - Page 15 All manuals and user guides at all-guides.com For bringing liquids to the boil, use heat setting 9. Slow cooking Duration of level slow cooking in minutes Melting Chocolate, ganache, butter, honey Gelatin Heating and keeping warm Vegetable and pulse stew (e.g. lentils) Milk** 1.
- Page 16 All manuals and user guides at all-guides.com Slow cooking Duration of level slow cooking in minutes Pan-frying Fillets, with or without pastry or breadcrumb coating 6 10 min Frozen fillets 8 12 min Chops, with or without breadcrumb coating 8 12 min Steak (3 cm thick) 8 12 min Breast (2 cm thick)
-
Page 17: Childproof Lock
All manuals and user guides at all-guides.com Childproof lock The cooktop can be protected against being accidentally turned on to ensure that children do not switch on the elements. Switching the childproof lock on The hob must be switched off. and off To switch on: touch the # symbol for approximately 4 seconds. -
Page 18: Timer Function
All manuals and user guides at all-guides.com On hotplate number 1, the Powerboost function can be activated at any time. How to activate Follow the steps below: Select heat setting j. Touch the programming zone on the —n symbol. The function has been activated. Touch the programming zone on the —n symbol. - Page 19 All manuals and user guides at all-guides.com 2. Touch the 0 symbol. The x indicator for the desired hotplate lights up. ‹‹ lights up in the timer display. To select a different hotplate, touch the 0 symbol repeatedly until the x indicator for the desired hotplate lights up.
-
Page 20: Automatic Timer
All manuals and user guides at all-guides.com Note You can set a cooking time of up to 99 minutes. Automatic timer You can use this function to preselect a cooking time for all hotplates. Each time a hotplate is switched on, the preselected cooking time then counts down. -
Page 21: Automatic Time Limit
All manuals and user guides at all-guides.com Automatic time limit If a hotplate is in use for a long time without the setting being changed, the automatic time limit is activated. The hotplate stops heating. F and 8 flash alternately on the hotplate display. -
Page 22: Basic Settings
All manuals and user guides at all-guides.com Basic settings Your appliance has various basic settings. You can adapt these settings to your needs. Indicator Function ™‚ Automatic childproof lock ‹ Switched off.* ‚ Switched on. ™ƒ Audible signal ‹ Confirmation signal and operation error signal switched off. ‚... -
Page 23: Changing The Basic Settings
All manuals and user guides at all-guides.com Changing the basic The hob must be switched off. settings Switch on the hob. Within the next 10 seconds, touch the j symbol for 4 seconds. ™1 appears on the left hand display and 0 on the right hand display. -
Page 24: Care And Cleaning
All manuals and user guides at all-guides.com Care and cleaning The recommendations and warnings given in this section are designed to help you clean and maintain your cooking hob in optimum condition Cooking hob Cleaning Clean the hob after each use. This will prevent spillages from burning. -
Page 25: Hob Surround
All manuals and user guides at all-guides.com Hob surround To prevent damage to the hob surround, follow the advice below: Only use warm water with a little soap Never use sharp or abrasive products Do not use the glass scraper Fixing malfunctions Malfunctions are generally caused by minor faults. -
Page 26: Normal Noises Heard During Appliance Operation
All manuals and user guides at all-guides.com Display Malfunction Measure The electronic system has Wait until the electronic system has cooled down overheated and the sufficiently. Then press any symbol on the hob. If the corresponding hotplate indication continues, notify the technical assistance has been switched off service. -
Page 27: After Sales Service
All manuals and user guides at all-guides.com High-pitched whistling This noise is mostly produced by pans which are composed of different superimposed materials, as soon as these are used at full heating power and at the same time on two hotplates. This whistling disappears or lessens as soon as the power is reduced. - Page 28 All manuals and user guides at all-guides.com www.siemens international.com 9000308553(1W090Z) 01 8908...
Need help?
Do you have a question about the EH975ML11E and is the answer not in the manual?
Questions and answers