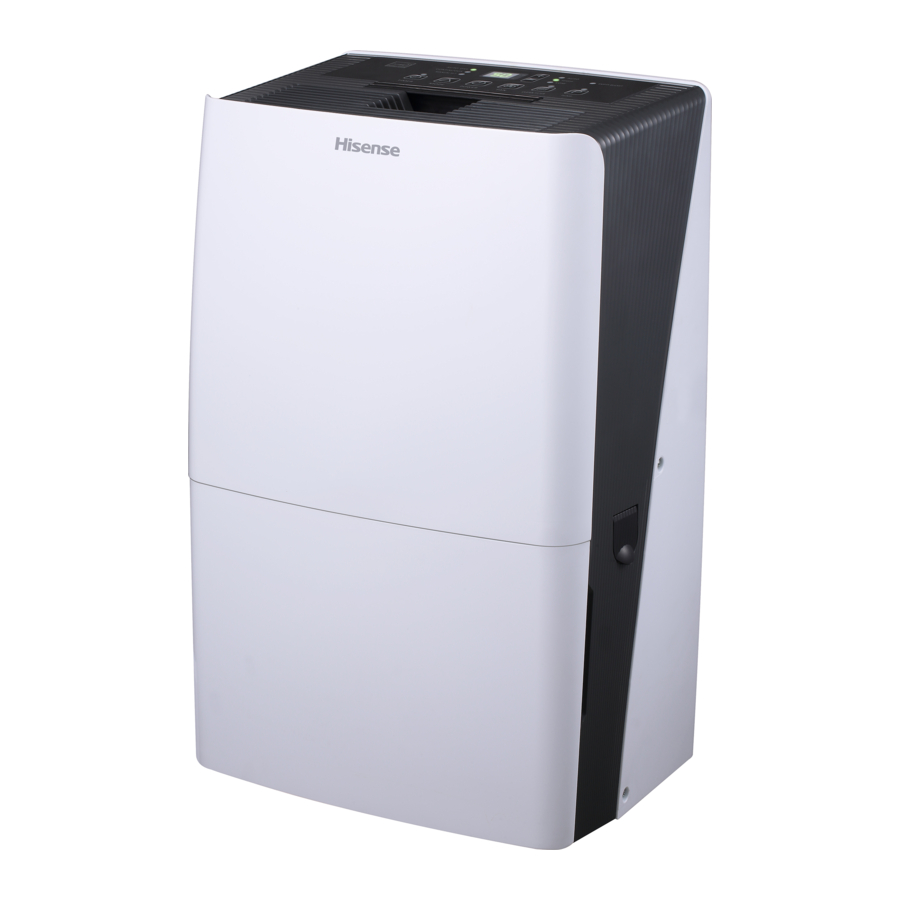
Advertisement

DH7019K1G
DH7019KP1WG
DH7019W1WG
1-877-465-3566

Advertisement

Table of Contents
loading

Summary of Contents for Hisense DH7019KP1WG

  • Page 1 DH7019K1G DH7019KP1WG DH7019W1WG 1-877-465-3566...
  • Page 2 TABLE OF CONTENTS PRODUCT OVERVIEW DEHUMIDIFIER SAFETY INSTALLATION REQUIREMENTS Electrical Requirements Location Requirements DEHUMIDIFIER USE Setting the Controls Draining the Dehumidifier Normal Sounds DEHUMIDIFIER CARE Cleaning the Air Filter Cleaning the Dehumidifier TROUBLE SHOOTING Control Panel Handle Quick Connect Hose Air Intake Grill (for pump function and Air Filter...
  • Page 3: Installation

    To reduce the risk of explosion, fire, death, electric shock, scalding, or injury to persons when using this appliance, follow basic precautions, including the following: INSTALLATION ■ Plug into a grounded 3 prong outlet. Do not remove ground prong. ■ Never attempt to operate this appliance if it is damaged, malfunctioning, partially disassembled, or has missing or broken parts, including a damaged cord or plug.
  • Page 4: Operation

    ■ Do not modify or extend the power cord. ■ If the product makes a strange noise or emits a smell or smoke, pull the power plug out and contact Hisense customer service. ■ Avoid placing the dehumidifier or other heavy objects on top of the power cord.
  • Page 5 To reduce the risk of injury to persons ,malfunction, or damage to the product or property when using this appliance, follow basic safety precautions, including the following: INSTALLATION ■ Use this appliance only for its intended purpose. This product is not designed for preserving precision instruments, tableware or art works. ■...
  • Page 6 This dehumidifier must be grounded. This dehumidifier is equipped with a power supply cord with a three-prong grounding plug. The cord must be plugged into a mating, grounded three-prong outlet, grounded in accordance with all local codes and ordinances. If a mating outlet is not available, it is the customer's responsibility to have a properly grounded three-prong outlet installed by a qualified...
  • Page 7 Control Panel Control Type 1 AUTO DRY AUTO CONTINUOUS HIGH EMPTY BUCKET MANUAL SET TIMER MODE POWER CLEAN FILTER Control Type 2 AUTO DRY AUTO CONTINUOUS HIGH EMPTY BUCKET MANUAL SET TIMER MODE POWER CLEAN FILTER PUMP NOTE: water freezes inside the product. At temperatures over 90ºF(32.2ºC), the internal The control panel of your model may differ from temperature of the product trips a protective...
  • Page 8 NOTE: Once the humidity set point is reached, the dehumidifier will stop running continuously, and the fan will be off periodically. The fan may periodically turn on, to read the humidity level, without the compressor running. Desired Humidity-Mode 1. Press MODE to select the desired humidity setting.
  • Page 9 To set Timer to turn on the dehumidifier, with Humidity Level previous setting: 1. Turn off the dehumidifier. 1. Press the Plus or Minus button to set the 2. Press TIMER. Timer indicator light will flash. desired humidity level. Desired humidity in The display will show remaining time before the digital display will flash for 5 seconds after the dehumiditier will turn on.
  • Page 10 Pump (for Pump function model only) Site for installing hose for pump function: This feature pumps water horizontally or vertically. Pump water to a drain, out a window or anywhere you think suitable. IMPORTANT: Water You must connect the drain hose to the unit Container before pressing the Pump button, or the pump will not operate.
  • Page 11 4. Fold down the handle and reinstall the bucket. Option 1 Bucket Draining If a floor drain is not available, or you do not plan to run your dehumidifier continuously, you may want to simply empty the bucket. IMPORTANT: If the Empty Bucket light comes on, the 1.
  • Page 12: Connector Type

    3. Remove bucket. Option 3 PUMP-Drain (for Pump function model only) 4. Attach a garden hose to the drain hose connector on the inside of the dehumidifier. This feature can help to pump water horizontally Securely attach the hose to be sure there is or vertically with a 16 feet (487.68cm) hose no water leak.
  • Page 13 2.To disconnect the drain hose, push connector A 2.To disconnect the drain hose, press the release in, and then pull connector B out. button on connector A, and then pull connector B out. Press 1. Push 2. Pull Button 1. Press 2.
  • Page 14: Normal Sounds

    4. Clean the water filter with soft brush. Water filter cleaning ■ If the filter is very dirty, wash it in water and a (For pump function model only) neutral detergent. ■ Clean the water filter every 3 months. 1. Unplug the unit before cleaning it. After every 3 months of usage, the water filter need to be cleaned for a smooth water pump running.
  • Page 15: Cleaning The Dehumidifier

    Your new dehumidifier is designed to give you many years of dependable service. This section explains how to clean and care for your dehumidifier. To avoid damage to the compressor, never store or ship the appliance upside down or sideways. The air filter is removable for easy cleaning.
  • Page 16 ■ Dehumidifier will put out warm air under normal operating conditions. Dehumidifier displays error codes ■ If the dehumidifier displays an error code, please contact Hisense customer service. ■ Is the power cord plugged into a grounded three-prong outlet? Plug into a grounded three-prong outlet.
  • Page 17 Version NO. 1899864-03...

This manual is also suitable for:

Dh7019k1gDh7019w1wgDh3019k1w

Table of Contents