Advertisement
Advertisement

Summary of Contents for Breville Smart Air Plus
- Page 1 Smart Air Plus Instruction Book - LAP500...
-
Page 2: Table Of Contents
RECOMMENDS • When unpacking the air SAFETY FIRST purifier, check to see you have received all the items At Breville we are very safety listed in the parts list, before conscious. We design and discarding the packaging. manufacture consumer products with the safety of you, •... - Page 3 • Children should be any manner, return the air supervised to ensure they do purifier to your nearest Breville service centre for not play with the air purifier. examination, electrical or • Always turn off and unplug mechanical adjustment the air purifier before moving, or repair.
- Page 4 • Fully unwind the power cord appliance becomes damaged before use. in any way. Return • Connect only to a 230V or the entire appliance to 240V power outlet. the nearest authorized Breville Service Centre for examination and/or repair.
- Page 5 • Any maintenance other than that may arise during the cleaning should be performed storm and which may inadvertently cause damage at an authorised Breville Service Centre. to the appliance and its electronic componentry. • This appliance is for household use only.
-
Page 6: Components
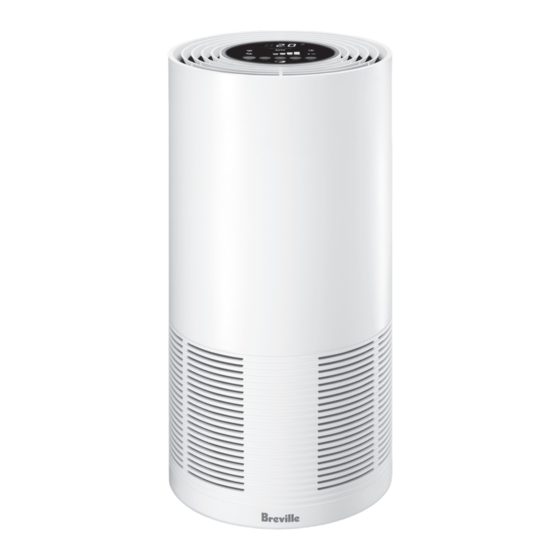
Components A. Air Outlet G. 3-Layer Filter B. Control Panel H. Base Plate C. Main Housing Body I. Locking Knob D. Air Quality Sensor E. Air Inlet NOT PICTURED F. Microbe Shield Light and Holder Power Cord Mesh Filter... -
Page 7: Control Panel
SPEED AUTO TIMER A. LED Screen The Breville Smart Air Plus Purifier has a visible air quality sensor light around the control panel. The light illuminates to indicate the B. Power On/Off and Filter Reset Button quality of the surrounding air according to the table following: C. -
Page 8: Features
Assembly Features BEFORE FIRST USE YOUR BREVILLE AIR PURIFIER • Remove and safely discard any packaging Your Breville Smart Air Plus Purifier material or promotional labels attached to improves your indoor air quality using your air purifier and filter. 4 distinct levels of protection. -
Page 9: Functions
LIVE PURITY CONTROL enters night mode and the fan speed will automatically change to Low. • Your Breville Smart Air Plus Purifier has a built-in air quality sensor to detect changes to • Press any button on the control panel to air quality in the surrounding area. - Page 10 FAN SPEED/TURBO MODE AUTO MODE • When in Auto mode, the air purifier will NOTE automatically adjust the speed to help filter the air based on the sensor reading. The air purifier will resume in the last programmed setting once it has been turned •...
-
Page 11: Care, Cleaning & Storage
Thorough cleaning should occur at least once every six months. BREVILLE RECOMMENDS • Replace the mesh filter and cover when • Always ensure the air purifier is turned clean, ensuring it clicks into place. - Page 12 See the table below for the replacement 1. Carefully, turn your air purifier upside down product code to suit this Breville Air Purifier. and remove the locking knob from the base Breville Air Purifier Filter Replacement of the unit.
-
Page 13: Troubleshooting
• Check that the air purifier has been assembled correctly and the locking knob has been tightened. • Check that the unit is on a level surface. • UV-C Light not illuminating Contact Breville service centre for UV-C light replacement. - Page 14 NOTE...
- Page 15 NOTE...
- Page 16 Web: www.breville.com Breville, the Breville logo, Master Every Moment, Smart Air Plus, SensAir and the Microbe Shield logo are trademarks of Breville Pty. Ltd. A.B.N. 98 000 092 928. Copyright Breville Pty. Ltd. 2019. Due to continued product improvement, the products illustrated/photographed in this booklet may vary slightly from the actual product.


Need help?
Do you have a question about the Smart Air Plus and is the answer not in the manual?
Questions and answers