Advertisement
Note: Be sure the unit is disconnected from the power supply before proceeding with any installation.
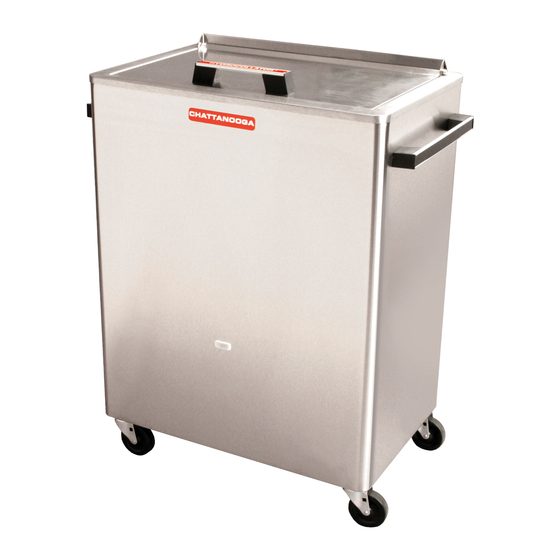
Thermostat Installation Instructions (Models M-2 and SS-2):
1. Unplug the unit from the power supply.
2. Remove the steam packs and stainless steel rack. Empty the
water from the tank.
3. Remove the junction box cover (A) from the back of the unit
by taking out two screws on the side of cover (B), lower the
rear and pull toward you.
4. Remove the thermostat from the bracket by taking out two
screws on the face of bracket (C).
5. Disconnect the two wire leads from the thermostat.
6. Inside the tank, remove the thermostat bulb from the element
bracket (D).
7. Remove the 3/4" brass nut from the ferrule fitting (E), using a
short open end wrench. Slide the bulb and capillary tube out
of the tank from the bottom. NOTE: Use extreme caution
when replacing the thermostat. Do not bend the capillary tube
at sharp angles.
8. Place the bulb through the tank bottom and replace the nut
on then ferrule fitting (E). Note the rubber gasket is located
against the bottom of the tank (F).
9. Clip the thermostat bulb to the heating element bracket (D).
10. Connect the electrical wires to the thermostat and mount the
thermostat to the bracket (C). Check the alignment of the
adjusting stem in the hole of the bracket.
replacing the cover, check that the capillary tube is not
touching any electrical connections.
11. Replace the junction box cover (A).
12. Fill the tank and replace the steam packs and stainless steel
rack.
13. Check the operating temperature of the unit before using the
Hotpacs. The unit is recommended to be operated at 160°F
to 165°F. Temperature adjustments can be made by turning
the adjusting stem. Turn clockwise to increase temperature
and counter clockwise to decrease.
CAUTION: Make very minor adjustments and monitor the
temperature after each adjustment. Never adjust the screw
inside the adjustment stem.
14.
After the unit has been heated, disconnect the unit from the
power supply and remove the junction box cover and check
for leaks.
Hydrocollator Thermostat Installation
NOTE: Before
Advertisement
Table of Contents

Related Manuals for Chattanooga Hydrocollator M-2


Summary of Contents for Chattanooga Hydrocollator M-2
- Page 1 Hydrocollator Thermostat Installation Note: Be sure the unit is disconnected from the power supply before proceeding with any installation. Thermostat Installation Instructions (Models M-2 and SS-2): 1. Unplug the unit from the power supply. 2. Remove the steam packs and stainless steel rack. Empty the water from the tank.
- Page 2 Thermostat Installation Instructions (Models E-l, E-2 and SS): 1. Unplug the unit from the power supply. 2. Remove the steam packs and stainless steel rack. Empty the water from the tank. 3. Turn the unit on its side and remove the bottom junction box cover (A).
Need help?
Do you have a question about the Hydrocollator M-2 and is the answer not in the manual?
Questions and answers