Advertisement
Quick Links
1
- Unpack the printer and carefully remove all packaging materials.
- Make sure the printer is turned OFF
- Connect the printer to your host computer (USB or Network).
- Plug the power cord into the jack connector at the rear of the printer,
!hen plug the power cord into a properly grounded outlet. (figure 1)
Note: Please note that the parallel port (LPT1) is DISABLED on all printers equipped with a Network interface!
2
INSTALL THE RIBBON (*)
-
Push down the ribbon access window to unlock and open the cover.
- Place the plastic core on the ribbon rewind spindle.(figure 2)
- Mount the ribbon rewind core on the front hubs.
- lnstall a ribbon on the ribbon supply spindle (figure 3).
- Mount the ribbon supply spindle on the rear hubs.
- Attach the ribbon leader to the ribbon rewind plastic core.
- Rotate the ribbon rewind core until the black section is visible and close the ribbon access window.
figure 2
Ribben
* Skip this step if the ribbon is pre-installed !
;°'9�
\ \1 /
Please check the included CD to watch the "ribbon installation" instruction movie.
TTP-343 Quick lnstallation Guide
_ _
figure 3
core
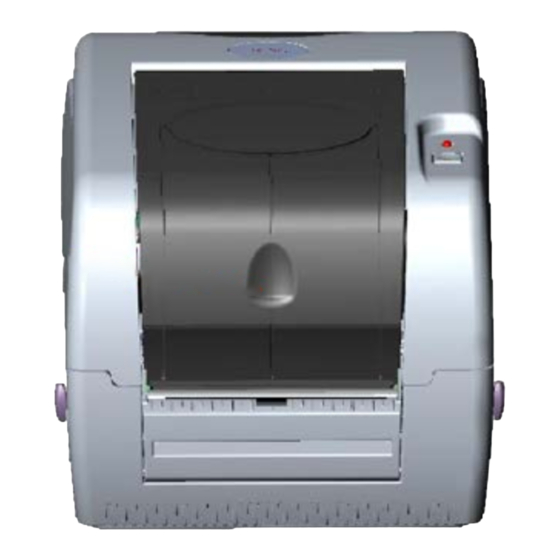
3
INSTALL THE LABELS
- lnsert the 1" Label spindle (figure 4) into your label roll.
- Open the printer's top cover by releasing the green levers (Figure 5) and
lift the cover to the maximum angle, !hen release the top cover.
- Place the label spindle with the labels into the printer.
- Feed the labels, printing side up, under the teflon bar and between the
label guide and pass over the platen. (Figure 6)
-Adjust the green center-biased label guides to slightly touch the edges of the label backing.
- To close the printer top cover, lift the cover to the ultimate open angle !hen use both hands
to close the cover gently. Make sure the cover locks latch securely.
figure 5
fD
4
CALIBRATE THE LABELS
- Turn your printer on while keeping the feed button pressed.
- Release the feed button as soon as the LED Indicator turns RED.
- The printer will now detect and feed a few labels.
Note : Calibrating the printer is only necessary when changing label stock !
ASML portal instructions at the back of this document
figure 4
1"Labe1Spindle
figure 6
:--
Support Bar
----:7.�
-i"'�{
Paper Roll Mount
Teflon Bar
Paper Guide
Top Cover Open Lever
figure 7
Advertisement

Related Manuals for Altec TTP-343


Summary of Contents for Altec TTP-343
-
Page 1: Install The Ribbon
TTP-343 Quick lnstallation Guide INSTALL THE LABELS figure 4 - Unpack the printer and carefully remove all packaging materials. - lnsert the 1" Label spindle (figure 4) into your label roll. - Make sure the printer is turned OFF - Open the printer's top cover by releasing the green levers (Figure 5) and - Connect the printer to your host computer (USB or Network).
Need help?
Do you have a question about the TTP-343 and is the answer not in the manual?
Questions and answers