Table of Contents
Advertisement
Quick Links
Advertisement
Table of Contents

Subscribe to Our Youtube Channel
Related Manuals for KINGS AKF80


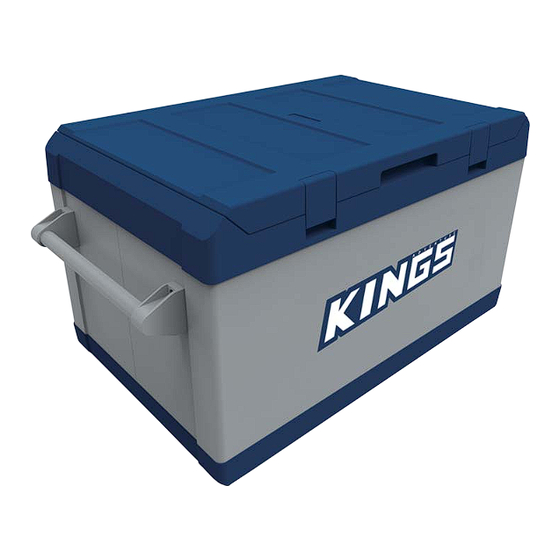
Summary of Contents for KINGS AKF80
- Page 1 Compressor Refrigerator Instruction Manual...
-
Page 2: Table Of Contents
Please read this operating manual carefully before starting the device. Keep it in a safe place for future reference. If the device is passed on to another person, this operating manual must be handed over to the user along with it. The manufacturer cannot be held liable for damage resulting from improper usage or incorrect operation. - Page 3 POWER ° DOWN – ERROR FUSE 100-240V~AC 12/24V DC...
- Page 4 CoolFreeze...
-
Page 6: Notes On Using The Manual
Explanation of symbols Notes on using the manual DANGER! Safety instruction: Failure to observe this instruction will cause fatal or serious injury. WARNING! Safety instruction: Failure to observe this instruction can cause fatal or serious injury. CAUTION! Safety instruction: Failure to observe this instruction can lead to injury. -
Page 7: General Safety
Safety instructions General safety DANGER! z On boats: If the appliance is powered by the mains, ensure that the power supply has a residual current circuit breaker. WARNING! z Do not operate the device if it is visibly damaged. z If this device's power cable is damaged, it must be replaced by the manufacturer, customer service or a similarly qualified person in order to prevent safety hazards. -
Page 8: Operating The Device Safely
Safety instructions z Only connect the device as follows: – With the DC cable to a DC plug socket in the vehicle (e. g. cigarette lighter) – Or with the 230 V connection cable to the 230 V AC mains supply z Never pull the plug out of the socket by the cable. -
Page 9: Scope Of Delivery
Scope of delivery Scope of delivery fig. 1, page 1, shows the scope of delivery. Item Quantity Description Cooler Connection cable for 12/24 Vg connection Connection cable for 100–240 V~ connection Carrying handle, consisting of: – 2 holders – 1 handle –... -
Page 10: Operating And Display Elements
Function description Scope of functions: z Power pack with priority circuit for connecting to the AC mains z 3-level battery monitor for protecting the vehicle battery z Programmed turbo mode for rapid cooling z Display with temperature gauge z Temperature adjustment (with two buttons in steps of 1 °C (2 °F) z Detachable carrying handles z Emergency override switch... -
Page 11: Connections
Operation Connections Connection sockets (fig. 3, page 1): Item Description Connection socket AC voltage supply Fuse holder Connection socket DC voltage supply Operation Before initial use NOTE Before starting your new cooler for the first time, you should clean it inside and outside with a damp cloth for hygienic reasons (please also refer to the chapter “Cleaning and maintenance”... -
Page 12: Energy Saving Tips
Operation Turning the lid around You can turn the lid around if you want to open the lid from the other side. To do this, proceed as follows: ➤ Undo the screws on the lock lugs (fig. 5 1, page 2) and remove them. - Page 13 Operation Using the fused DC plug NOTICE! Danger of damage! For protection of the device the DC cable supplied includes a fuse inside the plug.Do not remove the fused DC plug. Only use the DC cable supplied. ➤ Plug the DC connection cable (fig. 1 2, page1) into the DC voltage socket of the cooler (fig.
-
Page 14: Using The Battery Monitor
Operation Using the battery monitor The device is equipped with a multi-level battery monitor that pro- tects your vehicle battery against excessive discharging when the device is connected to the on-board 12/24 V supply. If the cooler is operated when the vehicle ignition is switched off, the cooler switches off automatically as soon as the supply voltage falls below a set level. -
Page 15: Using The Cooler
Operation ✓ Display will be as follows: Lo(LOW), d(MED), Hi(HIGH) ✓ The selected mode then appears in the display for a few sec- onds. The display flashes several times before it returns to the current temperature. NOTE When the cooler is supplied by the starter battery, select the bat- tery monitor mode “HIGH”. -
Page 16: Setting The Temperature
Operation NOTICE! Danger from excessively low temperature! Ensure that the only those objects are placed in the cooler that are intended to be cooled at the selected temperature. ➤ Press the “ON/OFF” button (fig. 2 1, page 1) for between one and two seconds. -
Page 17: Switching Off The Cooler
Operation Switching off the cooler ➤ Empty the cooler. ➤ Switch the cooler off. ➤ Pull out the connection cable. If you do not want to use the cooler for a longer period of time: ➤ Leave the cover slightly open. This prevents odour build-up. Defrosting the cooler Humidity can form frost in the interior of the cooling device or on the vaporiser. -
Page 18: Replacing The Device Fuse(Dc)
Cleaning and maintenance 6.11 Replacing the plug fuse (DC) ➤ Pull the adapter sleeve (fig. 64, page 3) off of the plug. Unscrew the screw (fig. 6 5, page 3) out of the upper ➤ half of the housing (fig. 1, page 3). -
Page 19: Warranty
Warranty Warranty Dometic Australia Pty Ltd · ABN 62086366305·Po Box 2495, Burleigh DC, QLD 4220,Australia Warranty period: Full 12 month warranty from date of purchase against all manufacturing defects. What does the warranty cover : Under normal consumer usage conditions, this warranty covers: a. -
Page 20: Troubleshooting
Troubleshooting Troubleshooting Fault Possible cause Suggested remedy Device does not func- Battery voltage is too Test the battery and charge it as needed. tion, LED does low. not glow. No voltage present in the Try using another plug socket. AC voltage socket. The device fuse is defec- Replace the device fuse, see chapter tive. -
Page 21: Disposal
If you wish to finally dispose of the product, ask your local recycling centre or specialist dealer for details about how to do this in accordance with the applicable disposal regulations. Technical data AKF80 Connection voltage: 12/24 V and 100–240 V Rated current: –... - Page 22 For warranty service & technical enquiries please call 1800 21 21 21 (AUS) or 09 622 1490 (NZ) or visit website dometic.com to locate your nearest Service Agent and place your claim through the Service Agent.
Need help?
Do you have a question about the AKF80 and is the answer not in the manual?
Questions and answers