
Related Manuals for ZEPCAM T2 Series


Summary of Contents for ZEPCAM T2 Series
- Page 1 DSUM-1.4...
- Page 2 Thank you for buying a ZEPCAM T2 series Docking Station. We hope you will enjoy our product as much as we enjoyed creating it. Before starting please check: ● If the product or the packaging is not visibly damaged. ● Make sure all the packaging content is complete ( Zepcam T2 series Docking Station, Power brick, RJ-45 Gigabit Ethernet cable, Zepcam certified HDMI cable ) ●...
-
Page 3: Product Description
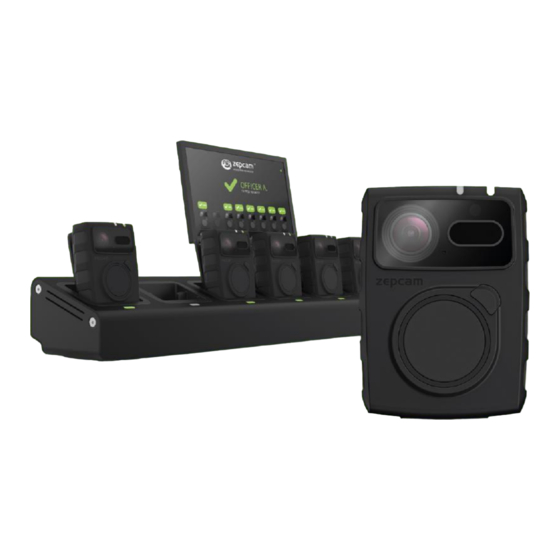
PRODUCT DESCRIPTION ● Abbreviations ● Functionality ● Prerequisites ● Zepcam T2 series Docking Station ● Dimensions ● Indicators CONFIGURING YOUR DOCKING STATION Placement ● How to install the docking station ● ● How to use ● Configuring docking station with USB ONBOARD WEBSITE ●... - Page 4 Zepcam Cloud Functionality The Zepcam T2 series Docking Station (DS) makes recharging of T2(+) Bodycams and data offload easy, secure and fast. Simply dock the T2(+) in the DS to transfer recordings and GPS data from T2(+) bodycams to the DS. The files are then offloaded from the DS to the server or cloud using an Ethernet cable.
- Page 5 OWN server or an active internet connection if you are using the Zepcam Cloud. During the setup process you will also need a pc or laptop for configuring and installing the DS.
- Page 6 H = 70 mm Weight = 1600g Indicators Every T2(+) position has a Position Indicator LED (PIL) as shown in the figure above. In the table below you can see the different indicators and their meaning. More information and FAQ on: www.zepcam.com...
- Page 7 The DS is performing a factory reset The DS also has two status LEDS as shown in the figure below. Colour Pattern Status No link Linked to server Pulsating Offloading to the server Green No power Power Blinking Booting system More information and FAQ on: www.zepcam.com...
- Page 8 3. Get the IP address of the DS, to do this you’ve got 3 different options: a. If you have a pc in the same network as your DS install and launch the Zepcam Finder program. When it has launched search for your DS serial (D2-XXXX-XXXXX-XX) and look for the IP address.
- Page 9 If option a and b do not apply, connect your DS directly to a laptop or pc. Configure your laptop to a fixed IP address in the 192.168.251.x range. The fallback IP address of the DS is 192.168.251.2 which should now be accessible. More information and FAQ on: www.zepcam.com...
- Page 10 8. Press Add Docking Station, in the pop up menu fill in a name for your DS and press submit. 9. Copy the pairing code returned by the server. 10. Go back to the webpage of your DS and click “Server Pairing” More information and FAQ on: www.zepcam.com...
- Page 11 3. When new images or recordings are available on the T2(+), the DS starts offloading the content to its onboard storage. During offload the PIL will start pulsating red. 4. When all content of the T2(+) is copied, it will be offloaded to the Zepcam Cloud or Zepcam Server.
- Page 12 DS must be able to reach the server. In the same way you can firmware upgrade the DS, by copying the appropriate firmware.zep file on the usb stick and put the stick into the DS. More information and FAQ on: www.zepcam.com...
- Page 13 When you’ve set up your system you can see all relevant information of your DS on the overview page. The page can be found on the onboard website at “Overview” → “Overview”. The screenshot below shows a view of the overview page while the DS is actively used. More information and FAQ on: www.zepcam.com...
-
Page 14: System Log
“Reset” button at the bottom of the page and then pressing “Save & Apply”. The settings that can be changed on this page are: More information and FAQ on: www.zepcam.com... - Page 15 ● Password and Confirmation: for configuring your custom DS password, highly recommended On the next page “Network Settings” you can change all network related settings. ● Protocol: fixed or DHCP client More information and FAQ on: www.zepcam.com...
- Page 16 ● Network limiter: Limit the connection to the server, use this when you have a shared link and want to preserve some bandwidth for other usage. [NOTE] For cloud pairing you need a working dns. On the last page “Advanced settings” you can change advanced settings: More information and FAQ on: www.zepcam.com...
- Page 17 ● SSH access: Only needed when asked by Zepcam for remote support or diagnostics ● ACL: Add a list of allowed IP addresses for the management web interface.
- Page 18 ● Restore backup: used to upload a generated .bin backup file to restore all the configured settings of your DS. ● Factory reset*: will factory reset your DS to all the default settings, this will also format your storage. ● Format storage**: will format your storage. More information and FAQ on: www.zepcam.com...
- Page 19 A DS that is not paired will show all PILs red. Make sure you’ve got a pairing code ready. You can find how to get your pairing code in the Zepcam Manager user manual, in chapter Pairing Zepcam T2 Docking Station Once paired it can be found at “System”...
- Page 20 ‘Parent’ device will show the T2’s and officer ID input from other devices. A more in depth view of this functionality is given in the chapter “Dynamic officer ID” later in this manual. The page can be found at “System” → “Monitor Sharing”. A screenshot of the page can be found below. More information and FAQ on: www.zepcam.com...
- Page 21 Onboard website of the Docking Station and go to System → Settings → Advanced Settings where you can enable “T2(+) firmware”. By default this setting is disabled. When Zepcam Manager has new T2(+) firmware available it will automatically upgrade the T2(+).
- Page 22 “Users”. Click the “Add User” button and fill in the information. In the User Id fill in a custom 6 or 8 character code (case insensitive), this will be your officer ID. Click submit and you’re all set up. More information and FAQ on: www.zepcam.com...
-
Page 23: Revision History
The dot in the right upper screen is green when a serverlink is ok, and red when there is no connection. [NOTE]: *If the input field does not appear, make sure your DS is paired and connected to the Zepcam Server... - Page 24 BA & ER DSUM-1.1 27-May-2018 Advanced GUI new items, firmware upgrades DSUM-1.2 22-Aug-2018 Updated images and text for v1.9.00 DSUM-1.3 01-Nov-2018 Added New T2 Firmware update DSUM-1.4 17-Sept-2019 Updated for T2+ and R1 2019 More information and FAQ on: www.zepcam.com...
Need help?
Do you have a question about the T2 Series and is the answer not in the manual?
Questions and answers