Advertisement
Quick Links
Advertisement

Related Manuals for Bestway HYDRIUM Series


Summary of Contents for Bestway HYDRIUM Series
- Page 1 Visit Bestway YouTube channel S-S-005667...
- Page 2 Attention! Atenção! ¡Atención! Before setting up your pool Antes de montar a sua piscina Antes de instalar la piscina ensure your selected location is certifique-se que a localização asegúrese de que la completely firm and level. que seleccionou está ubicación elegida esté Assemble the pool on the completamente firme e nivelada.
- Page 3 NOTE: The liner of the steel wall pool is designed to be smaller than the steel wall for technical reasons. If you find it difficult to assemble the liner, place the liner under the sun for one hour which will make it more pliable. You should then be able to assemble the liner step by step, stretching it by hand at the same time.
- Page 4 NOTA: Il rivestimento della piscina con pareti in acciaio è progettato per essere più piccolo delle pareti in acciaio per motivi tecnici. Se montare il rivestimento risulta difficile, posizionare il rivestimento sotto il sole per un'ora in modo che diventi più flessibile. Inoltre, montare il rivestimento passo dopo passo, tirandolo contemporaneamente con le mani.
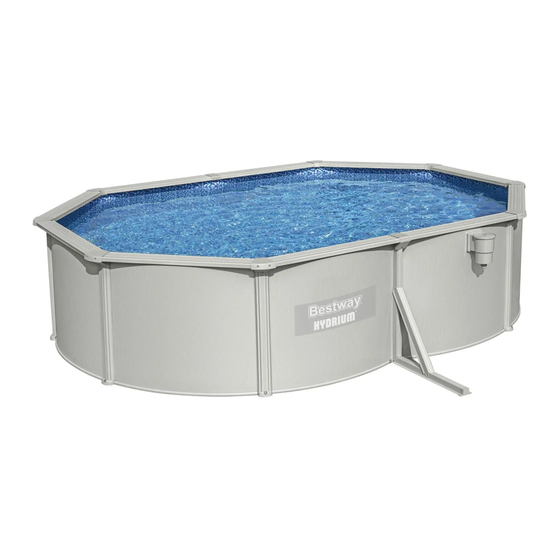
- Page 5 HYDRIUM OVAL - Keep children under supervision in the aquatic environment. No diving. - Removable ladders shall be placed on a horizontal surface. POOLS - Irrespective of materials used for swimming pool construction, accessible surfaces have to be checked regularly to avoid OWNER’S MANUAL injuries.
- Page 6 005 006 007 008 PART LIST OF SKIMMER Name Quantity Spare Part No. Hose attachment P6774 Cover P6991 Basket P6776 Skimmer P6777 Weir P6992 Gasket P6993 Face plate P6780 M5x22 screw O-ring Plug P6813 Tools Required (not included): Installation usually takes approximately 3 hours with 2-3 people excluding earthworks and filling.
-
Page 7: Selecting A Suitable Location
SELECTING A SUITABLE LOCATION WARNING: Leveling is extremely important. Carefully select the location for your new pool. This is the most important decision you will have to make to ensure the safety and success of your pool’s construction. A poorly-chosen location could cause problems in the future that may cause injury, death or financial loss. - Page 8 0° S-S-005667...
- Page 9 16.4’ x 12’ x 48” 20’ x 12’ x 48” 24’ x 12’ x 48” S-S-005667...
- Page 10 S-S-005667...
- Page 11 S-S-005667...
- Page 12 S-S-005667...
- Page 13 #30 #03 #30 #03 S-S-005667...
- Page 14 S-S-005667...
- Page 15 NOTE: Before connecting valve to the pool, fill the pool leaving 5 - 6cm of space between the position of the connection valve and water surface. WARNING! Never permanently install the connection valve before the water is within a few centimeters of them because the liner has to be properly taut from the pressure of the water.
- Page 16 OPMERKING: Vooraleer de klep te verbinden met het zwembad, vul het zwembad en laat daarbij 5 - 6 cm ruimte tussen de positie van de aansluitingsklep en het wateroppervlak. WAARSCHUWING! Installeer nooit de aansluitingsklep permanent voor het water binnen enkele cm ervan staat omdat de bekleding strak genoeg moet zijn door de druk van het water.
- Page 17 S-S-005667...
- Page 18 15cm 15cm 15cm S-S-005667...
- Page 19 To enact a warranty claim, this form must be completed and submitted with a copy of your receipt/purchase to your local Bestway After Sales Center. Before any claims can be accepted, the Bestway After Sales Center may ask you to send a piece of the defective part to the center (e.g. a cut out of the production batch number / drain valve). Please contact your local Bestway After Sales Center before sending any documents.
Need help?
Do you have a question about the HYDRIUM Series and is the answer not in the manual?
Questions and answers