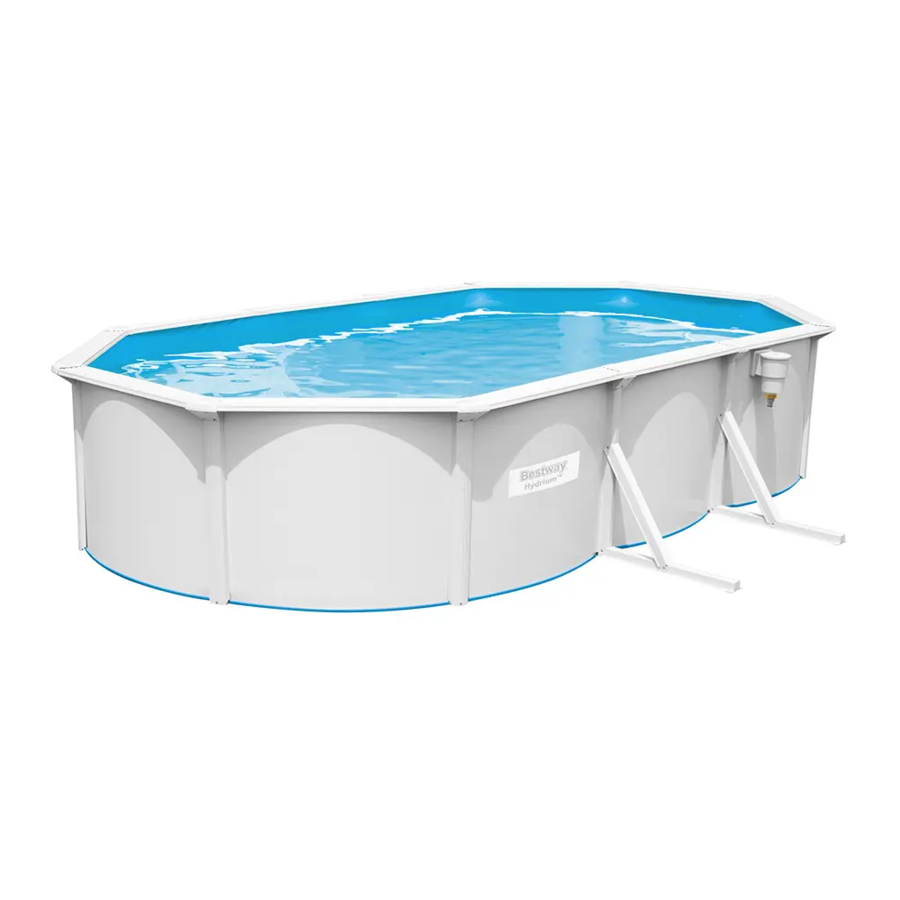
Bestway HYDRIUM Owner's Manual
Splasher pools
Hide thumbs
Also See for HYDRIUM:
- Owner's manual (61 pages) ,
- Owner's manual (28 pages) ,
- Owner's manual (16 pages)
Advertisement
Quick Links
Download this manual
See also:
Owner's Manual
Advertisement

Related Manuals for Bestway HYDRIUM


Summary of Contents for Bestway HYDRIUM
- Page 1 TO THE STORE QUESTIONS? PROBLEMS? MISSING PARTS? For FAQ, Manuals Or Spare Parts, Please Visit www.bestwaycorp.com HYDRIUM SPLASHER POOLS OWNER’S MANUAL www.bestwaycorp.com Visit Bestway YouTube channel S-S-004986...
- Page 2 S-S-004986...
- Page 3 WARNING Do not push or lean on the steel wall, this may damage or deform the pool wall. NOTE: The liner of the steel wall pool is designed to be smaller than the steel wall for technical reasons. If you find it difficult to assemble the liner, place the liner under the sun for one hour which will make it more pliable.
- Page 4 - Regularly monitor bolts and screws; splinters or any sharp edges ! WARNING ! to avoid injuries. ATTENTION: Do not leave the drained pool outside. The empty pool is liable to being deformed and/or displaced due to wind. Carefully read, understand, and follow all information in this user - If have a filter pump, refer to the pump’s manual for instructions.
-
Page 5: Selecting A Suitable Location
SELECTING A SUITABLE LOCATION WARNING: Leveling is extremely important. Carefully select the location for your new pool. This is the most important decision you will have to make to ensure the safety and success of your pool’s construction. A poorly-chosen location could cause problems in the future that may cause injury, death or financial loss. - Page 6 POOL ASSEMBLY NOTE: If the holes on the ends of the steel wall do not align, simply lift up one of the sides of the steel wall and adjust the space between the Please refer to diagram steps. rails until the holes align. 3.60m x 90cm 3.30m x 84cm 4.60m x 90cm...
-
Page 7: Connection Valve Assembly
Connection Valve Assembly S-S-004986... -
Page 8: Pool Maintenance
IMPORTANT: Before connecting the valve to the pool, first fill the pool with water to a level that leaves roughly 5-6 cm (2’’ - 2.5’’) of space between the bottom of the valve and the top of the water surface. WARNING! Never permanently install the connection valve before the water is within a few centimeters of them because the liner has to be properly taut from the pressure of the water. - Page 9 7. If it rains, check that the water level is not higher than the specified level. RE- ASSEMBLY If water exceeds the specified levels, drain the pool to the specified level. Carefully inspect your pool to ensure that there are no missing or damaged parts. 8.
- Page 10 S-S-004986...
- Page 11 S-S-004986...
-
Page 12: Manufacturer's Warranty
To enact a warranty claim, this form must be completed and submitted with a copy of your receipt/purchase to your local Bestway After Sales Center. Before any claims can be accepted, the Bestway After Sales Center may ask you to send a piece of the defective part to the center (e.g. a cut out of the production batch number / drain valve).
Need help?
Do you have a question about the HYDRIUM and is the answer not in the manual?
Questions and answers