Advertisement
Quick Links
Advertisement

Related Manuals for 3dsimo KIT


Summary of Contents for 3dsimo KIT
- Page 1 MANUAL...
- Page 3 CONTENT User manual Building the 3Dsimo KIT First start Filament usage and filament change...
-
Page 4: User Manual
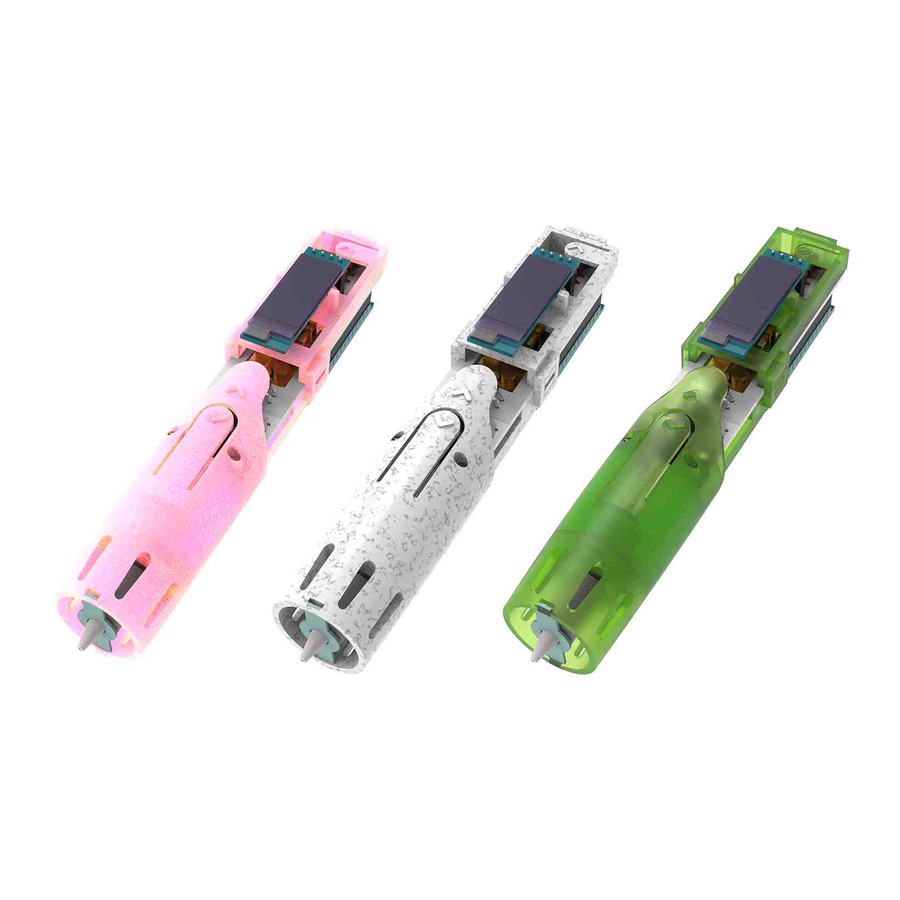
USER MANUAL You have obtained multimaterial building kit, the 3Dsimo KIT. This kit is fully open source and uses fully programable Arduino nano-like board. Time needed for the build: 15 – 30 min. Before you begin with completing the 3Dsimo KIT, lay out all the parts on your work desk and make sure you have all the parts from the list. - Page 5 3Dsimo KIT consists of those parts:...
- Page 6 BUILDING THE 3DSIMO KIT Find this part [Pic. 1.].
- Page 7 Insert Teflon tubes. First, tube with diameter 3 mm (1C) insert into the back of the part [Pic. 1]. This tube guides the filament to the extruder (motor with gear). Insert tube (2C, 4 mm diameter) into the frontal part.
- Page 8 Find part (2A). Insert part (2A) [Pic. 3]. This part holds the Teflon tube in place. Test the placement of the tubes by pushing filament through both tubes. Make sure the filament goes through freely. If not, the filament needs to be straightened and tubes adjusted.
- Page 9 Find the main circuit board (1B) and the nozzle (2B). Insert the 4 metal tubes (nozzle) inside the 4 metal tubes (circuit board) [Pic. 4]. Find the motor (3B) and connect it to connector (P1).
- Page 10 Insert the motor (3B) to the chassis (part from first step), [Pic. 4.1], it is necessary to place the motor into the chassis properly. Lead the motor cables through the big opening in the circuit board [Pic. 4.2] and place the circuit board onto the chassis [Pic. 5]. Connect the motor to the circuit board (P1).
- Page 11 Attach the front cover (3A) to the bottom part (1A) using 2 bolts and 2 nuts. First insert nuts, secondly insert bolts. Tighten the bolts while holding the device upside down, so the nut doesn’t fall out. Tighten the bolts carefully, finger tight is enough.
- Page 12 Insert fiberglass part (3C) into nozzle cover (4A). Fiberglass part has one side narrower [Pic. 7.1]. Insert the narrow part into the nozzle cover’s slit first, all the way possible [Pic. 7.2], after that push the fiberglass part to the other slit. Make sure the fiberglass part is centred [Pic.
- Page 13 Mount the nozzle cover onto the assembly and turn (about 30°). The nozzle cover is locked by bayonet lock.
- Page 14 Mount the part (5A), [Pic. 9]. Make sure the motor is held firmly in place. It is necessary to position the wires, so they do not obstruct the kit building.
- Page 15 Using parts (6A) connect the top and bottom parts by simply pushing on [Pic. 10] and [Pic. 11].
- Page 16 Insert the LCD display’s (5B) 4 pin connectors into the circuit board and click the display in position [Pic. 12 and 13].
- Page 17 Connect the Arduino nano-like board. Be careful with positioning the board, notice the position of the USB connector [Pic. 13]. The board has pre-installed basic...
- Page 18 (USB port on PC, power bank with 5V output or phone charger with 1.5A output minimum) and connect the cable to the 3Dsimo KIT. LCD display will turn on after few seconds, showing gradual heating of the nozzle, depending on chosen material heat profile.
- Page 20 When the nozzle is heated up to a temperature, filament feeding motor will be activated. The motor is operated via front two buttons [Pic. 16]. Button closer to the nozzle feeds the filament forward, the other button pulls out the filament after one click.
- Page 22 Always use straightened filament without any deformations and with straight cut end. Push the filament into the opening on the back of 3Dsimo KIT, keep pushing as far as possible. Push the front button and gently push the filament in, the feeding mechanism will do the rest.
- Page 23 Changing/removing filament: Push the return button and lightly pull the filament out [Pic. 17]. ALWAYS pull out filament after heating up the nozzle to working temperature!
- Page 24 This product is NOT a toy, children must be supervised when using 3Dsimo KIT. Never use this product without the fiberglass part, danger of damage to the nozzle. 3Dsimo KIT must be stored in dry environment, any contact with fluids can damage 3Dsimo KIT.
- Page 25 Never use damaged power cable, danger of fire or/and electrocution. Some parts of 3Dsimo KIT have exposed electric components, avoid contact with conductive surfaces.
- Page 26 WARRANTY Warranty applies only to individual components for duration of 12 months after purchase. In case of warranty claim, contact our customer support: support@3dsimo.com For more information visit: www.3dsimo.com/kit...
- Page 28 Assemble Program Upgrade Have Fun...
Need help?
Do you have a question about the KIT and is the answer not in the manual?
Questions and answers