Atari 2600 Installation Instructions Manual
Woody and darth vader pal av mod
Hide thumbs
Also See for 2600:
- Field service manual (157 pages) ,
- Owner's manual (52 pages) ,
- Installation manual (31 pages)
Advertisement
www.retroelectronik.com
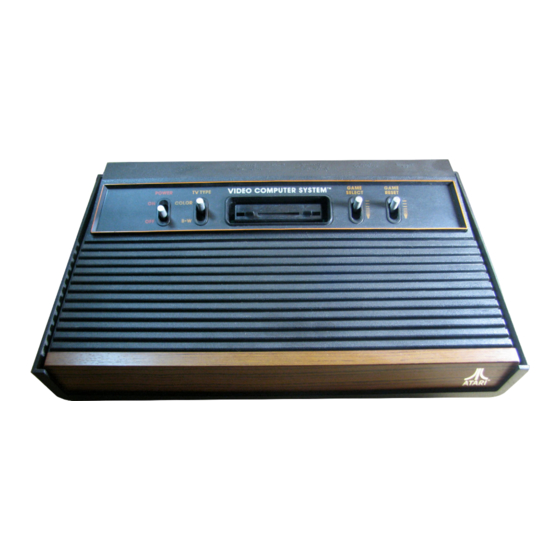
Atari 2600 Woody and Darth Vader PAL AV mod
installation instructions
Thank you for your interest in our AV mod,it will permit you to play on about any modern Tvs with
brighter images and better sound.
Prerequisites :
This job is pretty easy, you'll only have to do 4 soldering points on your motherboard.However a
small skilled in soldering iron is needed or you could damage your Video system.
WARNING : risk of electrical shock
Please also keep in mind that for your safety, you must unplug power cord and wait at least 5
minutes to discharge all capacitors prior to operate your game console.
We couldn't be held as responsible for any harm you could do to yourself or to your properties
What are you going to need ? :
- The most important thing : the av mod
-A soldering iron and a some solder wire
- A drill with 6mm or 7mm bit (1/4")
- Screwdrivers
- a cutting pliers
- A needle-nose pliers
- optionally a hot glue gun or a strong glue
This AV mod can be installed in less than 15mn but please take your time, you should be able to do
the job in less than 30mn.
Advertisement
Table of Contents

Subscribe to Our Youtube Channel
Related Manuals for Atari 2600


Summary of Contents for Atari 2600
-
Page 1: Installation Instructions
Atari 2600 Woody and Darth Vader PAL AV mod installation instructions Thank you for your interest in our AV mod,it will permit you to play on about any modern Tvs with brighter images and better sound. Prerequisites : This job is pretty easy, you'll only have to do 4 soldering points on your motherboard.However a small skilled in soldering iron is needed or you could damage your Video system. - Page 2 First ,remove these 4 screws and open the case : Then remove gently the motherboard from its plastic case. You're going to see a big metal shield present in both side of the motherboard,we're going to need to remove it. Fortunately,the metal shield isn't soldered,it's just maintained from a side to the other by some small bended tabs.
- Page 3 Concerning the components to remove,you can unsolder them but i've personally simply cutted them using a cutting pliers Components to remove Then we're going to cut or unsolder the 5 pins of the RF Box :...
- Page 4 We can also optionally unsolder and remove completely the RF Box as we're not going to use it anymore. To do that,there is 4 big solder points to desolder, they're linked to the GND so it's easy to do and there is no major risks.points to unsolder : To connect your AV mod ,only 4 solder points are needed.See the back of your AV mod to know which wire to solder ( Concerning GND please solder the biggest wire to the motherboard) Below are the 4 solder points to do :...
- Page 5 Open 2 6-7mm (1/4") holes on the case to fix the RCA chassis connectors. There is much more space than inside a 2600JR and so they is plenty convenient place that you can choose : Fix the two RCA connectors on the chassis :...
- Page 6 Now solder the Audio-out on the white or red (may vary) RCA connector , solder de Video-out to the red or black RCA connector. Then connect both RCA GND together and to the GND power small wire ,just like this : you can now fix your AV mod with the double sided tape provided.
- Page 7 So then check everything one last time and you can close the case, place back the 4 screws and play ! We wich you hours of gaming with your newly improved Atari 2600 ! Please contact us if you have any question...
Need help?
Do you have a question about the 2600 and is the answer not in the manual?
Questions and answers