Perkin-Elmer Lambda 365 Installation Instructions Manual
8-position multi-cell holder
Hide thumbs
Also See for Lambda 365:
- Assembly/installation instructions (25 pages) ,
- Installation instructions manual (13 pages)
Advertisement
Quick Links
This instruction sheet describes the installation of this accessory which is used with the Lambda 365
Spectrophotometer.
Read these instructions before you install this accessory.
NOTE:
Contacting P erk inElm er
Supplies, replacement parts, and accessories can be ordered directly from PerkinElmer, using the part
numbers.
See our website:
http://perkinelmer.com
PerkinElmer's catalog service offers a full selection of high-quality supplies.
To place an order for supplies and many replacement parts, request a free catalog, or ask for information:
If you are located within the U.S., call toll free 1-800-762-4000, 8 a.m. to 8 p.m. EST. Your order will be
shipped promptly, usually within 24 hours.
If you are located outside of the U.S., call your local PerkinElmer sales or service office.
Features
• Suitable size for the standard Cells
• Excellent durability
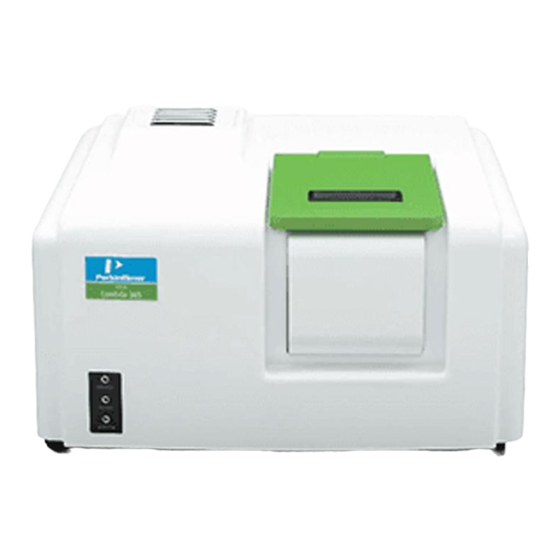
Figure 1 Lambda 365 8-Position Multi-Cell Holder [P/N: N4101014]
Lam bda 365 8-Position M ulti-Cell Holder
I nstallation I nstructions
09931250D
PerkinElmer, 710 Bridgeport Avenue,
Shelton, CT06484-4794, U.S.A
Produced in the USA.
Advertisement

Related Manuals for Perkin-Elmer Lambda 365


Summary of Contents for Perkin-Elmer Lambda 365
- Page 1 09931250D Lam bda 365 8-Position M ulti-Cell Holder I nstallation I nstructions This instruction sheet describes the installation of this accessory which is used with the Lambda 365 Spectrophotometer. Read these instructions before you install this accessory. NOTE: Contacting P erk inElm er Supplies, replacement parts, and accessories can be ordered directly from PerkinElmer, using the part numbers.
-
Page 2: Specification
09931250D Dim ensions and Specifications Dim ensions Physical Characteristic Specification Comment Height (mm) Outline Width (mm) Depth (mm) Height (mm) Suitable for the Standard Inner Width (mm) Cell Depth (mm) 12.6 Weight (kg) Specification Physical Characteristic Specification Comment Space between cells (mm) 10.4 Moving distance of one cell... -
Page 3: Installation
Configuration of 8-P osition M ulti-Cell Holder Figure 2 Lambda 365 8-Position Multi-Cell Holder - Used to fix a cell holder, a base plate or a front plate for Lambda 365. - Spare screws (2ea) are enveloped with the accessory. - Page 4 09931250D 3. Remove the two Phillips round head screws with washer (M4*12L) to disassemble the existing cell holder and base plate Figure 5 Location of the two Phillips round head screws with washer 4. Pull out the cell holder and the base plate by hand. Figure 6 Pulling out the cell holder and base plate 5.
- Page 5 09931250D 6. Gently press the 8-Position Multi-Cell Holder to connect the communication port (male) under the bottom of the 8-Position Multi-Cell Holder to the port (female) in the sample compartment. Figure 8. Connecting the communication ports 7. Tighten the 8-position Multi-Cell Holder in the sample compartment with the screws (The red circles indicates the location of the screws in the figure).
- Page 6 09931250D M easurem ent Before executing System Self Test, the 8-Position Multi-Cell Holder has to be installed first. Otherwise, the NOTE: instrument can be damaged electrically and do not operate properly. 1. Install the 8-Position Multi-Cell Holder. 2. Close the sample compartment cover and turn on the instrument. CAUTION Do not start the UV Express software before finishing the initialization of grating.
- Page 7 09931250D 8. ① Click the Accessory tab and ② Select Multi-Cell on Accessory Type, and then click the ③Method Setup button to open the Multicell window. 9. The Multicell window will be shown. Using the button, select cells to be used among the available cells list.
- Page 8 09931250D 10. Click OK. 11. After setting parameters for Experiment, Lamp, Internal Reference and Scan Setup, click Apply and then select OK. 12. After placing the reference solution into both the selected Using Cell positions and the reference cell position of the Multicell holder, select the Baseline or Zero buttons to perform the Baseline function.
- Page 9 09931250D 2. Select the Calibration tab in the Multicell window. The following dialog box will appear. 3. The functions of the Multicell calibration are shown as follows. Command Function MultiCell Position Show saved steps about each cell position of the Multi-Cell. Used for moving Multi-Cell position as clicking buttons Multicell Move Used for moving Multi-Cell position using...
- Page 10 09931250D 5. Select MultiCell Calibration , and then the following dialog box will appear. Remove all samples from the multi-cell holder (Empty the multicell holder). 6. Select OK, and then the Multicell calibration will start. The current process of calibration will be shown in the main window.
-
Page 11: Troubleshooting
W hen the M ulti-Cell does not m ove 1. Check the Connector status. Check if the Multicell Holder connector is connected firmly to the Lambda 365. W hen the intensity value is low 1. Recalibrate the Multi-Cell holder. - Page 12 09931250D...
Need help?
Do you have a question about the Lambda 365 and is the answer not in the manual?
Questions and answers