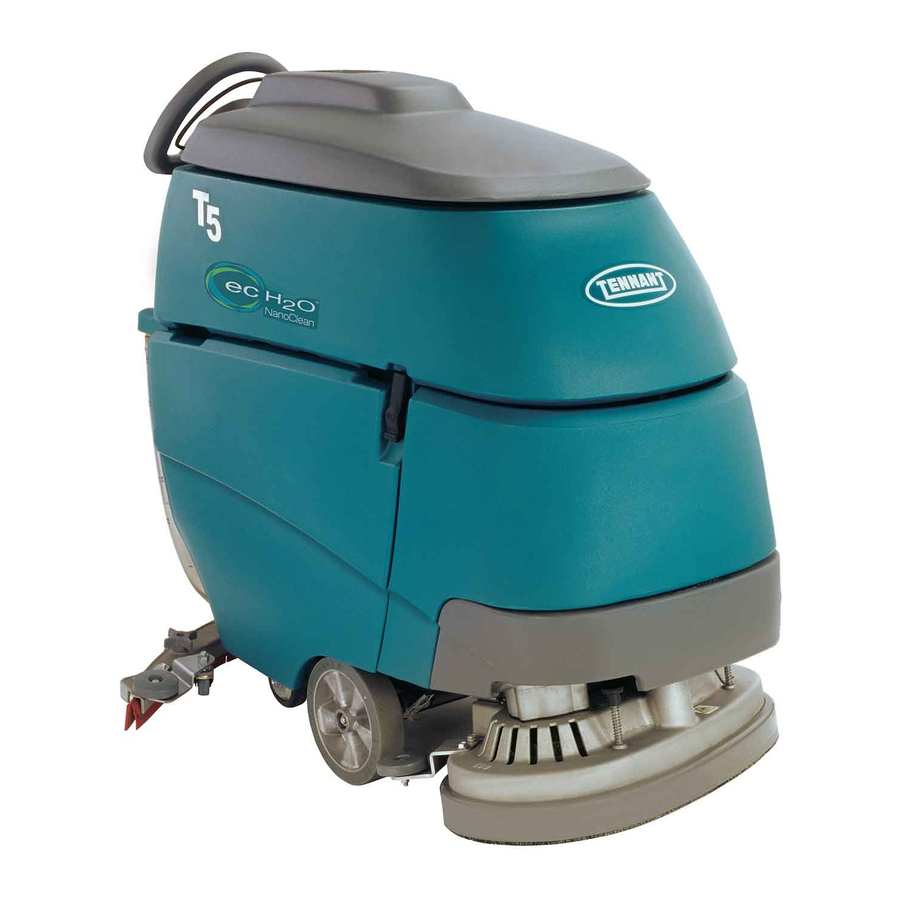
Tennant T5 Installation Instructions
On-board charger kit
Hide thumbs
Also See for T5:
- Service information manual (68 pages) ,
- Operator's manual (42 pages) ,
- Quick start manual (3 pages)
Advertisement
Table of Contents
KIT NO. 9003295 (120v), 9003296 (230v)
On- -Board Charger Kit
Models: T5
INSTALLATION INSTRUCTIONS:
Installation Time: 2 Hours
TOOLS REQUIRED: 9/16", 5.5mm, 10mm and 13mm
Sockets, 4mm Hex Wrench, Phillips Screwdriver,
Prying Tool, Blue Thread Adhesive
PREPARATION
1. Park the machine on a clean level surface.
2. Turn off the machine and remove the key.
FOR SAFETY: Before installing kit, stop on
level surface, turn off machine, and remove
key.
3. Remove the (2) bolts that hold the machine's
right side panel in place, then remove the
side panel from machine (Figure 1).
Fig. 1
4. Disconnect the positive and negative
battery cables and remove the two front bat-
teries from machine.
FOR SAFETY: Wear protective gloves and eye
protection when handling batteries and battery
cables. Avoid contact with battery acid.
INSTALLATION
1. Lower the squeegee lift lever to relieve ten-
sion on the lift cable, then remove the squee-
gee lift bracket. Remove the red charger plug
assembly and charger interlock switch from
the bracket. Discard the interlock switch
(Figure 2).
9003301 Rev. 00 (01--07)
Remove Front
Batteries
Tennant Company
Home
Find... Go To..
Kit Contents
Part No.
Description
1022874
Charger, 120v (Kit #9003295)
1026909
Charger, 230v (Kit #9003296)
1025642
Cord, Power, 120v (Kit #9003295)
1026325
Cord, Power, 230v (Kit #9003296)
609062
Screw, Trs, M5 x 0.80 x 12, Phl, SS
610906
Hook, Cord
1024965
Bolt, Shld, 08MMD x 030mm, M06 x 1.0
611311
Spring, Cmpr, 0.40OD .05WIR, 0.5L
01684
Washer, Flat, 0.27B 0.69D .05, SS
08712
Nut, Hex Lock, M6 x 1.00 SS, NL
01683
Washer, Flat, 0.22B 0.50D .05, SS
1022059
Panel, Side
26395- -2
Clamp, Cable, Stl, 0.38D x 0.38W
1028175
Label, Instr. (Charger Settings)
1024779
Label, Side, T5
1024780
Label, Side, T5 FaST
600624
Label, Parking Brake (TNV Machine only)
130773
Tie, Cable, Nylon
IMPORTANT: Failure to remove these parts may re-
sult in electrical damage to the machine.
Fig. 2
2. Move to the front of the battery compartment
and remove the control box cover to access
the wire connections (Figure 3).
Remove
2 Screws
Fig. 3
Customer Service: (800) 553--8033 or (763) 513--2850
Page 1 of 4
Qty.
1
1
1
1
3
2
2
2
3
2
2
1
1
1
1
1
1
6
Remove interlock
Switch
Remove
Charger Plug
Advertisement
Table of Contents

Related Manuals for Tennant T5


Summary of Contents for Tennant T5
- Page 1 1028175 Label, Instr. (Charger Settings) 1024779 Label, Side, T5 FOR SAFETY: Before installing kit, stop on 1024780 Label, Side, T5 FaST level surface, turn off machine, and remove 600624 Label, Parking Brake (TNV Machine only) key. 130773 Tie, Cable, Nylon 3.
- Page 2 (Figure 6). tighten all hardware. Loose connections will cause electrical damage to the machine. Re-- attach control box cover (Figure 8). Fig. 6 9003301 Rev. 00 (01--07) Tennant Company Customer Service: (800) 553--8033 or (763) 513--2850 Home Find... Go To..
- Page 3 Rotomold Fig. 12 1024965 Bolt, 611311 Spring, 01684 Washer, 08712 Nut 12. Apply the new T5 side label from the kit, and re--install the batteries and right side panel. Re--connect positive and negative battery cables. Apply new parking brake label near the park- ing brake (Europe machine only) 13.
- Page 4 GEL = Set for sealed/maintenance free batteries Acd = Set for wet/lead acid batteries SEALED “GEL” BATTERY WET “Acd” BATTERY Fig. 14 Fig. 13 9003301 Rev. 00 (01--07) Tennant Company Customer Service: (800) 553--8033 or (763) 513--2850 Home Find... Go To..
Need help?
Do you have a question about the T5 and is the answer not in the manual?
Questions and answers