Advertisement
Table of Contents
- 1 Table of Contents
- 2 Procedure to Remove Suction Grille
- 3 Procedure to Remove Air Filter
- 4 Procedure to Remove Decoration Cover
- 5 Procedure to Remove Decoration Panel
- 6 Procedure to Remove Horizontal Vane
- 7 Procedure to Remove Swing Motor
- 8 Procedure to Remove Switch Box Cover
- 9 Procedure to Remove Fan Motor
- 10 Procedure to Remove Drain Pan
- 11 Procedure to Remove Drain Pump and Drain Hose
- Download this manual
Advertisement
Table of Contents

Subscribe to Our Youtube Channel
Related Manuals for Daikin FHC71KVE9


Summary of Contents for Daikin FHC71KVE9
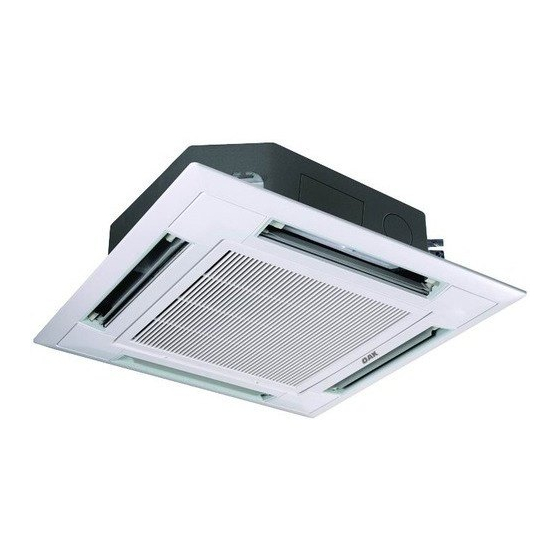
- Page 1 Si241305 REMOVAL PROCEDURE S E R V I C E M A N U A L 2/2.5/3/4/5/6 HP Class Indoor Unit Non-Inverter Ceiling Mounted Cassette Type...
- Page 2 Service Manual Removal Procedure Indoor Unit Applicable Models Cooling Only FHC71KVE9 FHC18NUV1 FHC21NUV1 FHC26NUV1 FHC30NUV1 FHC18NUV14 FHC21NUV14 FHC26NUV14 FHC36NUV14 FHC42NUV14 FHC48NUV14 FHC18NUV15 FHC21NUV15 FHC26NUV15 FHC18NUV2S FHC24NUV2S FHC30NUV2S FHC36NUV2S FHC42NUV2S FHC48NUV2S Heat Pump FHYC71KVE9 FHYC71KVE4 FHYC100KVE4 FHYC125KVE4 FHYC140KVE4...
-
Page 3: Table Of Contents
Si241305 Table of Contents 1. Procedure to Remove Suction Grille............2 2. Procedure to Remove Air Filter...............3 3. Procedure to Remove Decoration Cover ..........4 4. Procedure to Remove Decoration Panel..........5 5. Procedure to Remove Horizontal Vane...........6 6. Procedure to Remove Swing Motor ............8 7. -
Page 4: Procedure To Remove Suction Grille
Procedure to Remove Suction Grille Si241305 1. Procedure to Remove Suction Grille Procedure Warning Be sure to wait for 10 minutes or more after turning off all power supplies before disassembling work. Procedure Points Step Press the 2 buttons When closing, press up the simultaneously and pull grille slowly. -
Page 5: Procedure To Remove Air Filter
Si241305 Procedure to Remove Air Filter 2. Procedure to Remove Air Filter Procedure Warning Be sure to wait for 10 minutes or more after turning off all power supplies before disassembling work. Procedure Points Step Open the suction grille. (See the procedure to remove suction grille.) Disengage the hooks of the air filter by pulling... -
Page 6: Procedure To Remove Decoration Cover
Procedure to Remove Decoration Cover Si241305 3. Procedure to Remove Decoration Cover Procedure Warning Be sure to wait for 10 minutes or more after turning off all power supplies before disassembling work. Procedure Points Step To remove the decoration cover, pull the inside part (suction grille side) down. -
Page 7: Procedure To Remove Decoration Panel
Si241305 Procedure to Remove Decoration Panel 4. Procedure to Remove Decoration Panel Procedure Warning Be sure to wait for 10 minutes or more after turning off all power supplies before disassembling work. Procedure Points Step Loosen the 4 retaining Structure of mounting fixture screws from the decoration panel. -
Page 8: Procedure To Remove Horizontal Vane
Procedure to Remove Horizontal Vane Si241305 5. Procedure to Remove Horizontal Vane Procedure Warning Be sure to wait for 10 minutes or more after turning off all power supplies before disassembling work. Procedure Points Step Locate 9 screws on the Remove seal materials in the decoration panel under following sequence. - Page 9 Si241305 Procedure to Remove Horizontal Vane Step Procedure Points Remove the 14 screws on the 2 remaining sides and open the covers. Reassembly Check to make sure the heat insulation is installed in the air outlet section as shown below. (Improper heat insulation installation results in condensation of water.) Seal material...
-
Page 10: Procedure To Remove Swing Motor
Procedure to Remove Swing Motor Si241305 6. Procedure to Remove Swing Motor Procedure Warning Be sure to wait for 10 minutes or more after turning off all power supplies before disassembling work. Procedure Points Step Remove the decoration Only the decoration cover cover located needs to be removed to take immediately below the... - Page 11 Si241305 Procedure to Remove Swing Motor Step Procedure Points Disconnect the connector of the swing motor. Connector section Swing motor lead wire Caution Swing motor gear Caution during swing motor installation After installing the swing motor, be sure to turn ON the power switch for reset (for initializing the vane positions).
-
Page 12: Procedure To Remove Switch Box Cover
Procedure to Remove Switch Box Cover Si241305 7. Procedure to Remove Switch Box Cover Procedure Warning Be sure to wait for 10 minutes or more after turning off all power supplies before disassembling work. Procedure Points Step 1. Removing the cover from the service monitor PCB side Loosen the 1 screw,... -
Page 13: Procedure To Remove Fan Motor
Si241305 Procedure to Remove Fan Motor 8. Procedure to Remove Fan Motor Procedure Warning Be sure to wait for 10 minutes or more after turning off all power supplies before disassembling work. Procedure Points Step 1. Removing the switch box Remove the 5 screws, and pull the switch box down. -
Page 14: Procedure To Remove Drain Pan
Procedure to Remove Drain Pan Si241305 9. Procedure to Remove Drain Pan Procedure Warning Be sure to wait for 10 minutes or more after turning off all power supplies before disassembling work. Procedure Points Step Drain water from the drain hole. Remove the 5 drain pan mounting screws. -
Page 15: Procedure To Remove Drain Pump And Drain Hose
Si241305 Procedure to Remove Drain Pump and Drain Hose 10.Procedure to Remove Drain Pump and Drain Hose Procedure Warning Be sure to wait for 10 minutes or more after turning off all power supplies before disassembling work. Procedure Points Step 1. - Page 16 Procedure to Remove Drain Pump and Drain Hose Si241305 Step Procedure Points 2. Removing the drain hose Loosen the hose band Caution using a screwdriver. The drain hose may contain water. Make sure there is no water in the drain hose, or use a container to receive water from the hose.
- Page 17 Revision History Month / Year Version Revised contents 01/2013 Si241305 First edition...
- Page 18 Improper installation can result in water or refrigerant leakage, electrical shock, fire or explosion. Use only those parts and accessories supplied or specified by Daikin. Ask a qualified installer or contractor to install those parts and accessories. Use of unauthorised parts and accessories or improper installation of parts and accessories can result in water or refrigerant leakage, electrical shock, fire or explosion.
Need help?
Do you have a question about the FHC71KVE9 and is the answer not in the manual?
Questions and answers