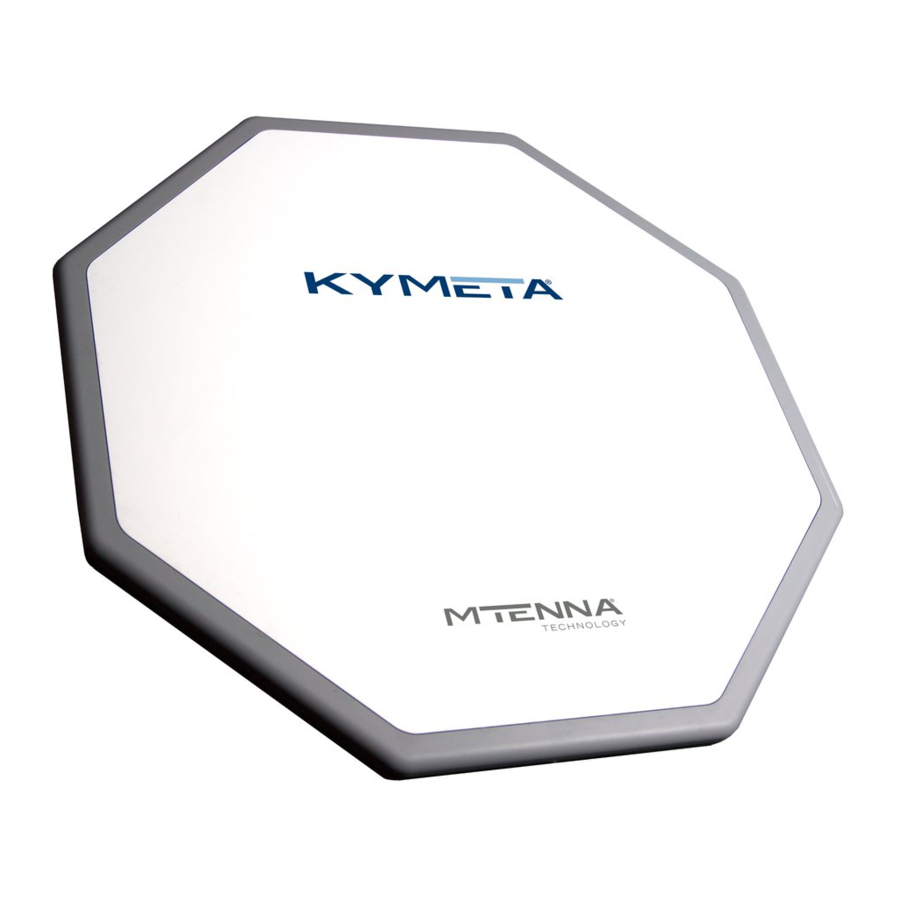
Kymeta u7 Installation Manual
Hide thumbs
Also See for u7:
- User manual (42 pages) ,
- Quick start manual (11 pages) ,
- User manual (35 pages)
Table of Contents
Advertisement
Quick Links
Download this manual
See also:
User Manual
Advertisement
Table of Contents

Related Manuals for Kymeta u7


Summary of Contents for Kymeta u7
- Page 1 Kymeta™ u7 Terminal Installation Guide For Integrator and Standard u7 Terminal Configurations Includes Kymeta™ u7 Antenna Document number: 700-00065-000-revB 16 July 2019...
-
Page 2: Table Of Contents
Assemble the ODU Assemble the IDU Install the cables Install RJ45 connector housing (for integrator configuration) Connect the cables Power on the Kymeta u7 terminal Access the u7 antenna u7 antenna orientation setup Install an inverter system inside a vehicle Required materials... - Page 3 Car component removal Customer support Revision history Copyright and trademark information Appendix A: Kymeta u7 terminal configuration diagram Appendix B: Accessories Appendix C: Outdoor unit dimensions Appendix D: Indoor unit dimensions Appendix E: Cable drawings...
-
Page 4: Introduction
700-00065-000-revB Kymeta u7 terminal installation guide Introduction This document contains important step-by-step details for the installation and set up of the Kymeta™ u7 terminal. Read this document in its entirety. For information on the Kymeta u7 antenna web-based user interface and instructions on checking the antenna status, refer to 700-00006-003 Kymeta™... -
Page 5: Safety And Handling Instructions
Never lift the ODU by any mounted RF components or cables. Electrostatic discharge (ESD) precautions Do not open the u7 antenna housing, transceiver component housings, or modem housing. Doing any of the above will void the warranty. Opening or removing the enclosure may cause exposure to high voltages, electric shock, and other hazards. In addition, electronic components contained within the enclosure are sensitive to ESD and could be damaged if ESD precautions are not observed. -
Page 6: Information For Operators And Maintenance Technicians
30 cm (11.81 in.) or more from the face and within 20 cm (7.87 in.) from the center of the antenna. The figure below identifies the keep out region (gray cylinder) and safe region (the area outside the cylinder) for a 16 W u7 terminal. -
Page 7: Distance To Other Equipment
Radars and other high-power transmitters affect the performance of the u7 antenna installed within the beam path. To mitigate the risk of interference and damage, install the u7 terminal ODU or the antenna as far from the radar/transmitter as possible and outside of the beam width, typically ±15° elevation range, as shown in the image... -
Page 8: Declaration Of Conformity
Declaration of conformity Kymeta Corp., of 12277 134th Ct NE, Suite 100, Redmond, WA 98052, USA, declares under our sole responsibility that the product Kymeta u7 antenna to which this declaration relates, is in conformity with the following standards and/or other normative documents: ETSI EN 301 428, ETSI EN 302 340, ETSI EN 302 448, ETSI EN 302 977, ETSI EN 301 489-1, ETSI EN 301 489-12, ETSI EN 301 489-20, IEC 60950-1, IEC 62368, Council Recommendation 1999/519/EC. -
Page 9: Before You Start
Reduce the risk of RF exposure Install the Kymeta u7 terminal in an area above accessible range of personnel within the operational range of the antenna to reduce the risk of RF exposure. Mount the ODU in an area that has limited access to people and does not allow for people to pass through the path of the antenna beam in any direction the antenna beam may point. - Page 10 700-00065-000-revB Kymeta u7 terminal installation guide © 2019 Kymeta Corporation and its affiliates. 16 July 2019...
-
Page 11: Prevent Rf Interference
700-00065-000-revB Kymeta u7 terminal installation guide Prevent RF interference Do not install the ODU closer to radar equipment than the minimum safe distance specified in the Safety and handling instructions. It may cause damage to the ODU. Prevent magnetic interference Proximity to magnetic interference caused by motors, fans, or ferrous metals may increase acquisition times. -
Page 12: Prerequisites
700-00065-000-revB Kymeta u7 terminal installation guide Prerequisites Installation hardware Before you start, ensure you have all installation hardware required for the u7 terminal assembly. Kymeta provides the following hardware required to assemble the terminal. Hardware diagram Hardware description Quantity Part number... -
Page 13: Installation Tools
700-00065-000-revB Kymeta u7 terminal installation guide Hardware diagram Hardware description Quantity Part number INDOOR UNIT ASSEMBLY Modem TRM-u7Hxx-xxx TRM-u7Xxx-xxx N-type-to-F-type adapter for the 160-00200-000 modem M6 cage nut 451-00003-000 471-00032-000 M6 x 16 socket head cap screw, modem to rack Installation tools Before you start, ensure you have all installation tools required for the assembly. -
Page 14: Installation
Assemble the ODU 1. Clear a flat surface: ensure it is clean with no objects or debris that may damage the Kymeta u7 antenna. 2. Unpack the ODU. To open the case, lay it flat on an open area where it's easy for one person to stand on each side near the clean assembly surface. -
Page 15: Assemble The Idu
Torque: 20 in-lbf (2.3 N-m). ✎ Hardware provided with the u7 terminal allows the modem installation into a standard 4 post rack (cage nuts). If your mounting solution does not fit the provided hardware, you will have to provide your own. -
Page 16: Install The Cables
700-00065-000-revB Kymeta u7 terminal installation guide Install the cables General considerations Ensure all the components are powered off prior to connecting the cables. Finger-tighten all N-type and connector cables. Avoid confusing the RX and TX cables. Before installing the cables, apply colored tape to each end of the cable. The... - Page 17 If your u7 terminal configuration includes iDirect Evolution X7 , connect the Ethernet cable to any modem port in the range from 2 to 8. b. If your u7 terminal configuration includes iDirect Velocity X7 , connect the Ethernet cable to any modem port in the range from 5 to 8.
-
Page 18: Power On The Kymeta U7 Terminal
Access the u7 antenna Kymeta supports Chrome and Firefox browsers. To access the u7 antenna web-based user interface, do the following: 1. Connect an available Ethernet port on your laptop to the Ethernet port 2 on the modem. 2. Configure the TCP/IPv4 properties of the Ethernet port on your laptop to use static IP address/subnet mask of 192.168.44.3 / 255.255.255.0. - Page 19 UI" if you cannot access the antenna. The u7 antenna automatically reboots every 7 days or 24 hours (software version 1.0.0.2295 and 1.0.0.2210). To set the auto-reboot time based on the current user's local time zone, go to the Settings page > System window, and then update the time in the Auto Reboot Time field.
-
Page 20: U7 Antenna Orientation Setup
When in motion, the antenna’s yaw (heading), relative to north, is provided by the GPS heading. The Kymeta u7 antenna out-of-the-box configuration assumes that the X axis of the antenna is aligned with the heading vector of the vehicle. If this is not the case, you can set the vehicle to ant-yaw value to inform the antenna of the offset. - Page 21 You can adjust the vehicle-to-antenna-yaw offset value using the antenna’s API. Navigate to Help > API Documentation > /setup/vehicle-to-ant. Then, set the necessary value. Refer to 700-00007-000 Kymeta™ u7 antenna public RESTful application programmers' interface reference for further information on using the RESTful API.
-
Page 22: Install An Inverter System Inside A Vehicle
Kymeta or by you. Please arrange your installation in such a way that any possible malfunction of the product will not result in personal injury or damage to equipment. - Page 23 700-00065-000-revB Kymeta u7 terminal installation guide Often, the main ECM/TCM or body harness is the best through point. Glass cleaner is a clean and easy way to relieve friction. b. Place a fuse holder. The power wire from your amplifier wiring kit may have a fuse holder installed. If so, go to step 4.
-
Page 24: Suggestions For Internal Components
700-00065-000-revB Kymeta u7 terminal installation guide 8. Attach the power strip to the inverter. 9. Connect the power back to the battery negative. 10. Power on the u7 terminal. Suggestions for internal components When mounting equipment inside a vehicle, observe safety guidelines for your vehicle and region. -
Page 25: Customer Support
©2019 Kymeta Corporation. All Rights Reserved. KYMETA, KĀLO, CONNECTED BY KYMETA, KYMETACARE, and MTENNA are trademarks of Kymeta Corporation, with registrations or pending applications in the U.S. and/or other countries. All other trademarks are the property of their respective owners. -
Page 26: Appendix A: Kymeta U7 Terminal Configuration Diagram
700-00065-000-revB Kymeta u7 terminal installation guide Appendix A: Kymeta u7 terminal configuration diagram © 2019 Kymeta Corporation and its affiliates. 16 July 2019... -
Page 27: Appendix B: Accessories
Available in 7.62 m (25 ft.) To ensure performance of the system across the full operational range, Kymeta recommends using the following IF cable types for the RX cable and TX cable. The maximum attenuation levels of the table assumes 4 Ω of DC resistance and an RF attenuation of 10 MHz at 1.5 dB with a maximum valve of 12 dB RF attenuation at 950 MHz to 2150 MHz. - Page 28 700-00065-000-revB Kymeta u7 terminal installation guide Mounting handle kit © 2019 Kymeta Corporation and its affiliates. 16 July 2019...
-
Page 29: Appendix C: Outdoor Unit Dimensions
700-00065-000-revB Kymeta u7 terminal installation guide Appendix C: Outdoor unit dimensions © 2019 Kymeta Corporation and its affiliates. 16 July 2019... - Page 30 700-00065-000-revB Kymeta u7 terminal installation guide © 2019 Kymeta Corporation and its affiliates. 16 July 2019...
- Page 31 700-00065-000-revB Kymeta u7 terminal installation guide © 2019 Kymeta Corporation and its affiliates. 16 July 2019...
-
Page 32: Appendix D: Indoor Unit Dimensions
700-00065-000-revB Kymeta u7 terminal installation guide Appendix D: Indoor unit dimensions © 2019 Kymeta Corporation and its affiliates. 16 July 2019... -
Page 33: Appendix E: Cable Drawings
700-00065-000-revB Kymeta u7 terminal installation guide Appendix E: Cable drawings RX and TX cables The RF coaxial cables have a minimum bend radius of 2 cm and a one-time bend radius of 0.5 cm. AC power cable © 2019 Kymeta Corporation and its affiliates.
Need help?
Do you have a question about the u7 and is the answer not in the manual?
Questions and answers