Table of Contents
Advertisement
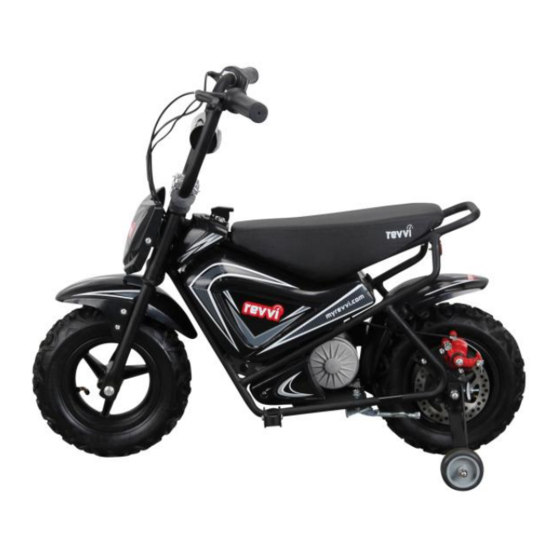
Owner's Manual
MODEL: REVVI ABT-E250
Read and understand this entire manual before riding!
N o t e : A p p r o p r i a t e p r o t e c t i v e e q u i p m e n t t o b e
w o r n a t a l l t i m e s , c h i l d r e n m u s t b e s u p e r v i s e d
b y a n a d u l t a t a l l t i m e s . I t i s a l w a y s a t t h e
p a r e n t ' s d i s c r e t i o n a s t o t h e a g e o f t h e r i d e r .
Note: Manual illustrations are for demonstration purposes
only. Illustrations may not reflect exact appearance of actual
product. Specification subject to change without notice.
Advertisement
Table of Contents

Related Manuals for Revvi ABT-E250


Summary of Contents for Revvi ABT-E250
- Page 1 Owner's Manual MODEL: REVVI ABT-E250 Read and understand this entire manual before riding! N o t e : A p p r o p r i a t e p r o t e c t i v e e q u i p m e n t t o b e w o r n a t a l l t i m e s , c h i l d r e n m u s t b e s u p e r v i s e d b y a n a d u l t a t a l l t i m e s .
- Page 2 Warning: The use of this product can be dangerous and could potentially cause serious injury. Children must be supervised at all times when using this device. Anyone riding this device must wear a helmet, knee pads, elbow pads and gloves. Keep away from steep hills, other vehicles, roads, bodies of water, animals, pedestrians and be vigilant of any other potential hazards before use.
- Page 3 Essential Technical Parameters 1. Vehicle -Bike weight: 23kg -Maximum load (weight):75kg; 2. Motor -Type: DC, with brush; -Rated continuous output power: P=250W; -Rated speed: 275±7.5%rpm; -Rated voltage: 24V; -Rated output torque: 1.21 (N.m) 3. Controls -Rated input voltage: 24V; -Input voltage range: 20~28V; -Input current without load:≤115MA;...
- Page 4 Names of all structural components...
- Page 5 Assembly Your Revvi arrives almost completely assembled, making it easy to start riding. The only assembly required is to attach the handlebars. All cables and controls already hooked up to the bike, so attaching the handlebars is easy: 1. Using the 6mm Allen key attach the lower parts of the handlebar clamps to the top of the forks.
-
Page 6: Charge The Battery
2. Turn the bikes power switch OFF before charging. Plug the charger into the charger port on your Revvi. 3. The light on the charger should be red. You need to leave it on charge until the light goes green. The green light indicates that it is fully charged. -
Page 7: Operating Controls
OPERATING CONTROLS To operate your Revvi you need to be able to operate the throttle, brake and other controls without stopping to look at them. Please study the image below carefully to become familiar with the function and the location each control. - Page 8 When operating your Revvi there are some key operating controls and components that allow you to operate your bike. Their location and operation information is shown below. 1.On/Off Switch 2.Throttle 3.Brake ON/OFF SWITCH The ON/OFF switch is conveniently located just ahead of the driver and is equipped with a flip- up cover.
- Page 9 Reach through the hole with your finger and flick the switch from “I" (slow speed) to “O” (fast speed). 3. Your Revvi is now set to its fastest setting. To return the bike to the slow speed setting follow these steps but flick the switch...
- Page 10 Balance wheels Your Revvi bike includes a set of balance wheels as shown on the structural components page. We recommend that you use these balance wheels for any novice rider who has no previous riding experience without them. The balance wheels are easy and simple to fit: 1.
-
Page 11: Maintenance
To adjust the chain tension, follow the steps outlined below: 1. Be sure that the Revvi is parked on a flat level surface, is switched off and leaning on the kickstand. - Page 12 4. Check the tension on chain and see if it has changed enough. If not, repeat steps 3 & 4 until the proper tension is achieved. 5. Ensure that the chain tension is set the same on both sides of the axle.
-
Page 13: Lubricating The Drive Chain
LUBRICATING THE DRIVE CHAIN The driving chain on your Revvi must be kept lubricated often to avoid excessive wear. To lubricate the drive chain, follow the steps below: 1. Park the bike on a level flat surface using the kickstand. -
Page 14: Replacing The Fuse
2. Moisture in the system. 3. Overloaded electrical system. In the event of a burned-out fuse, your Revvi will not work when you turn it on and the indicator lights will not light up. To check and replace the fuse, follow the steps on the following page: 1. -
Page 15: Adjusting The Brake
ADJUSTING THE BRAKE This bike is equipped with a rear disc brake system. You should check the brake and make sure it is working properly before each ride. The brake should feel firm when the lever is pulled. You should not be able to pull the brake lever all the way back to where it touches the hand grip. - Page 16 OPTION 2: Adjust using the actuator arm on the brake caliper. If you are not able to get enough adjustment using the barrel adjuster, you may need to adjust the brake using the actuator arm on the rear caliper. 1. Adjust the barrel adjuster on the brake lever all the way in, and tighten the set ring.
-
Page 17: Removing The Batteries
30 psi of pressure in each tire. REMOVING THE BATTERIES The two batteries on your Revvi can be removed. To remove the batteries, follow the steps outlined below 1. Ensure the bike is switched off. -
Page 18: Warranty
Modified in anyway. Rented. Revvi does not offer an extended warranty. If you have purchased and extended warranty it must be honored by the company who the product was purchased from. For your records save your original sales receipt with this manual...
Need help?
Do you have a question about the ABT-E250 and is the answer not in the manual?
Questions and answers