Advertisement
Advertisement
Table of Contents

Subscribe to Our Youtube Channel
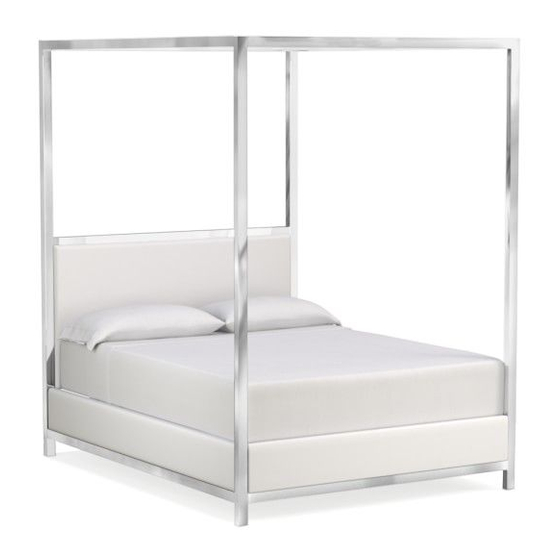
Summary of Contents for Williams-Sonoma Mercer Bed King
- Page 1 Mercer Bed King Date: 16‐May‐16 www.williams‐sonoma.com Page 1 of 6 ...
- Page 2 Important Safety Instructions: Please read all instructions carefully before assembling. For your safety, assembly by two or more adults is strongly recommended. Keep instructions for future use. Use only vendor supplied hardware to assemble. Using unauthorized hardware could jeopardize the structural integrity of the item.
- Page 3 Tools Required: Allen Wrench Open Wrench Assembly Instruction Steps: 1. Attach Post (B) to Short Stretcher (G) and Footboard (C) as shown, secure the Short Stretcher (G) by using Bolt (O), secure the Footboard (C) by using Bolt (K), Spring Washer (J) and Flat Washer (L), tighten with Allen Wrench (P).
- Page 4 2. Attach Post (A) to Short Stretcher (G) and Headboard (D) as shown, secure the Short Stretcher (G) by using Bolt (O), secure the Headboard (D) by using Bolt (K), Spring Washer (J) and Flat Washer (L), tighten with Allen Wrench (P).
- Page 5 4. Attach Side Rail (E) to the assembly as shown, insert Bolt (K) thru Spring Washer (J) and Flat Washer (L), tighten with Allen Wrench (P). 5. Attach Support Leg (I) to Slat (H) by using Bolt (M), Spring Washer (J) and Flat washer (L), tighten with Allen Wrench (P).
- Page 6 6. Attach the Slat (H) to Side Rail (E) by using Bolt (M), Spring Washer (J), Flat Washer (L) and Nut (N), tighten with Allen Wrench (P) and Open Wrench (Q). Finally, fully tighten all bolts with the provided Wrench, assembly is complete! Care Instructions: ...


Need help?
Do you have a question about the Mercer Bed King and is the answer not in the manual?
Questions and answers