Sign In
Upload
Download
Table of Contents
Contents
Add to my manuals
Delete from my manuals
Share
URL of this page:
HTML Link:
Bookmark this page
Add
Manual will be automatically added to "My Manuals"
Print this page
×
Bookmark added
×
Added to my manuals
Manuals
Brands
Jasic Manuals
Cutter
CUT40 (L131)
Operator's manual
Jasic CUT40 (L131) Operator's Manual
Inverter cutter
Hide thumbs
Also See for CUT40 (L131)
:
Operator's manual
(24 pages)
1
2
3
4
5
6
Table Of Contents
7
8
9
10
11
12
13
14
15
16
17
18
19
20
21
22
23
24
25
page
of
25
Go
/
25
Contents
Table of Contents
Troubleshooting
Bookmarks
Table of Contents
Table of Contents
1 General Description
Model Coding
Technical Parameters
Size and Weight
Composition and Configuration of the Cutting Machine System
Functions and Characteristics of the Cutting Machine
System Characteristics
2 Installation and Connection
Installation Requirements
Precautions
3 Operation
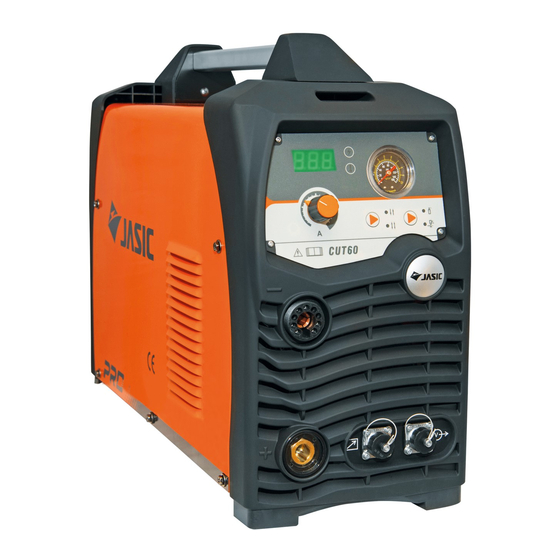
Panel Functions of L131
Panel Functions of L204/L205/L211
Panel Functions of L201
Operation Method
Notes for Cutting Operation
Cutting Parameters Table
Replacement of Electrode and Nozzle
4 Maintenance
Daily Maintenance
5 Troubleshooting
Advertisement
Quick Links
1
Technical Parameters
2
Composition and Configuration of the Cutting Machine System
3
Installation Requirements
4
Cutting Parameters Table
5
Troubleshooting
Download this manual
You Can buy this product at our E-shop:
BUY NOW
Šią prekę galite įsigyti mūsų el. parduotuvėje:
INVERTER CUTTER
OPERATOR'S MANUAL
MODEL:
C UT4 0 ( L1 3 1 ) /C UT6 0 ( L2 0 4 )/C UT8 0 ( L2 0 5 )
C UT1 0 0 ( L2 0 1 ) /C UT6 0 ( L2 1 1 )
L2 0 4 0 A S C -A4
Table of
Contents
Previous
Page
Next
Page
1
2
3
4
5
Advertisement
Table of Contents
Need help?
Do you have a question about the CUT40 (L131) and is the answer not in the manual?
Ask a question
Questions and answers
Related Manuals for Jasic CUT40 (L131)
Welding System Jasic L20701 Operator's Manual
Inverter cutter (24 pages)
Welding System Jasic Plasma Cut 60 Operator's Manual
Plasma cut series (21 pages)
Welding System Jasic Plasma Cut 80 Operator's Manual
Plasma cut series jp-61; jp-81 (16 pages)
Cutter Jasic CUT60 (L211) Operator's Manual
Inverter cutter (25 pages)
This manual is also suitable for:
Cut60 (l204)
Cut80 (l205)
Cut60 (l211)
Cut100 (l201)
Table of Contents
Print
Rename the bookmark
Delete bookmark?
Delete from my manuals?
Login
Sign In
OR
Sign in with Facebook
Sign in with Google
Upload manual
Upload from disk
Upload from URL


Need help?
Do you have a question about the CUT40 (L131) and is the answer not in the manual?
Questions and answers