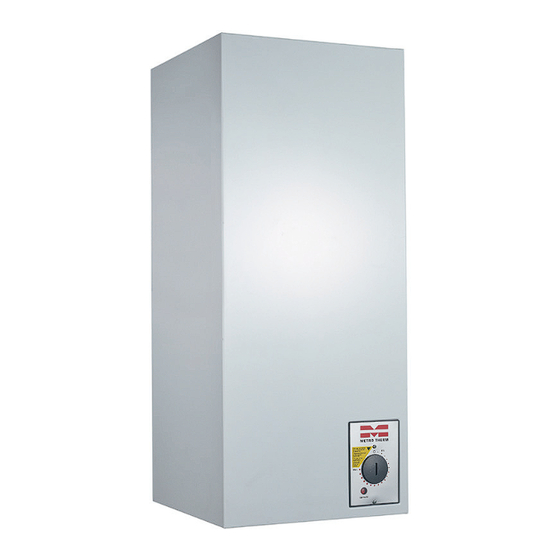
Summary of Contents for Metro Therm 15 pipe downwards 905
- Page 1 ELECTRICAL WATER HEATERS TANKS 08:008-1902 Manual Models 15, 30 and 35 Type 611, 905, 906, 907, 909 and 910...
- Page 2 Model 15 pipe downwards Type 905 METRO number: 119051004 Plumbing number: 345166200 Model 15 pipe upwards Type 906 METRO number: 119061004 Plumbing number: 345167200 Model 30 pipe downwards Type 907 Type 905, 907 METRO number: 119071004 Plumbing number: 345166400 Model 30 pipe upwards Type 910 METRO number: 119101004 Plumbing number: 345167400...
-
Page 3: Table Of Contents
Contents Transport Position Diagram Plumbing installation Electrical installation User Guide Maintenance Troubleshooting Guarantee terms Declaration of compliance... -
Page 4: Transport
Transport Inspect the water heater for damage and missing parts immediately upon receipt. Report any damage or missing parts to the carrier immediately. All carriage is the responsibility of the recipient unless otherwise agreed. Position Installation can only be performed by an authorised plumbing installer, and in accordance with the Danish Building Code. -
Page 5: Diagram
Diagram Models 15-30 (type 905, 907) Models 15-30 (type 906, 910) Hot water outlet Cold water inlet Holes in mounting plate Drain spout Control box Indicator light Electrical connection Removable plate CC measurements for mounting plate Model 35 (type 611) Model 35 (type 909) Dimensioned diagram All dimensions are in mm. -
Page 6: Plumbing Installation
Using softened water in a METRO THERM tank Water softened using salt can be used in a METRO THERM hot water tank. Conductivity must be kept under 100 mS/m (millisimiens per m), to be able to use the anode. Water pH value must be between 6 and 9, and chloride content must be under 250mg Cl/l. - Page 7 • The safety valve must be able release the rated output of the water heater at least. The use of a METRO THERM safety device (figure 2) fulfils this requirement. Because water expands when heated (approx. 2%), the safety valve must drip during heating.
-
Page 8: Electrical Installation
Electrical installation Electrical installation can only be performed by an authorised Remember! electrical installer. The water heater must be filled with water before The water heater has splashproof IP24 encapsulation and must always be extra- connecting electricity. protected in accordance with the LVD directive. The standard heating element can be connected to 400 V (3.6 kW) or 230 V (1.2 kW) (type 909 230V (1.5 kW) only), see wiring diagram. - Page 9 Wiring diagram 3.6 kW – 400V/1.2 kW – 230 V/1.5 kW – 230 V (type 909) Type 611, 905, 906, 907, 909 and 910 Connection to mains electricity Cable penetration with strain relief On/off switch, thermal fuse (110°C) and thermostat (65°C) Indicator light –...
-
Page 10: User Guide
User Guide Read this manual carefully before installation and using the water heater. Safety regulations Installation, first activation and maintenance of this product can only be performed by an autho- rised plumber/electrician, who will be responsible for observance of the relevant standards and installation regulations. - Page 11 For non-pressurised water heaters only If the water heater is installed as non-pressurised, remember that the water will not be under the same pressure as a pressurised tank with a safety valve. Please also remember that the water heater must be fitted with an original, non-pressurised mixer tap, and that the original aerator cannot be replaced by any other type, or a water-saver.
-
Page 12: Maintenance
Maintenance External cleaning The tank can only be cleaned with a damp cloth. Window or glass cleaner can be used, but not scouring cream/powder or solvents. Always read the instructions on the cleaning product. Safety valve Check that the safety valve works at least once annually. When testing, water should flow out of the valve. - Page 13 Limescale removal guide (type 909) Limescale removal can only be performed by an authorised installer. Always replace the gasket. Never re-use the old gasket. • Drain the tank. • Disconnect electricity supply at the mains, and shut off water supply at the shut-off valve. •...
-
Page 14: Troubleshooting
Troubleshooting The table below can help to identify and remedy any problems. If the problem cannot be resolved, contact an authorised plumbing/electrical installer. Fault (non-electrical) Cause Action No water flow Water supply cut off at cold Check ballcock is open. or hot water pipe Check if ballcock on safety device is open... -
Page 16: Guarantee Terms
• The installer has stated manufacturing number when contacting METRO THERM. • The installer has sent a copy of the invoice for purchase or installation and the faulty product item to METRO THERM within 10 days of replacement/repair. -
Page 18: Declaration Of Compliance
Declaration of compliance The declaration of compliance is available on our website at: www.METROTHERM.dk This product is VA-approved. - Page 20 Get a 1-year extended guarantee on your METRO product We offer a one-year extended guarantee on your METRO product when you register the product, entering where and when it was installed and by which company. Go to http://FQR.dk or scan the QR code Enter product and installation details You will receive a mail confirming the extended guarantee.


Need help?
Do you have a question about the 15 pipe downwards 905 and is the answer not in the manual?
Questions and answers