
Related Manuals for Supertrax Licensed Toyota Tundra Kids Ride on Truck

Summary of Contents for Supertrax Licensed Toyota Tundra Kids Ride on Truck
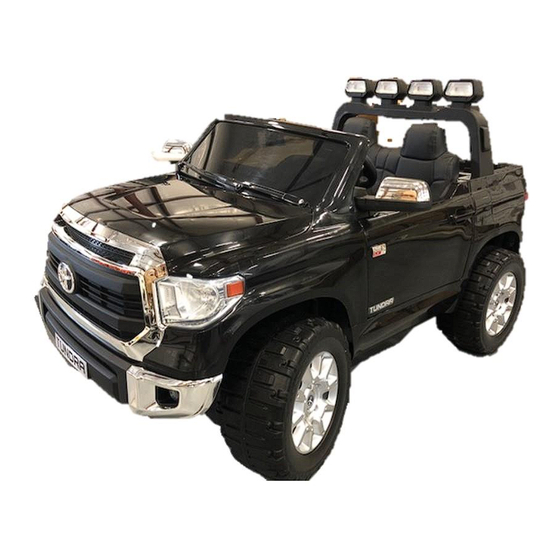
- Page 1 Licensed Toyota Tundra Kids Ride on Truck Please read this instruction manual carefully. It is important to read and follow all the steps during assembly to ensure proper operation and safety of the child. Please keep this manual for future reference.
-
Page 3: Table Of Contents
PARTS LIST Name Name Vehicle Body (1) Steering Wheel (1) Gear Box (2) Windshield (1) Rear Axle (1) Remove from truck #12 Washer (6) May only be 3 in bag. body on passenger side Others already installed Lug Nut (4) On axles Center Wheel Caps (4) Rear Fog Light Bar (1) 4x16 screw (4) -
Page 4: Vehicle
SPECIFICATIONS Battery Type: 12V10AH/24V7AH Avg. Speed: Approx. : 2 – 5 MPH Age Range: 2 – 7 Years Charging time: 8-12 hrs – Maximum Minimum 1 Charge per month Max. Weight: 110 lbs Avg. Use Time: 48-90 Minutes (depending on use) IMPORTANT! •... - Page 5 Reset the Front Axle 1. Gently turn the vehicle body upside down and cut off the plastic tie on the front axle with scissors. 2. Remove the M5x16 screw, washer and nut from the front wheel axle. 3. Adjust the wheel axle so that the axle is in the correct position as shown;...
-
Page 6: Spanner
Attach The Wheels 1. Remove all the parts from the front axle 2. Slide a Front Wheel onto the front axle 3. Slide a Washer onto the front axle 4. Tighten a Lug Nut to the end of the front axle with a spanner. DO NOT over tighten 5. -
Page 7: Rear Fog Light
Attach the Rear Fog-Lights Bar 1. Using the screwdriver to remove the screw on the bottom of the Rear fog-lights bar. 2. Insert 4 - AA batteries with the correct polarity. Then replace the battery compartment door. (Batteries not included) 3. -
Page 8: Remote
Attaching the Steering Column on the W/O Remote Option 1. Slide a Washer on the steering column from the straight end. Insert the straight end of the steering column up through the hole on the front of the vehicle body from bottom side, and out through the hole on the dash. -
Page 9: Gear
Attaching the Steering Column on the W/ Remote Control 1. With the vehicle on its side, remove the M5x25 machine screw and M5 nut from the Steering Motor Adaptor with a screwdriver. 2. Attach the Steering Motor Adaptor to the steering gear box and align the grooves to the steering motor. - Page 10 Attach the Rear Wheels 1. Unplug the wire connector from each gearbox in the battery area (one at a time). Remove gearbox from the battery area and install on the rear axle on the same side of the car. Make sure that the motor portion and wires slide into the hole in the body.
- Page 11 Attach the Steering Wheel HINT: if the steering wheel of your vehicle is equipped with the sound function, please follow next steps to add the batteries. (Batteries Not included) and refer to the battery information on page 4. 1. With the screwdriver remove the screw on the battery cover located in the center of the steering wheel.
-
Page 12: M5X35 Machine
Turn the vehicle upright. 1. Remove the M5x35 machine screw and M5 nut from the steering wheel. 2. Place the steering wheel over the steering column in the middle of the steering wheel base. 3. Align the holes on each side of the steering wheel with the holes at the end of the steering column. - Page 13 Attach the Windshield, Side Mirrors & Tailgate 1. Fit the tabs on the windshield into the slots on the middle vehicle and push until it “clicks” into place. 2. Fit the side mirror into the hole on the side of the vehicle and push until it “clicks”...
- Page 14 Connect the Power Supply & Install Seat 1. Plug the vehicle connector into the motor connector as shown. 2. Fit the tabs on seat back into the slots on the rear vehicle. 3. Tighten two M5x12 machine screws to secure the seat to the vehicle body.
- Page 15 Remote Control Function Remote Control Instructions: For the first time use of remote control or after replacing the battery, you need to sync the remote to the car. 1. Install the remote-control batteries (AA not included). 2. Hold the frequency button (Large button at top of remote) 2-4 seconds, the Low speed LED light should be flashing.
- Page 16 Charging the battery: The charging port is located on the right side of the dashboard under the power button. Plug the charger into the charging port first, then plug the charger into a wall outlet. Please Note: As a safety precaution and to avoid damage to the charger, the car will not power up while charger port is plugged into the car.
- Page 17 WARNING: - Use only the rechargeable battery and charger supplied with your vehicle. NEVER substitute the battery or charger with another brand. Using another battery or charger may cause damage. - NEVER modify the electric circuit system. Tampering with the electric system may cause permanent damage to the system.
- Page 18 - Do not allow the battery to drain completely. Recharge the battery after each use or once per month if not used regularly. - Do not charge the battery upside down. -Always secure the battery with the bracket. Battery can fall out and injure a child if vehicle tips over.
- Page 19 • Clean the vehicle with a soft, dry cloth. To restore shine to plastic parts, use a non-wax furniture polish. Do not use car wax. Do not use abrasive cleaners. • Do not drive the vehicle in loose dirt, sand or fine gravel which could damage moving parts, motors or the electric system.
- Page 20 TROUBLE SHOOTING GUIDE: Problem Possible Cause Possible Solutions Car will not move Battery voltage is low. Charge the battery Battery connector or wires Re-connect the battery are loose. connector to the car Battery is damaged or Replace battery dead. Electrical box or motor is Replace motor damaged The battery will not...
Need help?
Do you have a question about the Licensed Toyota Tundra Kids Ride on Truck and is the answer not in the manual?
Questions and answers
forward not working how can I fix it?
If the Supertrax Licensed Toyota Tundra Kids Ride on Truck will not move forward, follow these troubleshooting steps:
1. Check the Battery Voltage – If the battery voltage is low, charge the battery.
2. Inspect Battery Connections – Ensure the battery connector and wires are securely connected.
3. Replace the Battery if Necessary – If the battery is damaged or dead, replace it.
4. Check the Electrical Box or Motor – If the motor or electrical box is damaged, replace the motor.
These steps should help resolve the forward movement issue.
This answer is automatically generated